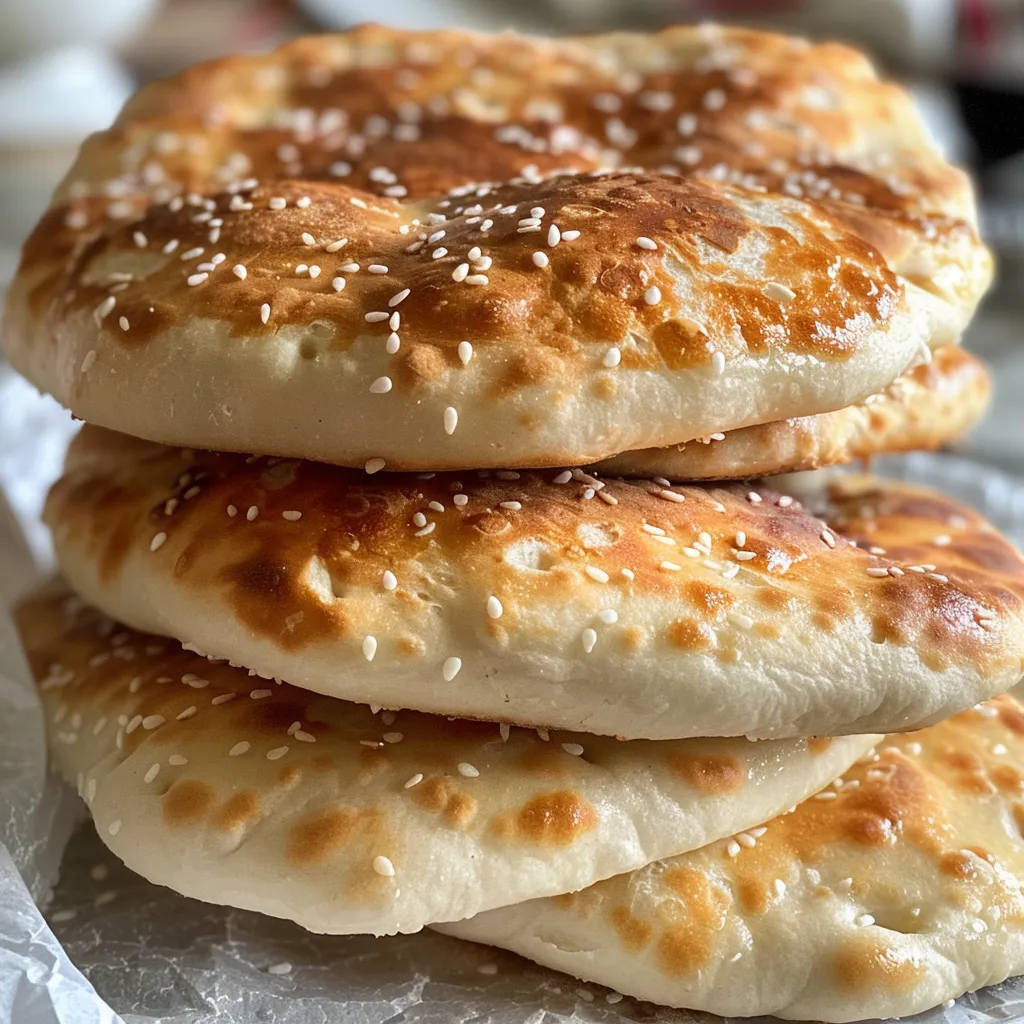
Welcome, dear food lovers! Today, let’s embark on a culinary adventure to the sun-soaked shores of Greece with a delightful homemade pita bread recipe. This is not just about baking bread; it’s an invitation to create something special, something to share and celebrate. Imagine the aroma of warm, fluffy pita fresh from your oven, ready to be paired with hummus, filled with savory meats, or simply enjoyed on its own. With each bite, you’ll taste the essence of Mediterranean life, and trust me, your kitchen will never smell better!
Why You’ll Love This Recipe
Let me share why this Greek pita bread recipe is bound to steal your heart and make your kitchen the center of joy and celebration:
- Fluffy and Soft: When made correctly, these pitas puff beautifully, creating a soft, airy pocket that’s perfect for stuffing.
- Easy Ingredients: You’ll find that most of the ingredients are pantry staples, allowing you to whip up this recipe at a moment’s notice.
- Culinary Versatility: These pitas are not just for wraps; use them for dipping, as a side with meals, or even as a base for pizzas!
- Family Fun: Involve your loved ones in the process! Rolling out dough and filling pitas can be a wonderful family activity.
- Healthier Choice: Making your own bread means knowing exactly what goes in it, allowing you to make healthier choices and adapt recipes to your dietary needs.
Ingredients: A Closer Look
Here’s what you’ll need to make your homemade Greek pita bread:
- 1 cup Warm water (240 grams): This will help activate the yeast.
- 2 ¼ tsp Instant yeast (One packet / 7 grams): The magic ingredient that makes your pitas rise.
- 1 tsp Sugar (4 grams): Just a touch to feed the yeast and enhance browning.
- 2 tbsp Olive oil (30ml): Adds richness and flavor; feel free to substitute with melted butter for a different taste.
- 2 ¾ cups All-purpose flour (380 grams): This is the base of your dough; for a healthier option, consider using whole wheat flour.
- 1 tsp Kosher salt (5 grams): Essential for flavor; adjust based on your taste preference.
Step-by-Step Instructions to Make Greek Pita Bread
Now, let’s dive into the delightful process of crafting your pitas:
- Mix the dough: In a large bowl, combine the warm water, instant yeast, sugar, and olive oil. Whisk to dissolve the yeast. Then add the flour and salt, mixing well until a shaggy dough forms.
- Knead the dough: Transfer the shaggy dough onto a floured counter and knead until it becomes supple and soft. Avoid adding extra flour to the counter. Place the dough ball in an oiled bowl, cover with a towel, and let it rest.
- Rise: Allow the dough to rise for about an hour until it doubles in size. This is where the magic happens!
- Divide and shape: Divide the dough into 8 equal portions. You can guesstimate or use a kitchen scale for precision. Shape each piece into a tight ball and let them rest for 5 minutes.
- Roll out: Using a rolling pin, roll out each dough ball into a disc that’s 5-6 inches wide and about ¼ inch thick.
- Second rise: Place the rolled-out pitas on a floured towel and cover them with another towel. Let the dough discs rise for an additional 15 minutes.
- Cook: Heat a cast iron pan or skillet over medium-high heat. Quickly place an uncooked pita disc on the hot pan. After about 20-30 seconds, flip the pita over and cook for another 20-30 seconds. Look for golden brown spots and puffiness!
- Serve: Store the cooked pitas in a bowl lined with a towel and cover lightly. They will steam and soften further, making them irresistible!
Pro Tips for Perfect Pita Bread
To ensure your pita bread turns out perfectly, consider these expert insights:
- Warm water is key: Make sure your water is warm, not hot. Too hot can kill the yeast!
- Kneading technique: Knead until the dough is smooth and elastic. If it’s too sticky, you can add a little flour, but be cautious!
- Resting time: Allowing the dough to rest helps gluten develop, which is essential for a good rise.
- Watch the heat: If your pitas aren’t puffing, it’s likely the pan isn’t hot enough. Adjust the heat as necessary.
- Use a cast iron skillet: This will give you the best results for even cooking and browning.
- Experiment with flour: If you want to try whole wheat or spelt flour, adjust the water content as whole grain flours absorb more moisture.
- Keep them covered: Always cover your pitas after cooking to retain moisture and keep them soft.
- Flavor additions: Consider adding herbs or spices to your dough for a unique twist.
Common Mistakes and Troubleshooting
Even the best chefs make mistakes! Here are some common pitfalls and how to avoid them:
- Flat Pitas: If your pitas don’t puff up, ensure your dough has risen properly and your cooking surface is hot enough.
- Dough Too Sticky: If your dough sticks to your hands, knead in small amounts of flour gradually until manageable.
- Dry Pitas: If your pitas turn out dry, they may have been overcooked or baked too long. Keep an eye on them!
- Yeast Issues: If your dough doesn’t rise, check the expiration date on your yeast and ensure your water was warm enough.
Delicious Variations on Your Pita Bread
Feeling adventurous? Here are some exciting variations you can try:
- Whole Wheat Pita: Substitute half or all of the all-purpose flour with whole wheat flour for a nutritious twist.
- Herb-Infused Pitas: Add dried herbs like oregano or rosemary to the dough for a fragrant flavor.
- Spiced Pitas: Mix in spices like cumin or coriander for a unique taste that pairs beautifully with Mediterranean dishes.
- Garlic Pita: Incorporate minced garlic into the dough for an aromatic and savory option.
Storage and Make-Ahead Instructions
Planning ahead? Here’s how to store and prepare your pitas in advance:
- Room Temperature: Keep cooked pitas wrapped in a towel at room temperature for up to 2 days.
- Refrigerator: For longer storage, you can refrigerate them in an airtight container for up to a week.
- Freezing: To freeze, place parchment paper between each pita and store them in a freezer-safe bag for up to 3 months.
- Reheating: When ready to use, reheat frozen pitas in a skillet or oven for a few minutes until warm.
Comprehensive FAQ
Here are some frequently asked questions about making pita bread:
- What is the best flour for pita bread? All-purpose flour works well for softness, but you can experiment with whole wheat for a healthier option.
- Can I use active dry yeast instead of instant yeast? Yes, but you’ll need to activate it in warm water with a little sugar before mixing it into the dough.
- Why do pitas puff up? The steam generated from the dough cooks quickly, creating pockets of air that puff the pita.
- Is pita bread gluten-free? Traditional pita bread is not gluten-free. However, you can use gluten-free flour blends if needed.
- How can I enhance the flavor of my pita? Adding herbs, spices, or even a touch of honey can elevate the taste of your pita.
- Can I make this recipe vegan? Yes! Simply omit the olive oil or replace it with another fat, like coconut oil.
- What’s the best way to serve pita bread? Pita bread is delicious with dips like hummus and tzatziki, stuffed with grilled meats or veggies, or as a side to your favorite Mediterranean dishes.
- How long does homemade pita bread last? When stored properly, homemade pita can last for up to a week in the refrigerator or up to three months in the freezer.
Nutritional Tips and Dietary Adaptations
For those mindful of their dietary choices, here are some tips:
- Whole Grain Options: Using whole wheat flour increases fiber content and makes for a healthier pita.
- Low-Sugar Variations: Reduce or omit sugar in the recipe if you’re watching your sugar intake.
- Gluten-Free Alternatives: Try using almond flour or a gluten-free flour mix for a gluten-free pita.
- Control Portions: Pitas can be portioned into smaller sizes for controlled servings, perfect for snacks or appetizers.
Equipment Recommendations
Here’s a list of equipment that will help you succeed:
- Mixing Bowl: A large bowl is essential for mixing and rising your dough.
- Rolling Pin: To roll out your dough into perfect discs.
- Cast Iron Skillet: For even cooking and great heat retention when baking your pitas.
- Kitchen Scale: Useful for measuring ingredients accurately, especially for serious bakers.
- Kitchen Towel: To cover your dough and keep it warm during rising.
Serving Suggestions: What to Pair with Your Pita Bread
Now that you’ve made your delicious Greek pitas, let’s talk about how to enjoy them:
- With Dips: Pair your pitas with hummus, tzatziki, or baba ganoush for a delightful appetizer.
- Stuffed: Fill them with grilled chicken, falafel, or roasted vegetables for a hearty meal.
- As a Side: Serve alongside Greek salads, souvlaki, or Mediterranean stews.
- For Breakfast: Spread with a bit of honey and yogurt for a tasty breakfast treat.
In conclusion, making your own pita bread is not just a cooking project; it’s a way to connect with the heart of Mediterranean culture and flavor. I hope this guide inspires you to step into your kitchen and create something delicious to share with family and friends. Thank you for joining me on this culinary journey! Let’s make some memories together, one pita at a time!
Homemade Greek Pita Bread Recipe
Ingredients
Dough
- 1 cup Warm water (- 240 grams)
- 2 ¼ tsp Instant yeast (- One packet / 7 grams)
- 1 tsp Sugar (- 4 grams)
- 2 tbsp Olive oil (- 30ml)
- 2 ¾ cups All purpose flour (- 380 grams)
- 1 tsp Kosher salt (- 5 grams)
Instructions
- Combine water, yeast, sugar, and olive oil; mix until yeast dissolves. Add flour and salt; mix to form a shaggy dough.
- Knead the dough until smooth and soft. Place in an oiled bowl, cover, and let rise for 1 hour.
- Divide dough into 8 balls, rest for 5 minutes. Roll each into 5-6 inch discs, then let rise covered for 15 minutes.
- Heat a pan over medium-high. Cook each pita 20-30 seconds per side until golden and puffed.
- Store pitas in a towel-lined bowl to steam and soften before serving.