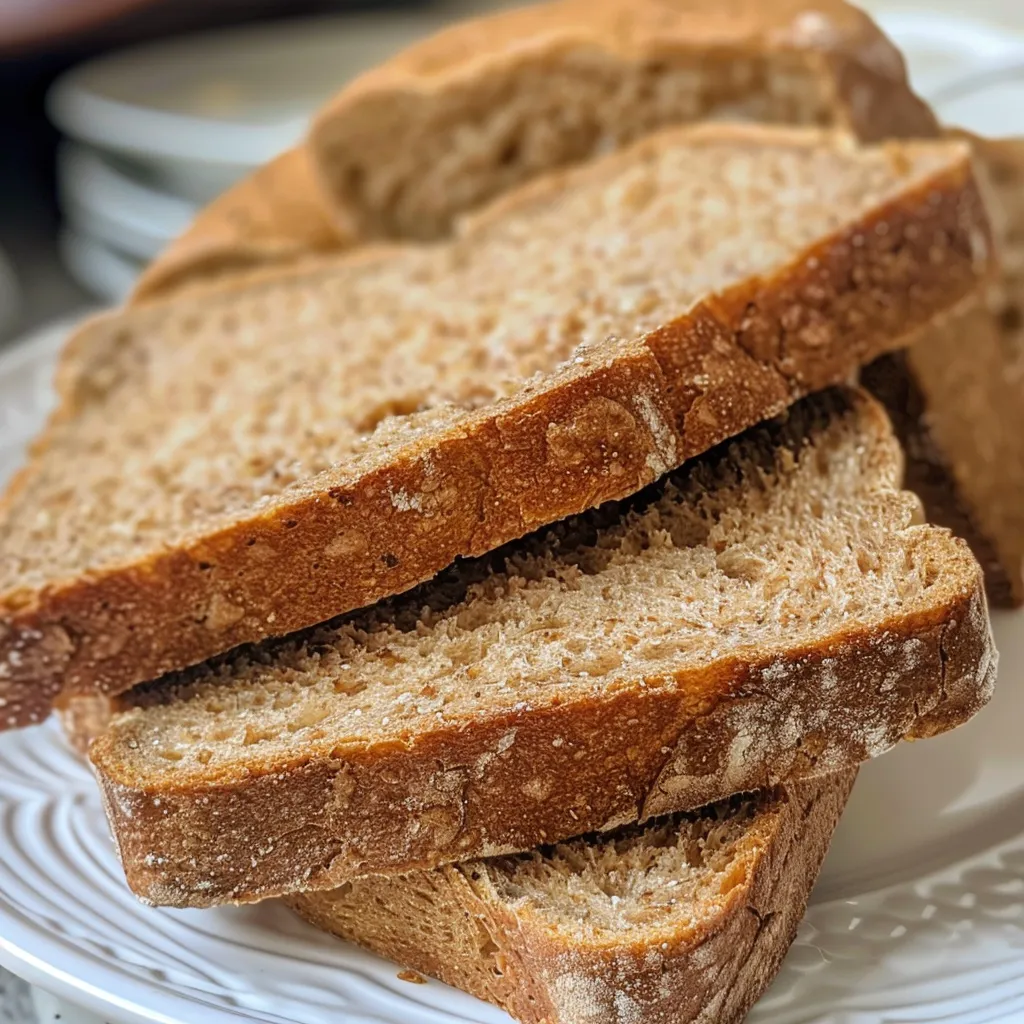
Welcome to the Joy of Baking Whole Wheat Sandwich Bread
Baking your own bread is not just a culinary task; it’s an experience filled with warmth, comfort, and nostalgia. Today, I invite you into my kitchen to explore the delightful world of Whole Wheat Sandwich Bread. This recipe is not only easy to follow but also rewards you with a loaf that is soft, subtly sweet, and bursting with wholesome flavors. Imagine the aroma wafting through your home as the bread bakes, evoking memories of family gatherings and shared meals. Ready your aprons, and let’s embark on this delicious journey together!
Why You’ll Love This Recipe
Here are just a few reasons why this wheat sandwich bread recipe will become a staple in your home:
- Health Benefits: Whole wheat flour is rich in fiber, vitamins, and minerals, making each slice a nutritious choice for you and your family.
- Versatile Uses: Perfect for sandwiches, toast, or simply enjoying with butter, this bread adapts to all your meals.
- Homemade Goodness: There’s nothing like the satisfaction of creating something from scratch, knowing exactly what goes into your food.
- Cost-Effective: Baking at home saves money compared to store-bought options, especially for quality bread.
- Customizable: This recipe serves as a great base for experimenting with flavors and add-ins, such as seeds, nuts, or dried fruits.
Ingredients Breakdown
Gathering fresh ingredients is the first step towards creating your delicious whole wheat sandwich bread. Here’s what you’ll need, along with some handy substitutions:
- 3 cups whole wheat flour: Hearty texture and fiber content. You can substitute with white whole wheat flour for a lighter loaf.
- 2 tbsp honey: Adds subtle sweetness and helps activate the yeast. Maple syrup or agave nectar can work as alternatives.
- 1 packet active dry yeast (2¼ tsp): This is essential for making the dough rise. Instant yeast is a great substitute if you have it on hand.
- 1¼ cups warm water (110°F): Ensures proper yeast activation. If it’s too hot, it can kill the yeast; too cold, and it won’t activate.
- 2 tbsp olive oil: Adds softness and moisture to the bread. You can use melted butter or coconut oil if preferred.
- 1 tsp salt: Enhances flavor and controls yeast activity. This is crucial for balanced taste.
- 2 tbsp vital wheat gluten (optional): For a lighter, airier texture. If you don’t have it, don’t worry; the bread will still be delicious!
Step-by-Step Instructions
Let’s dive into the heart of the process. Follow these steps to create your own masterpiece:
- Activate yeast: In a small bowl, mix warm water and honey. Sprinkle the yeast on top and let it sit for about 5-10 minutes until frothy.
- Mix dough: In a large bowl, combine the whole wheat flour and salt. Pour in the yeast mixture and olive oil, stirring until a dough forms.
- Knead until elastic: Transfer the dough onto a floured surface and knead for about 10 minutes until it becomes smooth and elastic.
- First rise: Place the dough in a greased bowl, cover it with a damp cloth, and let it rise in a warm place for about 1 hour or until doubled in size.
- Shape loaf: Punch down the dough and turn it onto a floured surface. Shape it into a loaf and place it in a greased loaf pan.
- Second rise: Cover the loaf with a damp cloth again and let it rise for another 30-45 minutes until puffy.
- Bake until golden: Preheat your oven to 350°F (175°C). Bake the loaf for 30-35 minutes or until golden brown and sounds hollow when tapped on the bottom.
- Cool on rack: Once baked, remove the loaf from the pan and let it cool on a wire rack before slicing.
Pro Tips for Perfect Bread
To ensure your whole wheat sandwich bread turns out perfectly every time, consider these expert insights:
- Temperature matters: Use a kitchen thermometer to ensure your water is at 110°F; this is the ideal temperature for activating yeast.
- Don’t skip kneading: Kneading develops gluten, which gives the bread its structure. Aim for a smooth, elastic dough.
- Watch your rises: If your dough isn’t rising well, check the temperature of your environment—yeast thrives in warmth!
- Use vital wheat gluten: If you want a lighter texture, adding vital wheat gluten can make a noticeable difference.
- Store properly: Once cooled, store your bread in an airtight container at room temperature to keep it fresh.
- Experiment with flavors: Add herbs, seeds, or nuts to the dough for an exciting twist on this classic recipe.
- Slice with care: Use a serrated knife for clean, even slices.
- Enjoy fresh: This bread is best enjoyed fresh, but it freezes beautifully for future use.
Common Mistakes and Troubleshooting
Even seasoned bakers can encounter hiccups. Here are some common mistakes and how to avoid them:
- Dense bread: This often occurs from insufficient kneading or not allowing the dough to rise long enough. Ensure both steps are completed thoroughly.
- Dry texture: If your bread turns out dry, try adding a bit more liquid next time, or use a little more olive oil in the dough.
- Flat loaf: If your loaf doesn’t rise, check the freshness of your yeast. If it’s old, it may not activate properly.
- Burnt crust: If the top of your loaf burns before the inside is cooked, place a piece of foil over it halfway through baking.
Delicious Variations to Try
Once you’ve mastered the basic recipe, you can explore these fun variations:
- Honey Oat Bread: Add 1 cup of rolled oats to the dough for a heartier texture and flavor.
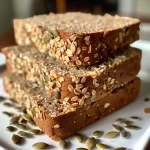
- Seeded Whole Wheat Bread: Incorporate sunflower seeds, sesame seeds, or flaxseeds into the dough for added crunch and nutrition.
- Cinnamon Raisin Bread: Mix in 1 cup of raisins and 1 teaspoon of cinnamon for a sweet twist, perfect for breakfast.
- Herb-Infused Bread: Add dried herbs like rosemary or thyme into the mix for a fragrant, savory loaf.
Storage and Make-Ahead Tips
To make your baking experience as enjoyable as possible, here are some storage tips:
- Room temperature: Store your bread in a cool, dry place in an airtight container for up to 4 days.
- Freezing: For longer storage, slice the bread and wrap it tightly in plastic wrap, then place it in a freezer bag. It can last for up to 3 months.
- Making ahead: Prepare the dough and let it rise. You can refrigerate it overnight to bake fresh bread in the morning.
FAQs About Whole Wheat Sandwich Bread
Here are answers to some common questions you might have:
- Can I substitute all-purpose flour for whole wheat flour? Yes, but the texture and flavor will change. You may need to adjust the liquid.
- How do I know when my bread is done baking? The bread should be golden brown and sound hollow when tapped on the bottom.
- Can I use a bread machine for this recipe? Absolutely! Follow your machine’s manual for whole wheat settings.
- What if my dough is too sticky? Add small amounts of flour until it reaches the right consistency, but avoid adding too much.
- Is this bread suitable for sandwiches? Yes! It holds up well for sandwiches, toast, and more.
- How can I enhance the flavor? Consider adding spices, herbs, or even cheese to the dough before baking.
- Can I double the recipe? Yes, you can double the ingredients and bake two loaves; just ensure your mixing bowl is large enough!
- What’s the best way to slice the bread? Use a serrated knife for the best results without squishing the loaf.
Nutritional Tips and Dietary Adaptations
This wheat sandwich bread is a great option for many dietary needs:
- High fiber: Whole wheat flour is higher in fiber than white flour, aiding digestion.
- Adjusting sweetness: If you’re watching your sugar intake, reduce the amount of honey or substitute with a sugar alternative.
- Gluten-free option: For gluten-sensitive individuals, consider using a gluten-free flour blend, though it will require additional adjustments to the recipe.
Equipment Recommendations
Having the right tools can make a significant difference in your bread-making journey:
- Mixing bowl: A large, sturdy bowl is essential for mixing and kneading.
- Loaf pan: A standard 9×5 inch loaf pan works best for this recipe.
- Kitchen thermometer: Useful for checking water temperature for yeast activation.
- Wire rack: To cool your bread evenly after baking.
- Serrated knife: Ideal for slicing your bread without squishing it.
Serving Suggestions
Now that you’ve baked this delicious whole wheat sandwich bread, here are a few ideas on how to serve it:
- Classic sandwiches: Layer with your favorite deli meats, cheeses, and veggies.
- Breakfast toast: Spread with butter, jam, or avocado for a delightful breakfast treat.
- Grilled cheese: Use this hearty bread for the ultimate grilled cheese experience.
- French toast: Make a breakfast classic by dipping slices in an egg mixture and frying until golden.
With this guide, you’re well on your way to mastering the art of baking Whole Wheat Sandwich Bread. Remember, cooking is about exploration and joy, so don’t hesitate to make this recipe your own. Enjoy the process, and happy baking!
Whole Wheat Sandwich Bread Recipe
Ingredients
Dough
- 3 cups whole wheat flour (Hearty texture and fiber content)
- 2 tbsp honey (Adds subtle sweetness, helps yeast activate)
- 1 pkt active dry yeast (2¼ tsp, makes the dough rise and creates fluffy texture)
- 1 1/4 cups warm water (110°F (not too hot, not too cold))
- 2 tbsp olive oil (Adds softness and moisture)
- 1 tsp salt (Enhances flavor and controls yeast activity)
- 2 tbsp vital wheat gluten (Optional, for a lighter, airier texture)
Instructions
- Activate yeast in warm water with honey until frothy.
- Mix in flour, salt, vital wheat gluten, and olive oil to form dough.
- Knead until elastic, then let rise until doubled in size.
- Shape into a loaf, let rise again, then bake at 375°F (190°C) until golden.
- Cool on a rack before slicing and serving.