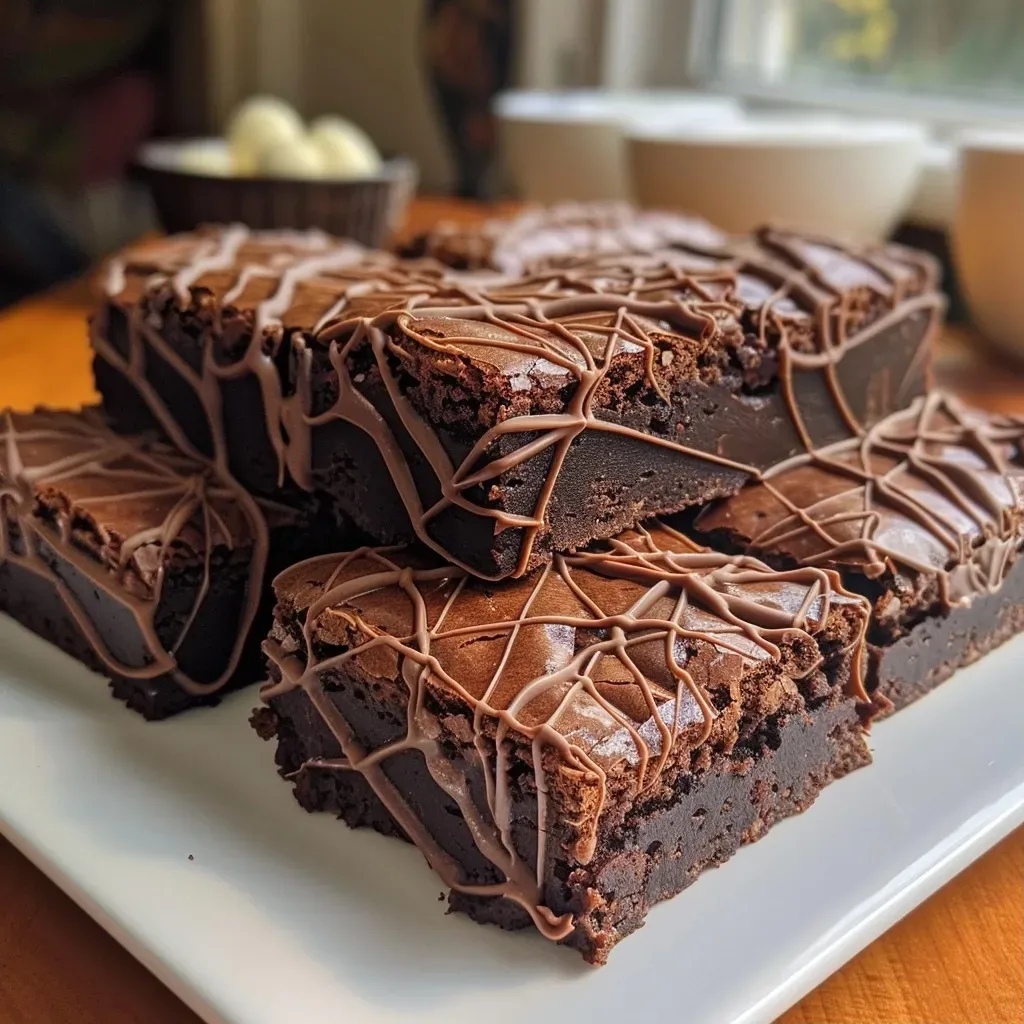
Welcome to the Sweet World of Spiderweb Brownies!
Are you ready to embark on a delightful culinary adventure? Today, we’re diving into the enchanting realm of Spiderweb Brownies, a treat that beautifully marries rich chocolate flavors with a whimsical design that’s perfect for family gatherings or spooky celebrations. This recipe not only promises a delicious outcome but also creates a loving experience that brings everyone together around the kitchen table. With layers of chocolatey goodness and a creamy topping, these brownies are sure to make any occasion special!
Let’s get started on this journey and discover the magic of baking together!
Why You’ll Love This Recipe
- Family Tradition: Baking these brownies is a perfect way to create lasting memories with your loved ones, just like my father taught me in our Seville kitchen.
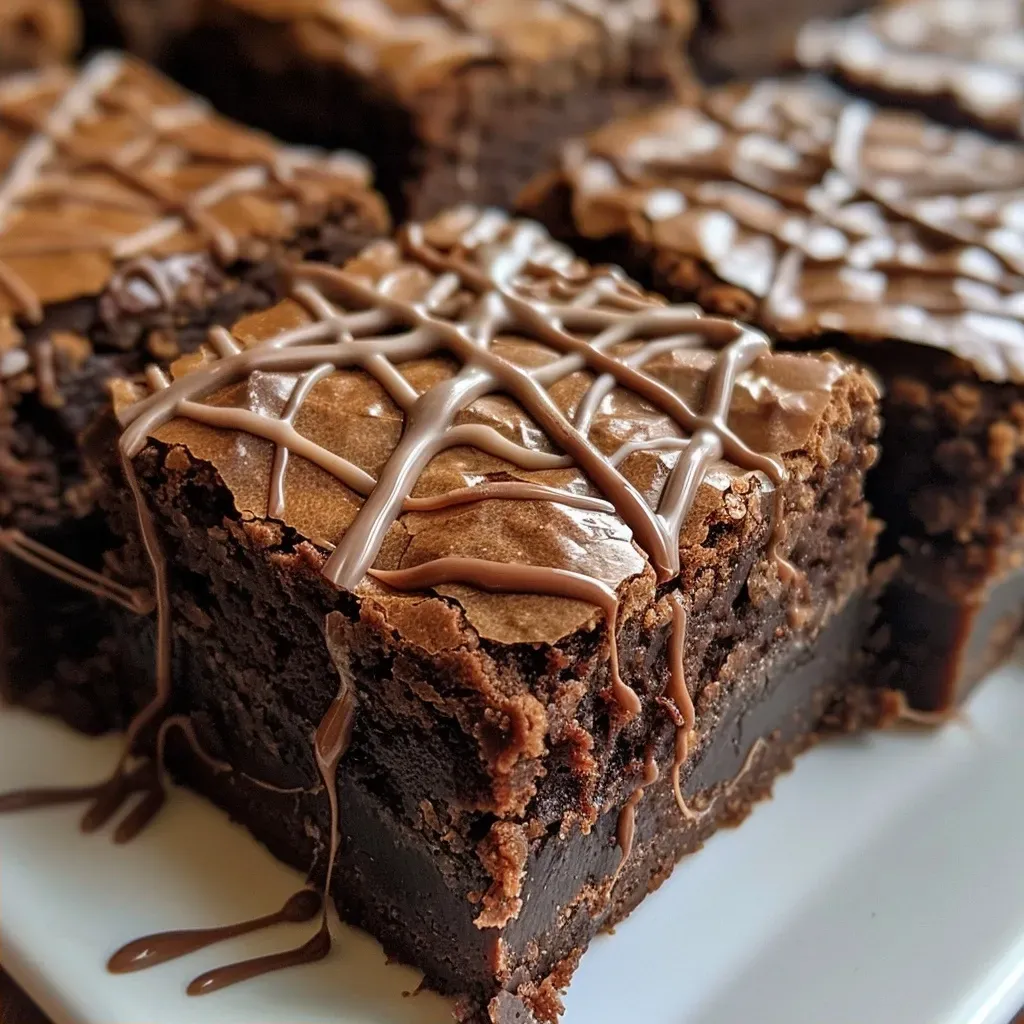
- Visual Delight: The stunning spiderweb design not only looks impressive but also adds a fun element to your dessert table.
- Rich Flavor: With a blend of cocoa powder and chocolate chips, these brownies deliver a deep, satisfying chocolate experience that will leave you craving more.
- Versatile Ingredients: You can easily swap out ingredients to cater to dietary needs, making this recipe adaptable for all your friends and family.
- Easy to Make: Even if you’re new to baking, this recipe is straightforward and yields impressive results!
Ingredient Breakdown
Before we start mixing, let’s take a closer look at the ingredients that will bring our Spiderweb Brownies to life. Here’s what you’ll need:

★ Recommended Kitchen Tool
Cake Decorating Set
Make this recipe even easier with a quality Cake Decorating Set — a must-have kitchen staple!
- 1 cup flour: All-purpose flour works best; however, for a gluten-free option, almond flour or a gluten-free blend can be used.
- 3/4 cup Dutch-process cocoa powder: This type of cocoa gives a richer flavor. If you don’t have it, regular cocoa powder is a suitable substitute.
- 1/4 teaspoon salt: Enhances the chocolate flavor.
- 3/4 cup + 2 tablespoons refined coconut oil (or butter): Choose refined coconut oil for a neutral flavor, or use melted butter for a richer taste.
- 1 1/2 cups granulated sugar: You can substitute with coconut sugar for a lower glycemic index option.
- 1 tablespoon vanilla extract: A must for enhancing the flavors.
- 3 large eggs (50 grams each out of shell, room temperature): Eggs provide structure; make sure they’re at room temperature for the best results.
- 1 cup semi-sweet chocolate chips: For extra chocolatey goodness, feel free to use dark chocolate chips or chunks.
- 1/2 cup heavy cream: This will create a luscious topping; alternatively, full-fat coconut milk works for a dairy-free option.
- 1/2 cup white chocolate chips: For the spiderweb decoration; you can also use chopped white chocolate.
How to Make These Spiderweb Brownies
Now, let’s get our hands dirty and create these delightful treats! Follow these simple steps to prepare your brownies:
Step-by-Step Instructions
- Preheat your oven to 350°F (175°C) and grease a 9×13-inch baking pan.
- In a bowl, mix together the flour, cocoa powder, and salt. Set aside.
- In another large bowl, whisk the coconut oil (or butter) and sugar until well combined.
- Add the eggs one at a time, mixing well after each addition. Stir in the vanilla extract.
- Gradually add the dry ingredients to the wet mixture, stirring until just combined.
- Fold in the semi-sweet chocolate chips.
- Pour the batter into the prepared baking pan and smooth the top.
- Bake for 25-30 minutes or until a toothpick inserted in the center comes out with a few moist crumbs.
- While the brownies cool, prepare the topping. Heat the heavy cream in a small saucepan until just simmering, then remove from heat and stir in the white chocolate chips until melted and smooth.
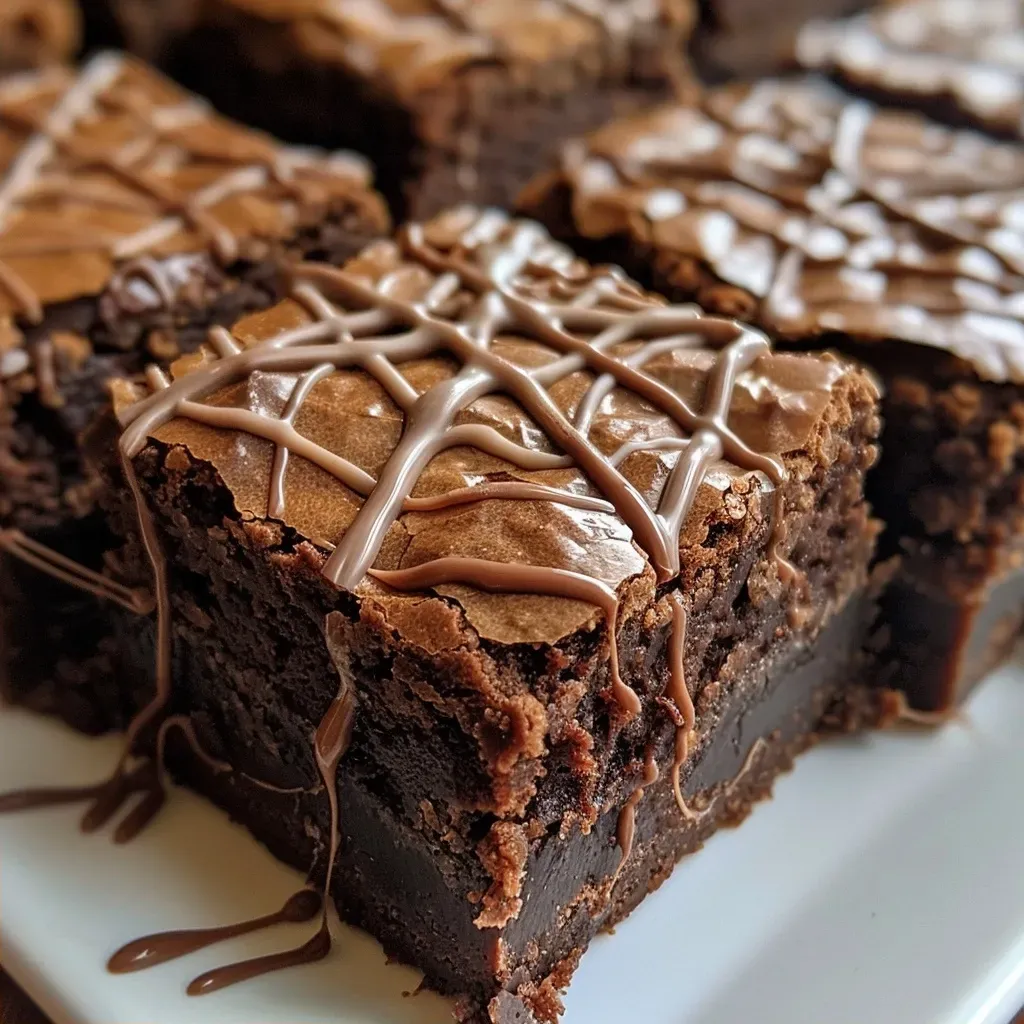
- Drizzle the melted white chocolate over the cooled brownies in a spiderweb pattern.
Pro Tips for Perfect Spiderweb Brownies
- Room Temperature Ingredients: Ensure your eggs and cream are at room temperature for a smoother batter.
- Don’t Overmix: Mix just until combined to keep the brownies fudgy and soft.
- Cool Completely: Allow the brownies to cool before cutting to prevent them from falling apart.
- Use Quality Chocolate: The better the chocolate, the richer your brownies will taste!
- Experiment with Flavors: Add a pinch of espresso powder to enhance the chocolate flavor even more.
- Spiderweb Pattern: Use a piping bag for more control when creating the design.
- Check for Doneness: Every oven is different; start checking your brownies around the 25-minute mark.
- Chill Before Serving: For the best flavor, refrigerate the brownies for a couple of hours before serving.
Common Mistakes and Troubleshooting
- Brownies Are Too Dry: This can happen if they’re overbaked. Always check for doneness a couple of minutes before the time is up.
- Crumbly Texture: Ensure you’re using the correct egg size and not overmixing the batter.
- Spiderweb Doesn’t Show: If the white chocolate is too warm, it might melt into the brownies instead of standing out. Let it cool slightly before drizzling.
Variations to Try
- Nutty Twist: Add 1 cup of chopped nuts (like walnuts or pecans) for added crunch.
- Mint Chocolate: Incorporate a teaspoon of mint extract into the batter for a refreshing flavor.
- Spiced Up: Add a sprinkle of cinnamon or chili powder for a warm spice that complements the chocolate.
- Fruit-infused: Swirl in raspberry or cherry preserves into the batter before baking for a fruity surprise.
Storage and Make-Ahead Instructions
These brownies can be made ahead of time and stored for maximum freshness:
- Room Temperature: Store in an airtight container for up to 3 days.
- Refrigerator: They can last for up to a week when stored in the fridge.
- Freezer: Freeze for up to 3 months. Just make sure to wrap them tightly in plastic wrap and then foil.
Frequently Asked Questions
- Can I make these brownies gluten-free? Absolutely! Substitute the all-purpose flour with a gluten-free blend.
- What chocolate can I use besides semi-sweet? Dark chocolate or milk chocolate chips work well too!
- How do I make the spiderweb look perfect? Practice your drizzle technique and ensure the white chocolate isn’t too hot.
- Can I use a different type of oil? Yes! While coconut oil is recommended, any neutral oil like canola will work.
- How do I know when they are done baking? A toothpick inserted should come out with a few moist crumbs, not wet batter.
- What if I don’t have white chocolate? You can substitute with more semi-sweet chocolate or skip it altogether.
- Can I double the recipe? Yes! Just use a larger baking pan and adjust the baking time accordingly.
- How can I enhance the chocolate flavor? Adding a teaspoon of espresso powder can elevate the chocolate notes beautifully.
Nutritional Tips and Dietary Adaptations
For those mindful of their diet, here are some adaptations you can consider:
- Lower Sugar: Reduce sugar by 1/4 cup or use a sugar substitute suitable for baking.
- Dairy-Free: Use coconut milk and dairy-free chocolate to make these brownies fully vegan.
- Lower Fat: Substitute half of the oil/butter with applesauce for a lighter version.
Equipment Recommendations
Before you start baking, make sure you have the right tools:
- Mixing Bowls: A set of medium to large mixing bowls will help you keep everything organized.
- Whisk and Spatula: Essential for mixing ingredients and scraping down the sides of the bowl.
- 9×13-inch Baking Pan: A good quality pan ensures even baking.
- Piping Bag: For drizzling the white chocolate in a spiderweb pattern.
Serving Suggestions
To elevate your serving experience, consider these creative ideas:
- Dust with Powdered Sugar: A light dusting adds a touch of elegance.
- Serve with Ice Cream: A scoop of vanilla or mint ice cream pairs beautifully with these brownies.
- Add Fresh Berries: Garnish with raspberries or strawberries for a vibrant color contrast.
Now that you have all the knowledge and tools, it’s time to roll up your sleeves and create these delightful Spiderweb Brownies! May your kitchen be filled with laughter, sweet aromas, and the joy of shared experiences. Let’s celebrate together, one bite at a time!
Spiderweb Brownies
Ingredients
Dough
- 1 cup flour (see notes)
- 3/4 cup Dutch-process cocoa powder
- 1/4 teaspoon salt
- 3/4 cup refined coconut oil (or butter, melted and cooled slightly)
- 1 1/2 cups granulated sugar (or coconut sugar)
- 1 tablespoon vanilla extract
- 3 large eggs eggs (50 grams each out of shell, room temperature)
- 1 cup semi-sweet chocolate chips (or chopped chocolate)
- 1/2 cup heavy cream (or whipping cream or full-fat canned coconut milk)
- 1/2 cup white chocolate chips (or chopped white chocolate)
Instructions
- Preheat oven to 350°F (175°C). Melt butter or coconut oil and mix with cocoa, sugar, eggs, and vanilla.
- Stir in flour and salt until just combined. Pour batter into a greased baking pan.
- Bake for 25 minutes, then let cool. Melt white chocolate with heavy cream to make the web design.
- Spread the melted white chocolate over cooled brownies and create a spiderweb pattern with dark chocolate or additional white chocolate.