Welcome to a Halloween Treat Like No Other!
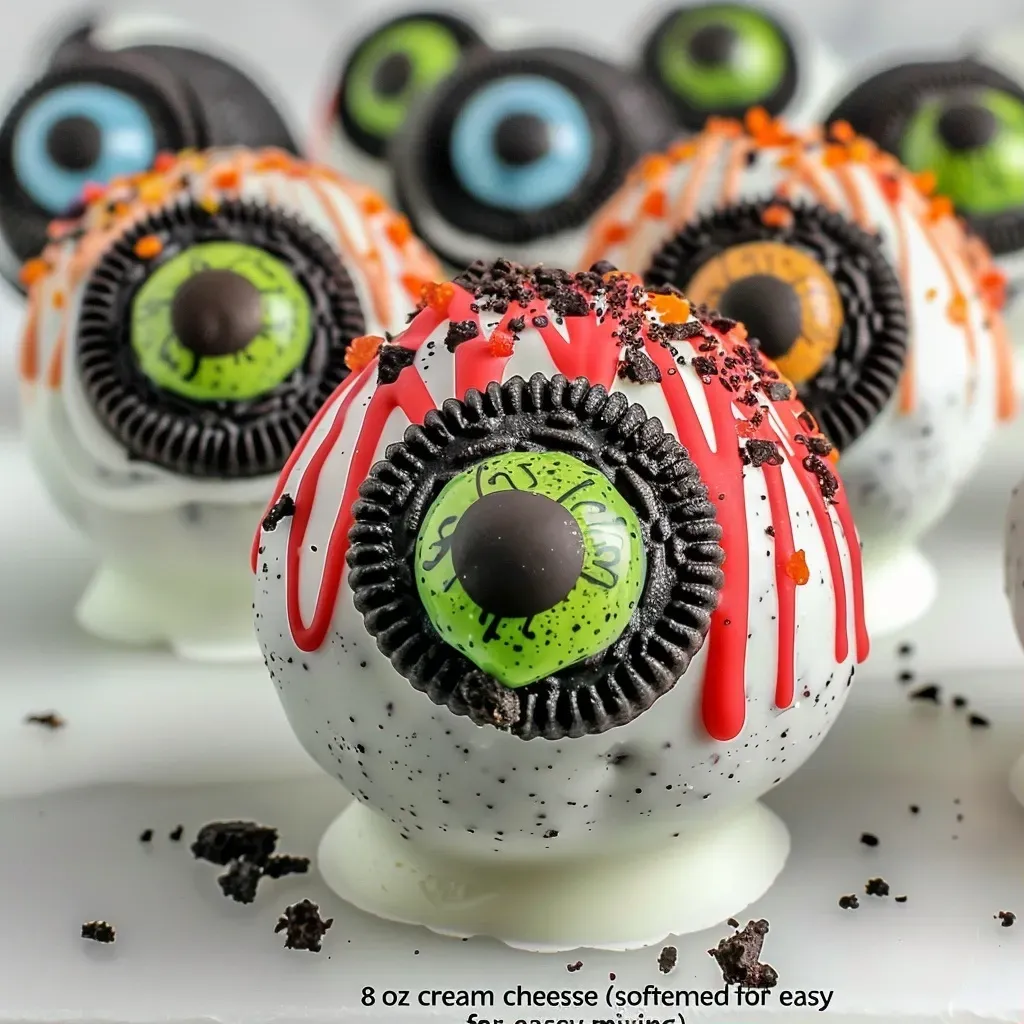
As the leaves turn and the air grows crisp, it’s time to embrace the season of spookiness with a treat that’s not just delicious but also a feast for the eyes! Join me, Rafael, in crafting these Spooktacular Oreo Ball Eyeball Truffles that will elevate your Halloween festivities. With a rich filling of Oreo and cream cheese, beautifully dipped in melted white chocolate, and adorned with vibrant candy melts and gel icing, these treats are a playful twist on traditional desserts. They’re not only easy to make but also a delightful way to celebrate the spirit of Halloween!
Why You’ll Love This Recipe
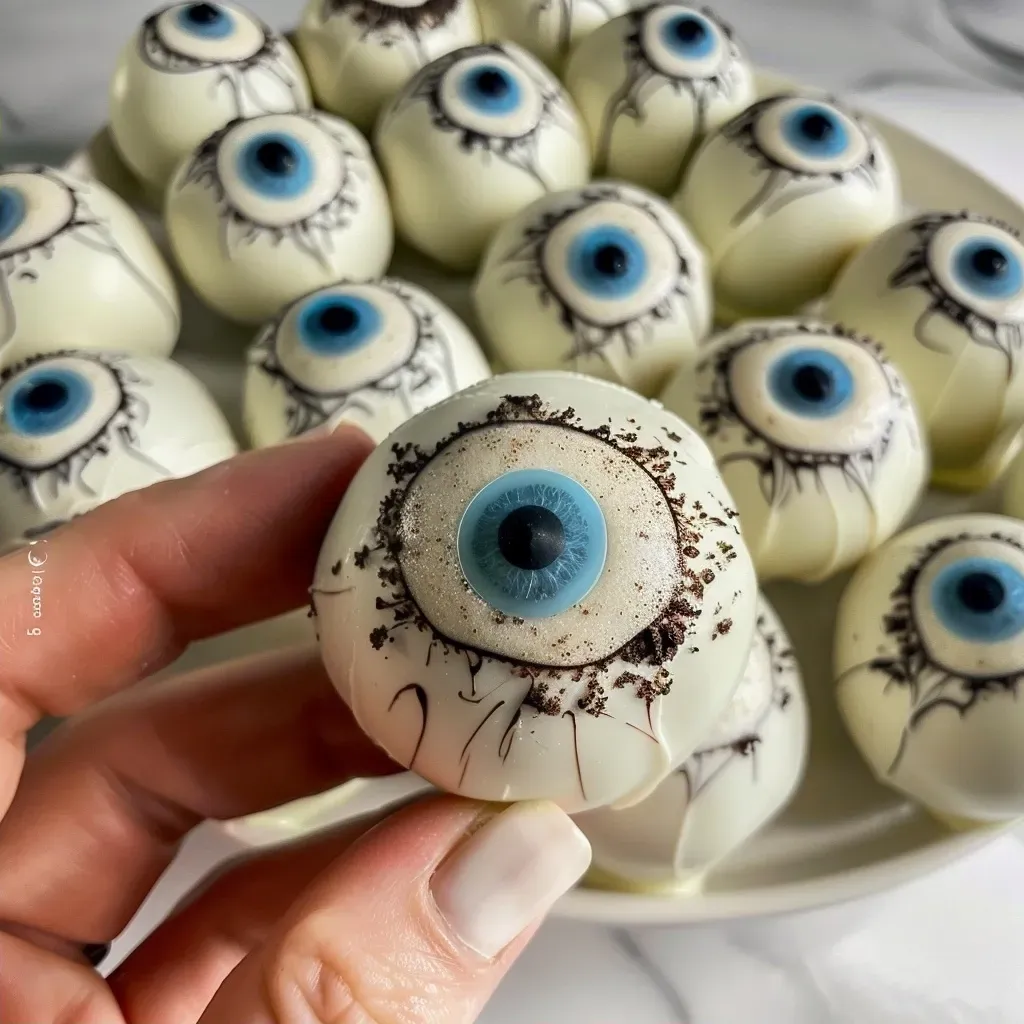
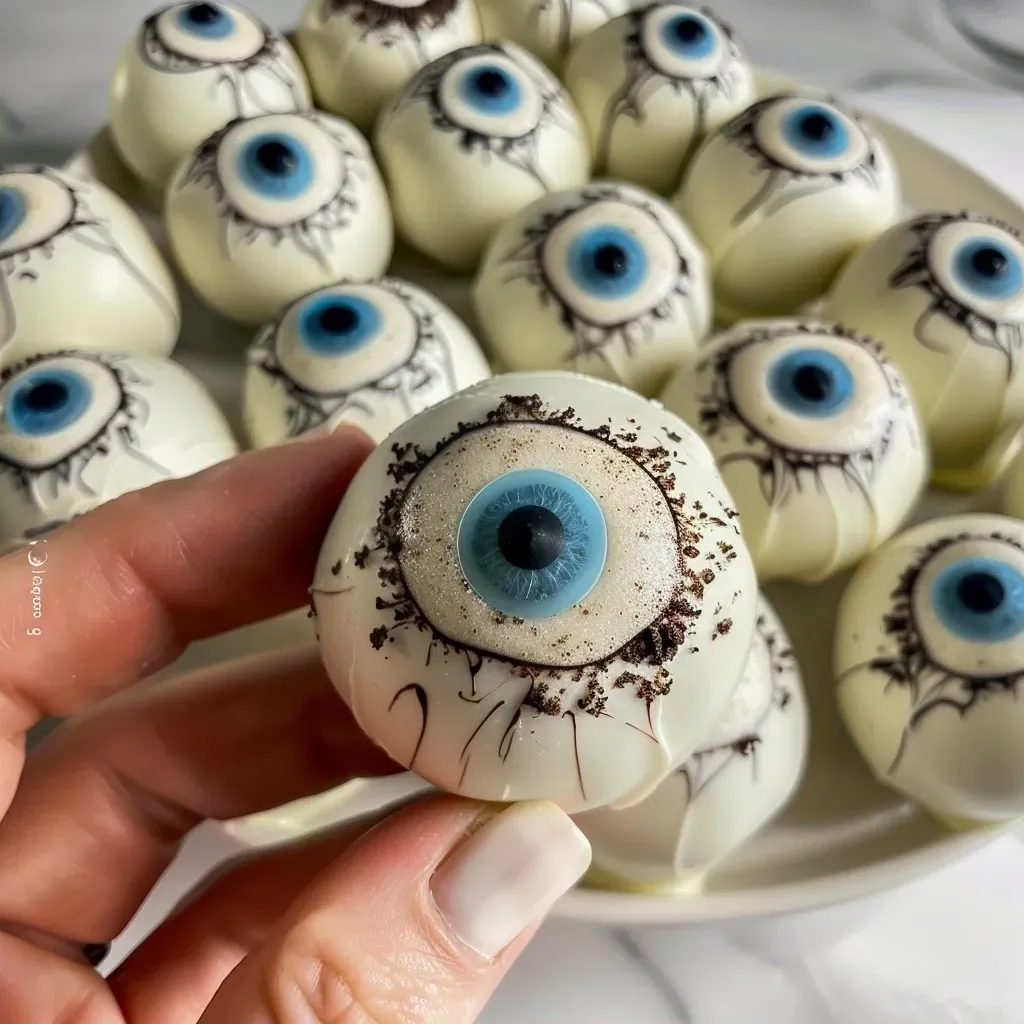
- Eye-Catching Presentation: These truffles look like little eyeballs, making them a fun addition to any Halloween gathering. They will undoubtedly be the highlight of your dessert table!
- Quick and Easy: With minimal ingredients and no baking required, you can whip these up in no time, leaving you more hours to enjoy the festivities.
- Customizable Flavors: While classic Oreos are fantastic, you can experiment with different cookie flavors to give these truffles your own unique twist.
- Perfect for All Ages: Kids and adults alike love these truffles, making them a perfect treat for family gatherings, parties, or school events.
- Make-Ahead Friendly: These truffles can be prepared days in advance, allowing the flavors to meld beautifully, making your party planning a breeze!
Ingredients Breakdown
Let’s gather our ingredients! Here’s what you’ll need to create these delightful truffles:
- 1 package Oreo cookies (crushed): (Classic Oreos work well; you can experiment with different flavors such as mint or peanut butter for a fun twist.)
- 8 oz cream cheese (softened): (Ensure it’s softened for easy mixing. The creaminess helps bind the crushed cookies together.)
- 2 cups white chocolate melting wafers: (Used for dipping truffles, providing a smooth and shiny shell.)
- Green or blue candy melts: (For decorating the iris of the eyeball, adding a splash of color.)
- Red gel icing: (For adding detail to the eyeballs, creating a spooky vein effect.)
Step-by-Step Instructions
Now let’s dive into the fun part—making these eyeball truffles!

★ Recommended Kitchen Tool
Silicone Baking Cups Set
Make this recipe even easier with a quality Silicone Baking Cups Set — a must-have kitchen staple!
- Step 1: Combine Oreos and Cream Cheese: In a large mixing bowl, combine the crushed Oreos and softened cream cheese. Mix until fully combined; the mixture should be moldable.
- Step 2: Shape the Truffles: Scoop out small portions of the mixture and roll them into balls (about 1 inch in diameter). Place them on a baking sheet lined with parchment paper.
- Step 3: Chill the Truffles: Place the baking sheet in the fridge for about 30 minutes to allow the truffles to firm up.
- Step 4: Melt the White Chocolate: In a microwave-safe bowl, melt the white chocolate wafers according to package instructions until smooth.
- Step 5: Dip the Truffles: Remove the truffles from the fridge. Dip each truffle into the melted white chocolate, ensuring it’s fully coated. Use a fork to lift them out, letting excess chocolate drip off.
- Step 6: Decorate: While the chocolate is still wet, add the candy melts for the iris and use red gel icing to create veins. Get creative!
- Step 7: Set the Truffles: Allow the decorated truffles to set on parchment paper at room temperature until the chocolate hardens.
Pro Tips for Perfect Truffles
To ensure your truffles are a hit, keep these expert insights in mind:
- Use Room Temperature Cream Cheese: This will make mixing easier and ensure a smooth texture.
- Don’t Overheat the Chocolate: Melt the white chocolate in short intervals to prevent burning, stirring frequently.
- Experiment with Colors: Use various colored candy melts to create different eye designs—think Halloween-themed colors!
- Keep Truffles Chilled: If the truffles get too soft while working with them, return them to the fridge to firm up.
- Try Different Toppings: Consider using crushed nuts or sprinkles for additional textures and flavors.
- Make Them Smaller: For a bite-sized version, roll smaller balls and adjust the dipping time accordingly.
- Use a Candy Melting Pot: If you make these often, consider investing in a melting pot for easier chocolate melting.
Common Mistakes and Troubleshooting
Even the best cooks can face challenges. Here’s how to avoid common pitfalls:
- Truffles Cracking: If your truffles crack while dipping, they may be too cold. Let them sit at room temperature for a few minutes to soften slightly.
- Chocolate Not Sticking: Ensure the truffles are cold before dipping; the warmth will help the chocolate adhere better.
- Too Sweet: If you find the truffles too sweet, consider using dark chocolate for dipping instead of white.
- Difficulty Rolling: If the mixture is too crumbly, add a bit more cream cheese until it holds together.
Delicious Variations
Want to mix things up? Here are some delicious variations you can try:
- Peanut Butter Oreo Truffles: Substitute half the cream cheese with peanut butter for a nutty flavor.
- Minty Eyeballs: Use mint-flavored Oreos for a refreshing twist on the classic recipe.
- Spicy Chocolate: Add a pinch of cayenne to the melted white chocolate for a spicy kick.
- Nutty Crunch: Roll the truffles in crushed nuts or sprinkles after dipping for added crunch and color.
Storage and Make-Ahead Instructions
These truffles are perfect for making ahead of time:
- Refrigeration: Store the truffles in an airtight container in the fridge for up to a week.
- Freezing: You can freeze the truffles for up to 3 months. Just ensure they are well-wrapped to prevent freezer burn.
- Thawing: When ready to enjoy, simply remove from the freezer and let them thaw in the fridge overnight.
Comprehensive FAQ
Got questions? Let’s address some common queries about making these truffles:
- Can I use other types of cookies besides Oreos? Yes! Any chocolate cookie can work, but Oreos provide the best flavor and texture.
- How do I make these truffles gluten-free? Use gluten-free Oreos or another gluten-free cookie of your choice.
- Can I use dark chocolate instead of white? Absolutely! Dark chocolate adds a rich flavor that pairs beautifully with the sweet filling.
- What if my melted chocolate is too thick? Add a small amount of coconut oil to thin it out for easier dipping.
- How can I make these truffles vegan? Use vegan cream cheese and dairy-free chocolate for a tasty vegan version!
- Can I add flavoring to the cream cheese? Yes! A splash of vanilla or almond extract can enhance the flavor.
- What’s the best way to decorate these truffles? Get creative! Use various colors and designs for a personalized touch.
- How long do these truffles last? When stored properly, they can last up to a week in the fridge and three months in the freezer.
Nutritional Tips and Dietary Adaptations
Want to enjoy these truffles while keeping health in mind? Here are some tips:
- Portion Control: Enjoy these truffles in moderation, especially since they’re rich in calories.
- Substitute Ingredients: Consider using low-fat cream cheese or sugar-free cookies for a lighter option.
- Pair with Fruits: Serve with fresh fruit for a balanced dessert platter.
Equipment Recommendations
Here’s what you’ll need to create your truffles:
- Mixing Bowl: A large bowl for combining your ingredients.
- Microwave-Safe Bowl: For melting your chocolate without burning.
- Baking Sheet: To place your truffles while they chill.
- Parchment Paper: To keep your truffles from sticking.
- Fork or Dipping Tool: For easy dipping and removing truffles from chocolate.
Serving Suggestions
These truffles are as versatile as they are delicious! Here are some serving ideas:
- As Party Favors: Package them in cute boxes for guests to take home.
- On a Dessert Table: Arrange them alongside other Halloween treats for a festive display.
- With Coffee or Hot Chocolate: Enjoy these sweet bites with a warm beverage for a cozy treat.
As you can see, these Spooktacular Oreo Ball Eyeball Truffles are more than just a treat; they’re a celebration of creativity and flavor! So, gather your ingredients, invite some friends over, and let’s make some magic happen in the kitchen. Enjoy the process as much as the delicious results, and remember, cooking is about sharing joy, culture, and connection. Happy Halloween!
Oreo Ball Eyeball Halloween Truffle
Ingredients
Oreo Cookies
- 1 package Oreo cookies (crushed) (Classic Oreos work well; can experiment with different flavors.)
Cream Cheese
- 8 oz cream cheese (softened) (Ensure it's softened for easy mixing.)
White Chocolate Melting Wafers
- 2 cups white chocolate melting wafers (Used for dipping truffles.)
Candy Melts
- as needed green or blue candy melts (For decorating the iris of the eyeball.)
Red Gel Icing
- as needed red gel icing for veins (For adding detail to the eyeballs.)
Instructions
- Crush Oreo cookies and mix with softened cream cheese until well combined.
- Form mixture into small balls and chill in the refrigerator for 15 minutes.
- Melt white chocolate wafers and dip each Oreo ball into the melted chocolate, then place on parchment paper to set.
- Use green or blue candy melts to create the iris and add red gel icing for veins to decorate the eyeballs.
- Allow decorations to set before serving.