Unwrap the Magic of Monster Oreo Balls!
Welcome, dear friends! Today, we’re diving into the delightful world of Monster Oreo Balls—an easy, no-bake treat that’s perfect for Halloween celebrations or any festive gathering. These colorful, creamy bites are not just a feast for the eyes but also a playful nod to the spirit of fun and creativity in the kitchen. If you’re ready to impress your friends and family with a dessert that’s as enjoyable to make as it is to eat, grab your apron, and let’s get started!
Why You’ll Love This Recipe
So, what makes these Monster Oreo Balls a must-try? Here are five specific benefits that will have you reaching for your mixing bowl:
- Quick and Easy: With just a handful of ingredients and no baking required, you can whip up these treats in no time, making them perfect for last-minute gatherings.
- Fun for Everyone: Kids and adults alike will love getting hands-on in the kitchen, rolling and decorating their own monster creations!
- Creamy and Delicious: The combination of crushed Oreos and cream cheese creates a rich, velvety filling that’s irresistible.
- Customizable: With various melting wafers and toppings available, you can tailor these treats to fit any theme or occasion.
- Make-Ahead Friendly: Prepare them in advance and store them in the fridge, so you can relax and enjoy your celebrations!
Ingredients You Need
Let’s gather the ingredients! Here’s what you’ll need to create these delightful Monster Oreo Balls:

★ Recommended Kitchen Tool
Professional Chef Knife Set
Make this recipe even easier with a quality Professional Chef Knife Set — a must-have kitchen staple!
- 36 Oreos: The classic chocolate cookies provide the base for our creamy filling.
- 8 ounces cream cheese: Make sure it’s softened to room temperature for easy mixing.
- 1 teaspoon vanilla extract: A dash of vanilla adds warmth and depth of flavor.
- 2 cups melting wafers: Choose colors like white, light green, and purple to create your monsters.
- 3 tablespoons Crisco shortening: This helps achieve a smooth, glossy coating when melting the wafers.
- Sprinkles: Use green, purple, and black jimmies for a fun, festive touch!
- Candy eyes: These add personality and charm to your monster creations!
Step-by-Step: How to Make Monster Oreo Balls
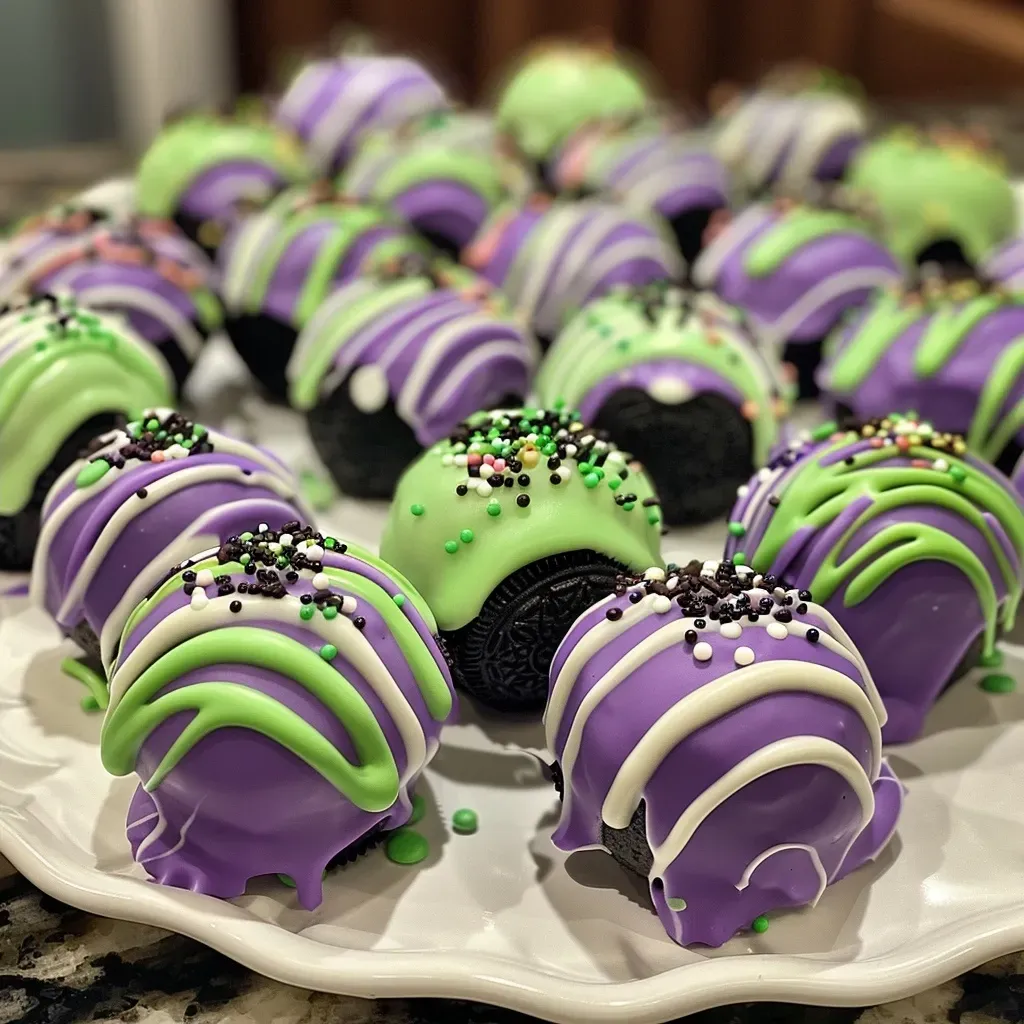
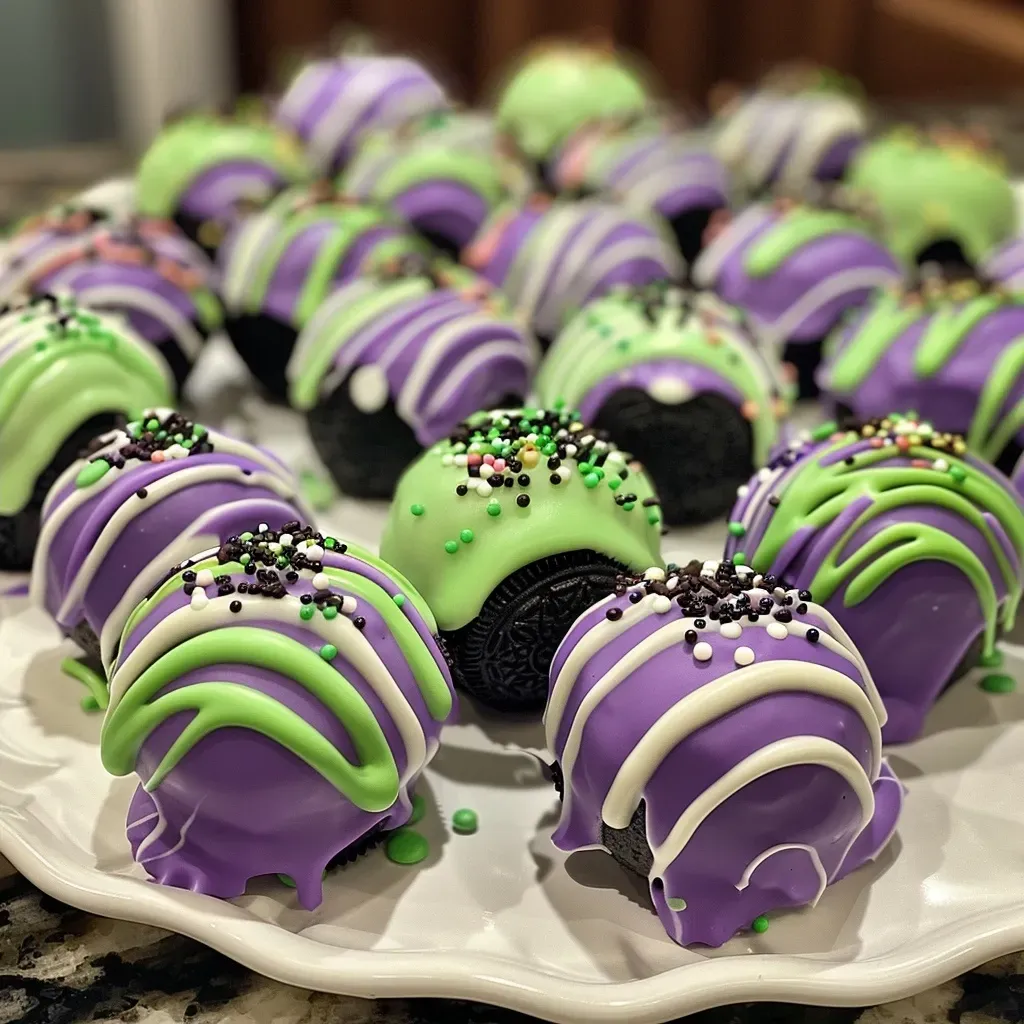
Ready to make some magic? Follow these easy steps to create your Monster Oreo Balls:
- In a food processor, add Oreos (breaking them apart slightly while adding) and crush until they are fine crumbs.
- In a large mixing bowl, combine the crushed Oreos, softened cream cheese, and vanilla extract. Mix with an electric hand mixer or stand mixer for 1-2 minutes until fully combined into a dough-like mixture.
- Using a 2-tablespoon cookie scoop, scoop the dough and roll it into smooth, even balls with your hands. Place each ball on a large cookie sheet lined with parchment paper.
- Refrigerate the cookie sheet for 2 hours to chill.
- While the balls chill, prepare your melting wafers. In a microwave-safe bowl, heat the wafers at 50% power for 1 minute. Stir and add 1 tablespoon of Crisco, then heat in additional 30-second bursts until smooth and silky.
- Dip 6-7 Oreo balls in the melted chocolate using two forks, coating them completely. Allow excess chocolate to drip off before returning them to the cookie sheet.
- Immediately add candy eyes and sprinkles on top of each ball to give your monsters personality!
- Repeat steps 5-7 for each color of melting wafers you’re using.
- Allow all decorated balls to chill for another 30 minutes before serving.
Pro Tips for Perfect Oreo Balls
To ensure your Monster Oreo Balls turn out perfectly, consider these expert insights:
- Use room temperature cream cheese: This ensures a smooth mixture, making it easier to form the balls.
- Chill thoroughly: Chilling the balls before dipping helps them hold their shape and prevents them from falling apart.
- Experiment with flavors: Add different extracts like almond or mint for a unique twist on the classic flavor.
- Choose high-quality melting wafers: This will give your coating a smooth, professional finish.
- Don’t rush the melting: Slow and steady wins the race! Ensure your melting wafers are completely melted for the best coating.
- Customize your monsters: Use different toppings and decorations to create a variety of monster designs!
- Add a pinch of salt: A small sprinkle in the filling can enhance the flavors of the Oreos and cream cheese.
- Keep it cool: Store your finished Monster Oreo Balls in the fridge to maintain their shape and freshness.
Common Mistakes to Avoid
Here are some pitfalls to watch out for when making your Monster Oreo Balls:
- Skipping the chill time: Not chilling the balls enough can lead to a gooey mess when dipping.
- Overheating the chocolate: Melting at too high a power can cause the chocolate to seize up; always use medium power.
- Not using enough coating: A thin layer of chocolate can crack easily; ensure a good coating for stability.
- Using cold cream cheese: This can cause lumps in your mixture, leading to uneven texture.
Delicious Variations to Try
Feeling adventurous? Here are some fun variations to inspire your creativity:
- Peanut Butter Oreo Balls: Substitute half of the cream cheese with peanut butter for a nutty twist.
- Mint Chocolate Monster Balls: Use Mint Oreos and add a few drops of peppermint extract for a refreshing flavor.
- Chocolate Drizzle: After dipping, drizzle melted chocolate over the balls for an extra touch of elegance.
- Seasonal Decorations: Change your sprinkles according to the season—red and green for Christmas, pastels for Easter!
Storage and Make-Ahead Instructions
To keep your Monster Oreo Balls fresh and tasty:
- Refrigerate: Store them in an airtight container in the fridge for up to two weeks.
- Freeze: For longer storage, freeze the balls for up to 3 months. Just thaw in the fridge before serving.
- Make ahead: You can prepare the filling and roll the balls a day in advance, just wait to dip them until the day of serving.
Frequently Asked Questions
Let’s address some common questions about Monster Oreo Balls:
- Can I use different types of cookies? Absolutely! Oreos are classic, but you can experiment with any chocolate sandwich cookie.
- How do I make them gluten-free? Use gluten-free Oreos and ensure all your ingredients are certified gluten-free.
- What can I substitute for Crisco? You can use coconut oil or additional shortening, but Crisco helps maintain a smooth texture.
- Can I make them dairy-free? Use dairy-free cream cheese and chocolate wafers for a dairy-free option.
- What if my chocolate is too thick? Add a small amount of vegetable oil to thin it out for easier dipping.
- How do I get a smooth finish on my chocolate? Make sure your wafers are melted completely and avoid overheating.
- Can I add flavorings to the chocolate? Yes! A few drops of extract can enhance the chocolate’s flavor.
- How do I prevent the eyes from sliding off? Add the candy eyes immediately after dipping while the chocolate is still wet.
Nutritional Tips and Dietary Adaptations
While Monster Oreo Balls are a sweet indulgence, consider these tips for a balanced approach:
- Portion Control: Enjoy in moderation to savor the sweetness without overindulging.
- Pair with Fresh Fruit: Serve alongside fresh fruit to add a healthy element to your dessert table.
- Mindful Ingredients: Consider using lower-fat cream cheese or sugar-free cookies for a lighter version.
Essential Equipment Recommendations
To make your baking journey smoother, here are some must-have tools:
- Food Processor: A powerful tool for crushing cookies into fine crumbs.
- Mixing Bowls: A set of mixing bowls in various sizes is essential for combining ingredients.
- Cookie Sheets: Use non-stick or parchment-lined cookie sheets for easy removal.
- Microwave-Safe Bowls: Ideal for melting chocolate without making a mess.
- Cookie Scoops: For consistent sizing, a cookie scoop is a handy tool.
Serving Suggestions
When it’s time to share your Monster Oreo Balls, consider these fun serving ideas:
- Monster Platter: Arrange your Oreo Balls on a decorative platter with themed decorations.
- Party Favors: Package individual balls in clear bags tied with colorful ribbons for a sweet take-home treat.
- Spooky Dessert Table: Create a dessert table with different Halloween-themed treats to impress your guests!
Final Thoughts
There you have it—your ultimate guide to making Monster Oreo Balls! With their creamy texture, vibrant colors, and playful decorations, these treats are sure to be a hit at any gathering. So invite your loved ones into your kitchen, roll up your sleeves, and let the fun begin! Remember, cooking is not just about feeding the body—it’s about celebrating life, culture, and the joy of togetherness. Happy baking, my friends!
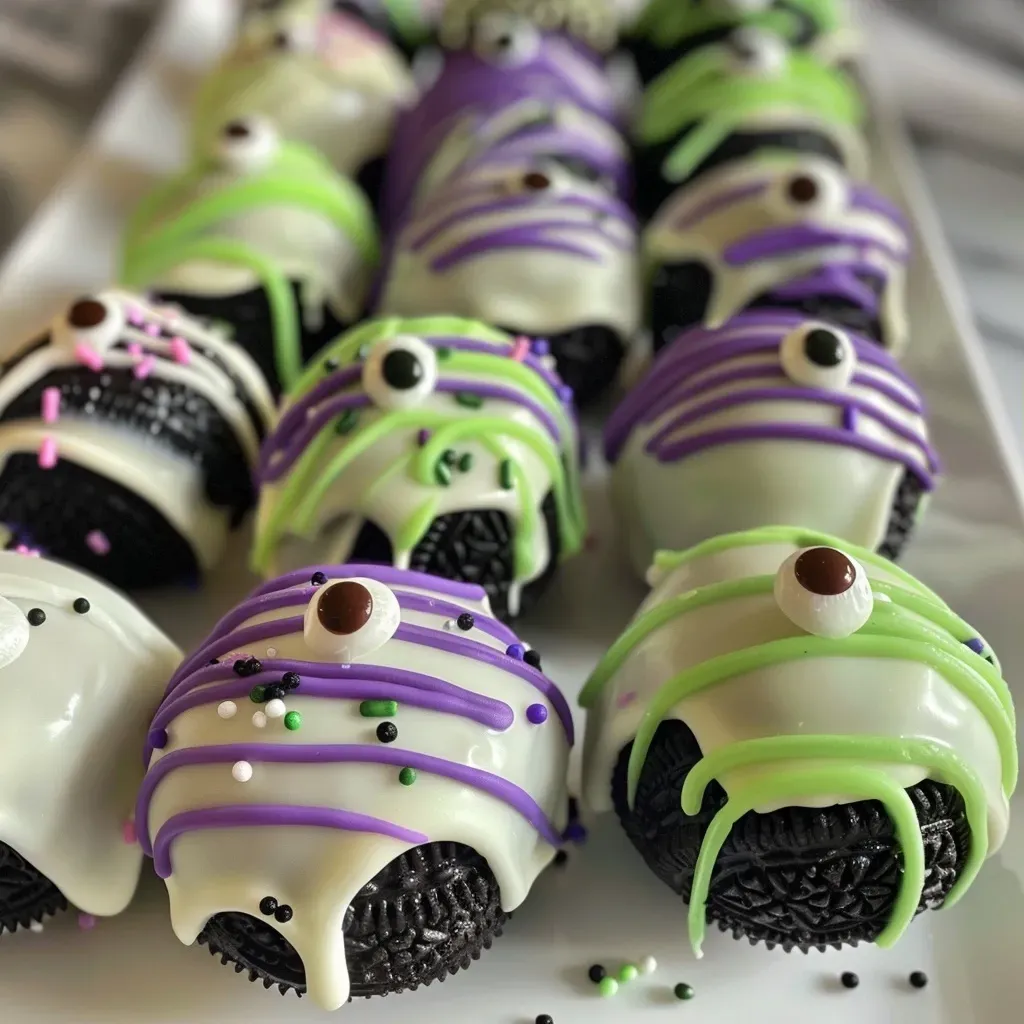
Monster Oreo Balls
Ingredients
Main Ingredients
- 36 pieces Oreos
- 8 ounces cream cheese (softened at room temperature)
- 1 teaspoon vanilla extract
- 2 cups melting wafers (white, light green, purple)
- 3 tablespoons Crisco shortening
- Green, purple, and black jimmy sprinkles (long not round) Jimmy sprinkles
- Multiple sizes Candy eyes
Instructions
- Crush Oreos into fine crumbs in a food processor.
- Mix crushed Oreos, cream cheese, and vanilla until combined; form into 2-tbsp balls and chill for 2 hours.
- Melt wafers with 1 tbsp Crisco in microwave, stirring until smooth.
- Dip Oreo balls into melted chocolate, then add candy eyes and sprinkles. Chill for 30 minutes before serving.