Embark on a Culinary Adventure with Homemade Pita Bread
Welcome to a flavorful journey that invites you to create homemade pita bread, a staple of Mediterranean cuisine that transforms simple ingredients into delightfully pillowy pockets of joy. Whether you’re wrapping up grilled meats, stuffing them with vibrant salads, or dunking them into rich dips, this pita bread recipe will become a cherished addition to your kitchen repertoire. With just a handful of ingredients, you can celebrate the art of cooking while filling your home with the enticing aroma of freshly baked bread!
Why You’ll Love This Recipe
This homemade pita bread recipe isn’t just about convenience; it’s about flavor, texture, and the joy of cooking. Here are five reasons to dive in:
- Easy to Make: With simple steps, you’ll find the process of making pita bread accessible, even for novice cooks!
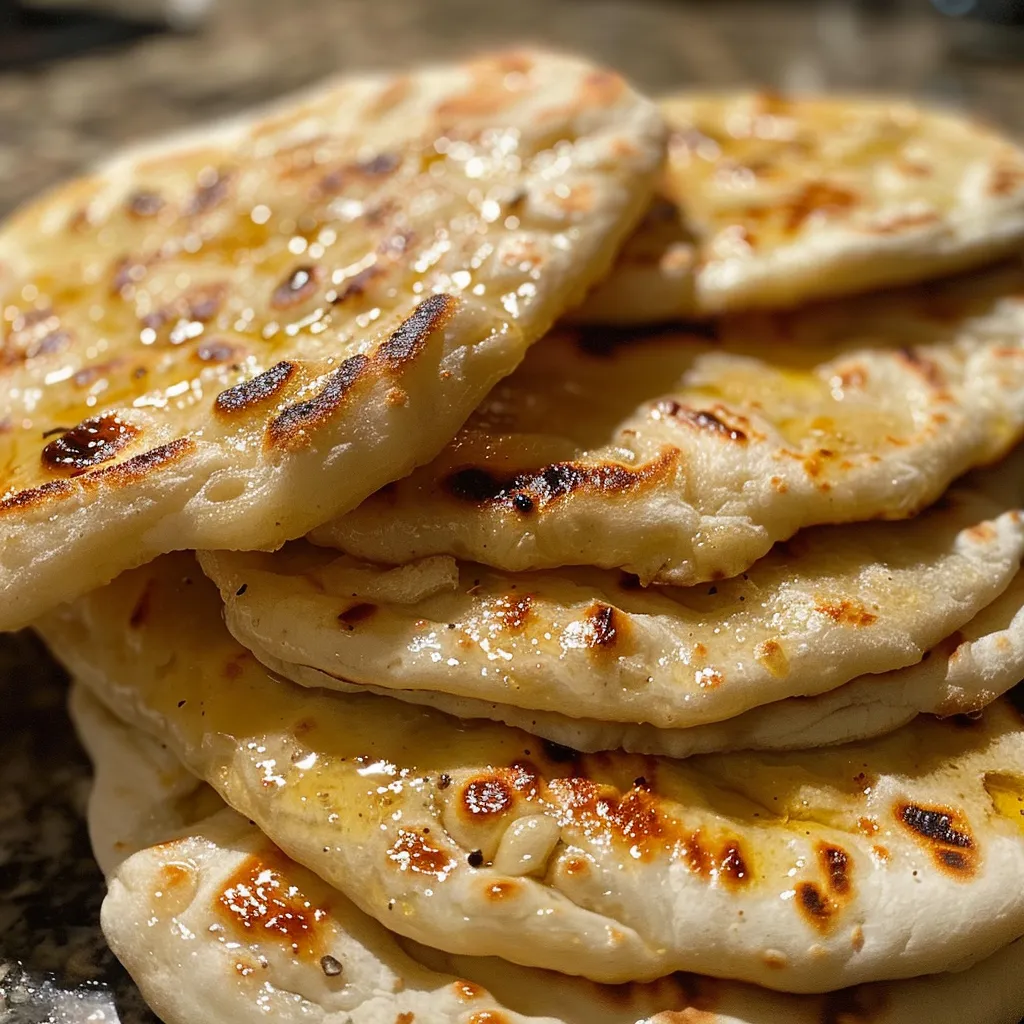
- Freshness Guaranteed: Enjoy the unbeatable taste of homemade pita, warm from the skillet, bursting with flavor and a delightful texture.
- Versatile Usage: These pitas are perfect for wraps, sandwiches, or as a side for dips like hummus or baba ganoush.
- Customizable: Feel free to experiment with different flours or add herbs for a unique twist on the classic flavor.
- Healthy Option: Control the ingredients for a wholesome bread that fits your dietary needs. You can even incorporate whole wheat flour for added nutrition!
Ingredients Breakdown
To create the perfect pita bread, gather the following ingredients:
- 1 cup warm water (110°F): The right temperature activates the yeast effectively.
- 2¼ teaspoons active dry yeast: Ensure it’s fresh for the best rise.
- 1 teaspoon granulated sugar: This feeds the yeast, helping it to activate and rise.
- 2½ cups all-purpose flour: You can blend with bread flour for enhanced chewiness.
- 1 teaspoon kosher salt: Essential for flavor and controlling fermentation.
- 1 tablespoon extra virgin olive oil: Adds richness to the dough and enhances flavor.
- Optional: Substitute ½ cup of flour with whole wheat or add herbs like oregano or thyme for unique flavors.
Step-by-Step Instructions
Now that you have your ingredients ready, let’s dive into the process of crafting your homemade pita bread:
- Combine warm water, sugar, and yeast in a bowl. Stir gently and let it stand for 5–10 minutes until foamy.
- In a large bowl, whisk together the flour and salt.
- Add the yeast mixture and olive oil to the dry ingredients, mixing until a shaggy dough forms.
- Knead the dough on a floured surface for 8–10 minutes until it is smooth and elastic.
- Place the dough in an oiled bowl, cover it, and let it rise for 1–1.5 hours or until doubled in size.
- Once risen, punch down the dough and divide it into 6–8 equal pieces. Roll each piece into a disc about ¼ inch thick.
- Let the shaped pitas rest for 5 minutes while you prepare to cook them.
- Heat a dry skillet over medium-high heat. Cook each pita for 1–2 minutes on each side, until puffed and golden.
- Wrap the cooked pitas in a clean towel to keep them warm and soft.
Pro Tips for Perfect Pita Bread
Enhance your pita-making experience with these expert insights:
- Temperature Matters: Ensure the water is warm, not hot, to avoid killing the yeast. Aim for around 110°F.
- Resting Time: Allow the dough to rise in a warm, draft-free area for optimal results.
- Kneading Technique: Knead thoroughly for a smooth, elastic dough, which is crucial for puffy pitas.
- Cooking Surface: A cast-iron skillet works wonders for evenly cooking your pitas.
- Puff Test: If your pita fails to puff, it may have been rolled too thick or not cooked long enough.
- Storage Tips: Store leftovers in an airtight container at room temperature for up to 2 days or freeze for up to 3 months.
- Experiment: Try adding spices or herbs into the dough for a unique flavor profile.
- Using a Baking Stone: If you want to bake in the oven, using a hot baking stone can replicate traditional tandoor cooking.
Common Mistakes & Troubleshooting
Even experienced bakers can encounter hiccups. Here’s how to troubleshoot common issues:
- Pita not puffing: Ensure the dough is elastic and properly cooked. Adjust cooking time and thickness of the discs.
- Dense texture: This could be due to overworking the dough or insufficient rising time. Give it time to rest and rise!
- Yeast not activating: Check the temperature of your water and the freshness of your yeast.
Variations to Try
Once you master the basic pita bread, why not explore these delightful variations?
- Whole Wheat Pita: Substitute half of the all-purpose flour with whole wheat for a nuttier flavor.
- Herbed Pita: Mix in dried herbs like oregano, thyme, or rosemary into the dough for an aromatic twist.
- Spicy Pita: Incorporate a pinch of cayenne pepper or smoked paprika for a hint of heat.
- Garlic Pita: Add minced garlic or garlic powder to the dough for a savory flavor boost.
Storage & Make-Ahead Instructions
Making pita bread in advance? Here’s how to store and enjoy them later:
- Room Temperature: Keep cooked pitas in an airtight container for up to 2 days.
- Freezing: For longer storage, freeze pitas in a single layer, then transfer to a freezer bag for up to 3 months.
- Reheating: To revive frozen pitas, thaw and warm them in a skillet or oven for a few minutes.
Frequently Asked Questions
If you have questions about making homemade pita bread, you’re not alone! Here are some common queries:
- Can I use instant yeast instead of active dry yeast? Yes, instant yeast can be used; just add it directly to the flour without proofing.
- How do I know when the dough has risen enough? It should double in size and feel light and airy to the touch.
- What can I serve with pita bread? Pita is fantastic with dips like hummus, tzatziki, or served alongside grilled meats and salads.
- How do I make gluten-free pitas? Experiment with a gluten-free flour blend, adding a binding agent like xanthan gum.
- Why is the dough sticky? If your dough is too sticky, gradually add more flour until it reaches the desired consistency.
- Can I bake these in the oven? Absolutely! Preheat your oven to 475°F and bake on a hot baking stone or baking sheet for about 5-7 minutes.
- How thick should I roll the pita? Aim for about ¼ inch thick for optimal puffing.
- Can I use this dough for other types of bread? Yes, this recipe is versatile enough to create other flatbreads!
Nutrition Tips and Dietary Adaptations
Looking to make healthier choices? Consider these nutritional tips:
- Whole Grains: Use whole wheat flour for increased fiber and nutrients.
- Low-Sodium Options: Reduce or omit salt for a lower sodium version.
- Healthy Fats: Substitute olive oil with avocado oil for a different flavor profile.
Essential Equipment Recommendations
Having the right tools can make your pita-making experience smoother:
- Mixing Bowl: A large mixing bowl for combining ingredients.
- Rolling Pin: Essential for rolling out the dough evenly.
- Cast Iron Skillet: Perfect for cooking pitas on the stovetop.
- Kitchen Towel: To wrap and keep pitas warm after cooking.
Serving Suggestions
Once your pitas are ready, get creative with serving!
- Stuffed Pitas: Fill them with grilled chicken, veggies, and a drizzle of tzatziki for a delicious meal.
- Dip Delight: Serve with a variety of dips, from hummus to baba ganoush, for a fun appetizer spread.
- Salad Wraps: Use pitas as wraps for fresh salads or roasted vegetables, making for a light and healthy lunch.
- Snack Time: Enjoy them plain or toasted with olive oil and herbs as a quick snack.
As you embark on this delightful culinary adventure, remember that making homemade pita bread is not just about the end product; it’s about the journey of cooking, the aromas that fill your kitchen, and the joy of sharing your creations with family and friends. So grab your ingredients, roll up your sleeves, and let’s celebrate the Mediterranean together!
How to Make Homemade Pita Bread: Easy Recipe with Perfect Pockets
Ingredients
Dough
- 1 cup warm water (110°F)
- 2¼ tsp active dry yeast
- 1 tsp granulated sugar
- 2½ cups all-purpose flour (or blend with bread flour)
- 1 tsp kosher salt
- 1 tbsp extra virgin olive oil
Optional Add-ins
- 0.5 cup whole wheat flour (optional) (substitute for part of the all-purpose flour)
- to taste herbs like oregano or thyme (optional)
Instructions
- Combine warm water, sugar, and yeast; let stand 5–10 minutes until foamy.
- Mix flour and salt; add yeast mixture and olive oil, then knead until smooth.
- Let dough rise in an oiled bowl for 1–1.5 hours until doubled.
- Punch down, divide into 6–8 balls, and roll into ¼-inch discs; rest for 5 minutes.
- Cook each pita in a dry skillet over medium-high heat for 1–2 minutes per side until puffed and golden.
- Wrap in a towel to keep soft and warm.