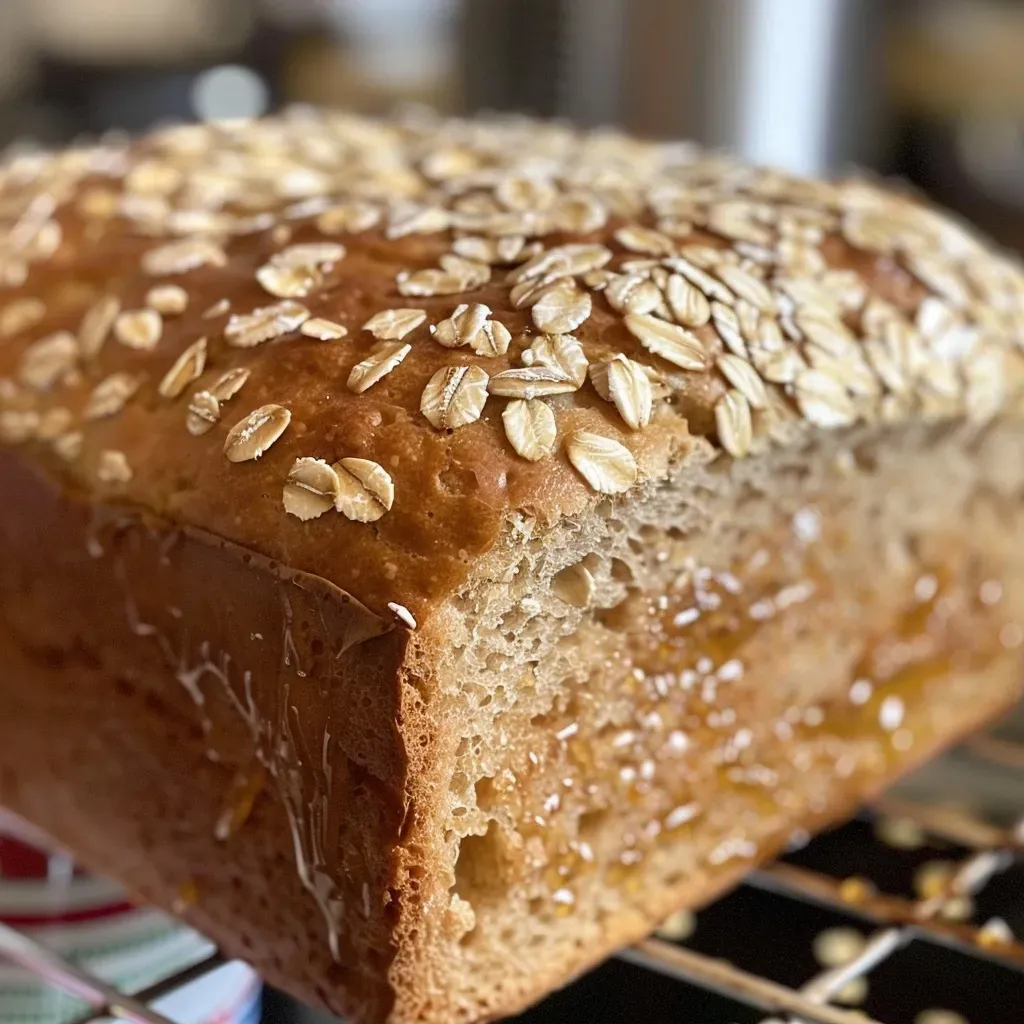
Welcome to the Heart of Homemade Bread: Discover the Joy of Honey Oat Bread
Welcome, dear friends! Today, we embark on a delightful culinary adventure into the world of homemade bread. This isn’t just any bread—it’s a warm, inviting loaf of Honey Oat Bread that embodies comfort and togetherness. Whether you’re a seasoned baker or a curious beginner, this recipe promises to fill your kitchen with mouthwatering aromas and your hearts with joy.
In this comprehensive guide, you’ll find everything you need to know about making the best Honey Oat Bread from scratch. Let’s roll up our sleeves and dive into the art of bread-making—because cooking is not just about feeding the body, it’s about nourishing the soul.
Why You’ll Love This Recipe
- Wholesome Ingredients: This bread features nutrient-rich oats and natural sweetness from honey, making it a healthier option for your family.
- Easy to Make: With straightforward steps, even beginners can master this recipe without a hitch.
- Perfect for Sharing: Bake this loaf for family gatherings or potlucks, and watch it disappear as everyone gathers around to savor it.
- Versatile Uses: Enjoy this bread as toast, a side for soups, or even as a delicious base for sandwiches.
- Freeze for Later: Make a double batch and freeze one loaf for those busy days when you crave homemade goodness.
The Ingredients: A Closer Look
Let’s explore the heart of this recipe—the ingredients. Each component plays a vital role in creating the perfect Honey Oat Bread.

★ Recommended Kitchen Tool
Digital Kitchen Scale
Make this recipe even easier with a quality Digital Kitchen Scale — a must-have kitchen staple!
- 3 cups all-purpose flour: This forms the base of your dough, giving structure and texture.
- ¾ cup rolled oats: Adds a nutty flavor and chewy texture that makes this bread special.
- 2¼ teaspoons active dry yeast: The magic ingredient that causes the dough to rise, giving it that fluffy texture.
- 1½ teaspoons salt: Enhances flavor while balancing the sweetness of the honey.
- 2 tablespoons unsalted butter: Adds richness and a subtle buttery flavor.
- 1 cup milk: Contributes moisture and tenderness to the bread.
- ¼ cup lukewarm water: Helps activate the yeast, ensuring a good rise.
- ¼ cup honey: Natural sweetener that adds flavor and moisture.
- 2 tablespoons honey (for brushing): A finishing touch that adds shine and sweetness on top.
- 2 tablespoons rolled oats (for topping): A decorative and flavorful element that enhances the bread’s appearance.
Pro Tips for Perfect Bread
Here are some expert insights to elevate your baking game:
- Temperature Matters: Ensure your milk is warm (not hot) to activate the yeast effectively.
- Don’t Rush the Rise: Allow the dough to rise until it doubles in size for the best texture.
- Watch the Kneading: Knead until the dough is smooth and elastic, which usually takes 6-10 minutes.
- Use a Digital Scale: For precise measurements, especially for flour, to achieve consistent results.
- Experiment with Flours: Try whole wheat flour or spelt flour for a unique twist on the flavor and nutrition.
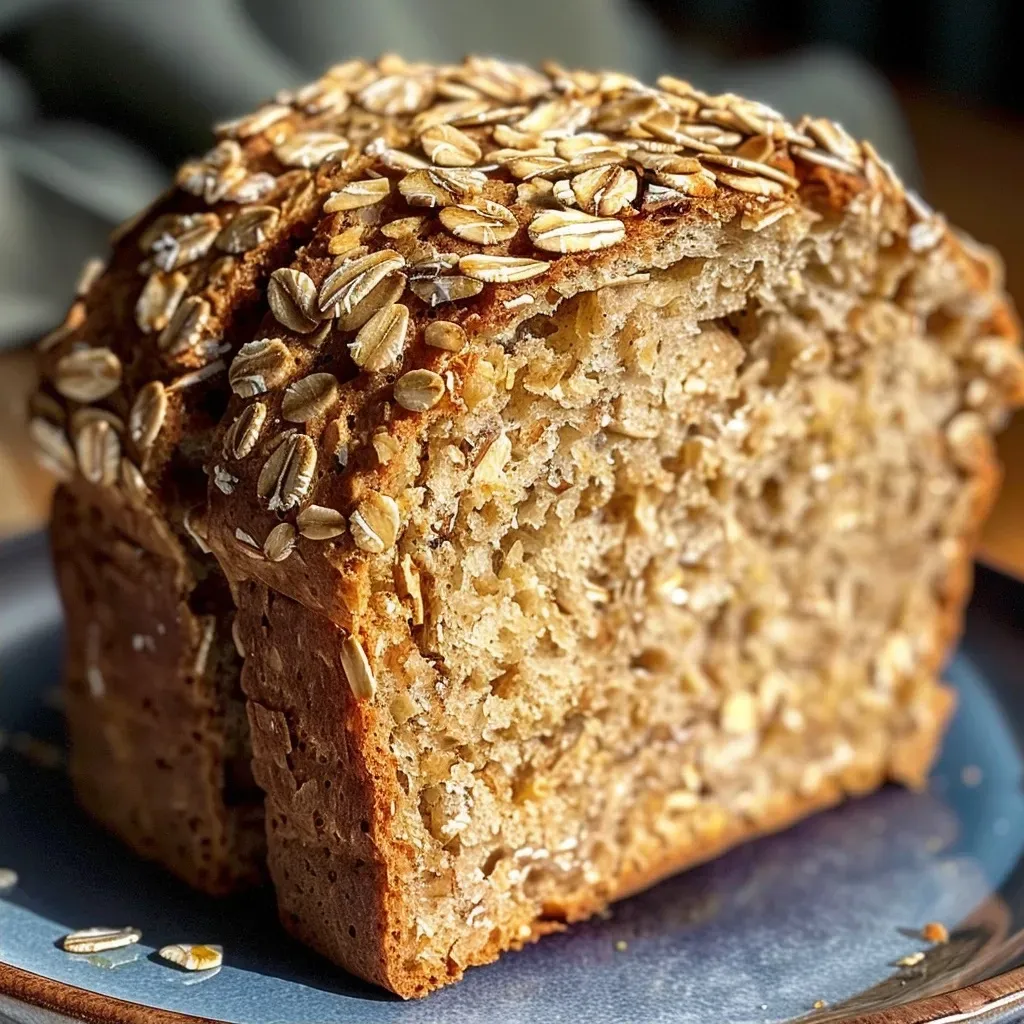
- Test for Doneness: Tap the bottom of the loaf; it should sound hollow when fully baked.
- Cool Completely: Let the bread cool before slicing to maintain its structure and prevent sogginess.
- Brush with Butter: For an extra touch of flavor, brush melted butter over the top after baking.
Common Mistakes and Troubleshooting
Even the most experienced bakers encounter hurdles. Here’s how to troubleshoot:
- Too Dense? Check if you added enough yeast or allowed the dough to rise sufficiently.
- Crust Too Hard? Reduce the oven temperature slightly, or cover the loaf with foil during baking.
- Not Rising? Ensure your yeast is fresh and the liquid temperatures are correct.
- Sticky Dough? A little sticky is good! But if it’s too much, sprinkle flour gradually until manageable.
Variations to Try
Want to mix it up? Here are some delightful variations:
- Nutty Addition: Fold in ½ cup of chopped nuts like walnuts or pecans for an extra crunch.
- Fruit Delight: Add ½ cup of dried fruits such as cranberries or apricots for a sweet surprise.
- Spiced Up: Incorporate cinnamon or nutmeg for a warm, cozy flavor.
- Herbed Twist: Mix in fresh herbs like rosemary or thyme for a savory loaf perfect for meals.
Storage and Make-Ahead Instructions
Want to prep in advance? Here’s how to store your bread:
- Room Temperature: Store the bread in a bread box or wrapped in a clean kitchen towel for up to 3 days.
- Refrigeration: Avoid this, as it can dry out the bread.
- Freezing: Wrap the cooled loaf tightly in plastic wrap and aluminum foil for up to 3 months. Thaw overnight in the fridge before enjoying.
Comprehensive FAQ
Let’s address common questions:
- Can I use whole wheat flour? Yes, but it may require additional water and longer rising times.
- What if I don’t have honey? Maple syrup or agave nectar can be excellent substitutes.
- Can I make this bread without a mixer? Absolutely! Just knead by hand for a great workout.
- How do I know when my bread is done? It should be golden brown and sound hollow when tapped.
- Can I double the recipe? Certainly! Just ensure you have a large enough bowl for mixing.
- What’s the best way to slice the bread? Use a serrated knife for clean, even slices.
- Can I add seeds to the top? Yes! Sprinkle sesame or poppy seeds before baking for added texture.
- How long does it take to rise? Typically between 30 minutes to 1 hour, depending on the temperature of your kitchen.
Nutrition Tips and Dietary Adaptations
Worried about nutrition? Here are some adaptations:
- Gluten-Free Option: Substitute all-purpose flour with a gluten-free blend.
- Lower Sugar: Reduce the honey to 2 tablespoons for a less sweet bread.
- Add Fiber: Incorporate ground flaxseed or chia seeds into the dough for added nutrition.
Essential Equipment Recommendations
To make the best Honey Oat Bread, here are some tools you’ll find helpful:
- Mixing Bowl: A large bowl for combining ingredients.
- Stand Mixer: Optional, but it makes kneading easier.
- Baking Sheet or Bread Pan: A standard 9×5 inch loaf pan is perfect for this recipe.
- Measuring Cups and Spoons: For accuracy in your ingredients.
- Serrated Bread Knife: For slicing your beautiful loaf.
Serving Suggestions
Now, let’s talk about how to enjoy your Honey Oat Bread:
- Classic Toast: Spread with butter or your favorite jam for breakfast.
- Soup Companion: Serve alongside a hearty bowl of soup for a comforting meal.
- Sandwich Base: Use for sandwiches, adding turkey, cheese, or roasted veggies.
- Bruschetta: Toast slices and top with fresh tomatoes, basil, and olive oil for a delicious appetizer.
Your Culinary Adventure Awaits!
As you embark on this journey of creating your Honey Oat Bread, remember that cooking is about exploration and joy. With each step, you’re not just making bread; you’re crafting memories, sharing love, and celebrating life’s simple pleasures. So gather your ingredients, invite a friend or family member to join you, and let’s create something beautiful together. Thank you for sharing this moment with me—now let’s get baking!
Honey Oat Bread
Ingredients
Dry ingredients
- 3 cups all purpose flour
- ¾ cup rolled oats
- 2 ¼ teaspoons active dry yeast
- 1 ½ teaspoons salt
- 2 tablespoons unsalted butter
- 1 cup milk
- ¼ cup lukewarm water
- ¼ cup honey
- 2 tablespoons honey
Additional ingredients
- 2 tablespoons rolled oats
Instructions
- Combine dry ingredients in a bowl.
- Heat milk and butter until melted, then stir in honey and water.
- Mix wet into dry, knead for 6-8 minutes by mixer or 10 minutes by hand until tacky but not dry.
- Let dough rise until doubled, about 30-60 minutes. Shape into loaf, rise again in pan.
- Preheat oven to 350°F, brush with honey, sprinkle oats, and bake for 40 minutes. Cool before slicing.