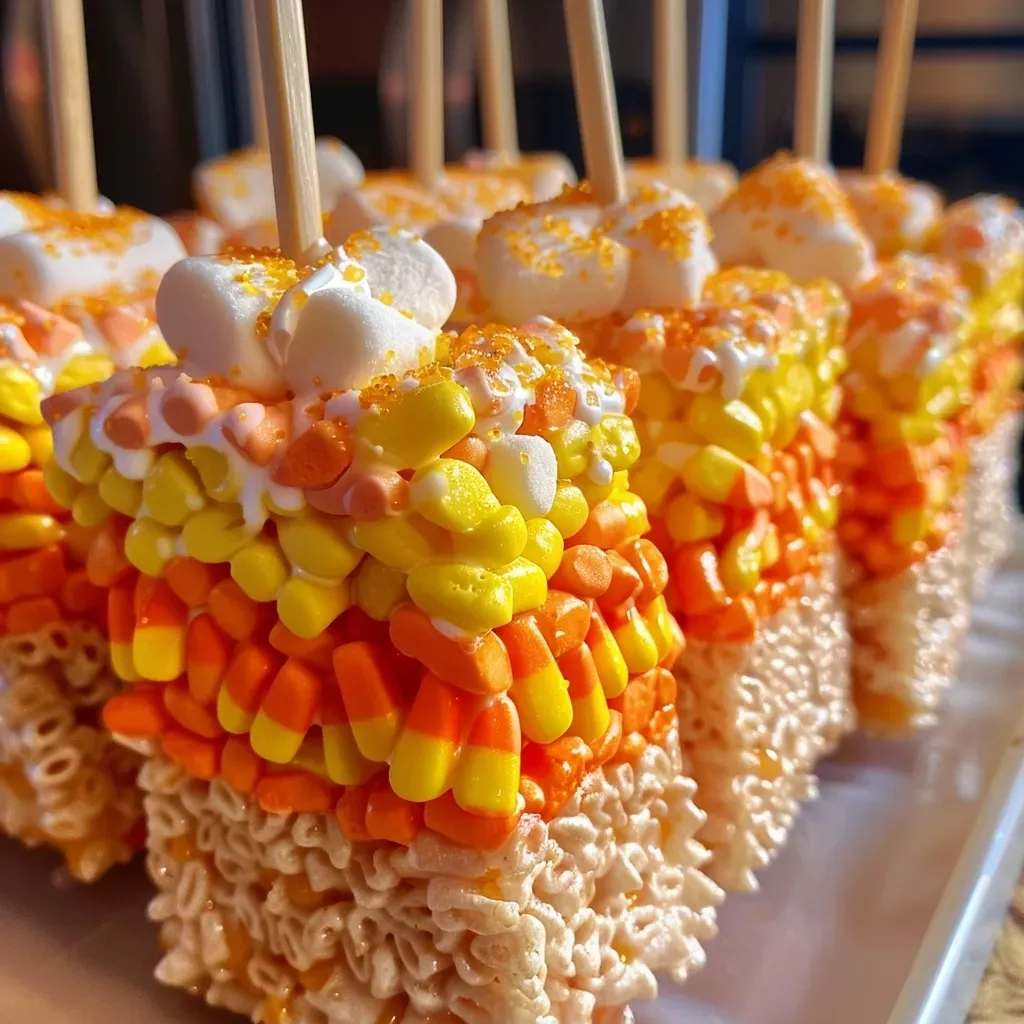
Embrace Autumn with Candy Corn Rice Krispies Treat Pops
As the leaves turn golden and the air gets crisp, it’s the perfect time to whip up a batch of Candy Corn Rice Krispies Treat Pops. These delightful treats are not just a nostalgic nod to childhood; they bring a festive spirit to your gatherings, embodying the sweetness of fall. With layers of gooey marshmallows, crispy rice cereal, and vibrant sprinkles, these pops are as visually appealing as they are delicious. Let’s dive into the heart of this recipe that will surely impress your friends and family!
Why You’ll Love This Recipe
- Simple Ingredients: With just a handful of pantry staples, you can create a show-stopping treat that’s both fun and flavorful.
- Customizable Fun: This recipe allows for creativity; feel free to switch up the colors or add your favorite flavors for a personalized touch.
- Perfect for Any Occasion: Whether it’s a Halloween party, a family gathering, or a classroom treat, these pops fit right in.
- Kid-Friendly Activity: Involve the little ones in the kitchen! They’ll love helping to create these colorful treats.
- Make Ahead: These treats can be prepared in advance, making them a great option for busy days.
Ingredients You’ll Need
To create these festive Candy Corn Rice Krispies Treat Pops, you will need the following ingredients:
- 12 oz box Rice Krispies cereal
- 1 1/2 sticks unsalted butter
- 2 10.5 oz bags of mini marshmallows
- 2 tsp vanilla extract or vanilla bean paste
- 1/4 tsp salt
- Wooden candy apple sticks
- Cookie icing (for decoration)
- Sprinkles (jimmies, sparkling sugar, sanding sugar)
How to Make Candy Corn Rice Krispies Treat Pops
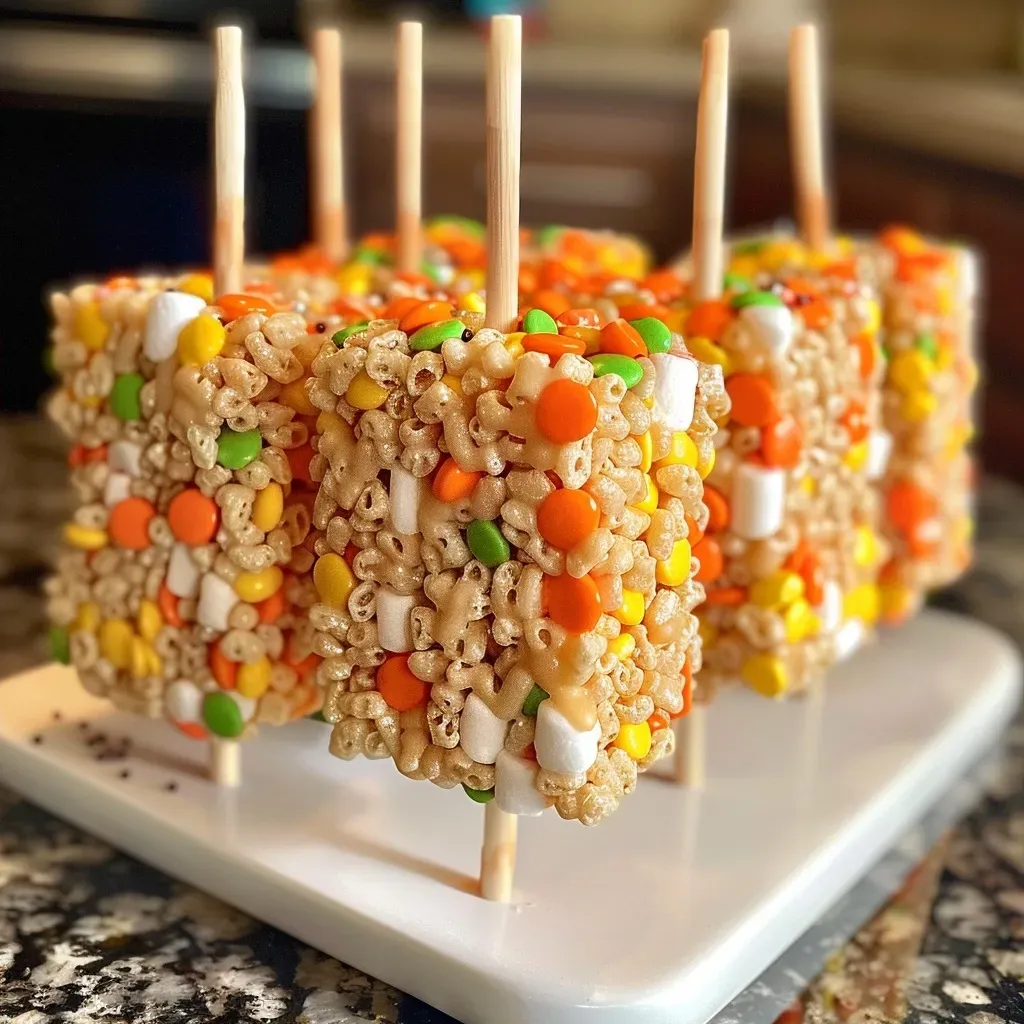
Follow these step-by-step instructions to create your Candy Corn Rice Krispies Treat Pops:

★ Recommended Kitchen Tool
Silicone Baking Cups Set
Make this recipe even easier with a quality Silicone Baking Cups Set — a must-have kitchen staple!
- Line two 9″ square baking pans with wax or parchment paper, then grease them with butter or non-stick cooking spray.
- In a large pot, melt the butter over medium-high heat. Stir constantly until the butter begins to foam, watching for the first signs of browning.
- Lower the heat and quickly add the mini marshmallows, stirring constantly until completely melted.
- Remove the pot from heat. Stir in the vanilla and salt, then add the Rice Krispies, mixing until fully coated.
- Divide the mixture in half and press evenly into each pan. Cool completely before cutting out candy corn shapes with a greased cookie cutter.
- Insert a wooden candy apple stick halfway into the rice krispie pop and twist slightly to secure.
- Dip the pointed end of the stick into cookie icing before reinserting it into the treat, allowing it to set.
- Decorate with icing and sprinkles; start at the bottom, piping icing up one-third of the way, then fill in with sprinkles.
- Let the icing set for a couple of hours before moving or handling.
Pro Tips for Success
- Use Fresh Ingredients: Ensure your marshmallows and butter are fresh for the best texture and flavor.
- Perfect Texture: Avoid overcooking the butter; you want it to foam without burning for a delightful chewiness.
- Stick to the Recipe: For the best results, follow the ingredient measurements and steps closely.
- Experiment with Flavors: Try using flavored marshmallows or adding a splash of almond extract for a unique twist.
- Chill the Mixture: If the mixture feels too sticky, refrigerate it for a few minutes before pressing it into the pan.
- Choose Quality Sprinkles: Use high-quality sprinkles for vibrant colors and better adherence to the icing.
- Check for Doneness: Ensure the mixture is cool enough before cutting to prevent it from sticking.
- Practice Patience: Allowing the icing to set is crucial for presentation and keeping the pops intact.
Common Mistakes and Troubleshooting
Even seasoned bakers can encounter hiccups. Here’s how to troubleshoot:
- Sticky Treats: If your Rice Krispies treats are too sticky, you may have used too many marshmallows or butter. Adjust next time!
- Uneven Layers: Make sure to press the mixture evenly into the pan for uniform pops.
- Melting Icing: If your icing is too warm, it won’t hold the sprinkles well. Allow it to cool slightly before using.
- Crumbly Pops: If your pops fall apart, ensure you pressed the mixture firmly enough in the pan.
Delicious Variations
Feel free to mix things up with these fun variations:
- Chocolate Drizzle: Add a layer of melted chocolate on top for a decadent touch.
- Nutty Crunch: Mix in chopped nuts or seeds for a delightful crunch.
- Fruit Flavors: Incorporate dried fruits or flavored marshmallows for an unexpected twist.
- Mini Treats: Use a mini cookie cutter for bite-sized pops that are perfect for parties.
Storage and Make-Ahead Instructions
These treats can be made ahead of time and stored to maintain freshness:
- Room Temperature: Keep in an airtight container for up to 3 days.
- Refrigeration: For longer storage, refrigerate for up to a week, but beware of texture changes.
- Freezing: You can freeze the pops for up to a month. Just wrap them well and thaw before serving.
Frequently Asked Questions
- Can I use flavored Rice Krispies? Yes! Flavored cereal will add a unique taste to your treats.
- What can I substitute for marshmallows? You can use marshmallow fluff, but adjust the amount to match the texture.
- How do I prevent my treats from sticking to the pan? Line your pan with parchment and grease it well.
- Can I make these gluten-free? Yes! Just ensure you use gluten-free Rice Krispies.
- What if I don’t have cookie icing? You can make a simple icing with powdered sugar and milk.
- How can I make these vegan? Substitute butter with coconut oil and use vegan marshmallows.
- What’s the best way to cut the treats? Use a sharp, greased knife for clean cuts.
- Can I add chocolate chips? Absolutely! Mix them in before pressing the mixture into the pan.
Nutritional Tips and Dietary Adaptations
When creating your Candy Corn Rice Krispies Treat Pops, consider these nutritional tips:
- Portion Control: These treats are sweet! Enjoy in moderation for a balanced treat.
- Healthier Swaps: Substitute some butter with applesauce for a lower-fat option.
- Allergy Awareness: Be mindful of nut allergies if adding nuts, and consider using nut-free sprinkles.
Essential Equipment Recommendations
To make the process smoother, here’s a list of tools you’ll need:
- Large Pot: For melting the butter and marshmallows.
- Spatula: A silicone spatula works best for mixing.
- Cookie Cutters: Use a candy corn-shaped cutter for theme consistency.
- 9″ Square Baking Pans: Ensure they’re lined for easy removal.
Serving Suggestions
These pops can be served in numerous delightful ways:
- Party Platter: Arrange them on a festive platter for a stunning centerpiece.
- Goodie Bags: Wrap individual pops in clear bags with ribbons for party favors.
- Sweet Treat Bars: Set up a DIY treat station where guests can decorate their own pops!
Conclusion
Now that you’ve mastered the art of making Candy Corn Rice Krispies Treat Pops, it’s time to gather your loved ones and celebrate the flavors of fall! Cooking is not just about nourishment; it’s about creating memories, sharing joy, and enjoying the vibrant tapestry of life through food. So grab your ingredients, invite some friends over, and make this delightful treat a centerpiece of your autumn gatherings. Happy cooking!
Candy Corn Rice Krispies Treat Pops
Ingredients
Cereal and Marshmallows
- 12 oz rice crispy cereal
- 1.5 sticks unsalted butter
- 2 bags mini marshmallows (10.5 oz each)
- 2 tsp vanilla extract or vanilla bean paste
- 1/4 tsp salt
Decorations
- Wooden candy apple sticks Wooden candy apple sticks
- Cookie icing Cookie icing
- Sprinkles (jimmies, sparkling sugar, sanding sugar) Sprinkles
Instructions
- Line pans with parchment and grease. Melt butter, add marshmallows, then stir in vanilla and salt. Mix in cereal until coated.
- Divide mixture into pans, press evenly, and cool. Cut into candy corn shapes with a greased cutter.
- Insert sticks halfway into each treat, then dip pointed end in icing to secure.
- Decorate with icing and sprinkles to resemble candy corn. Let set for a few hours before serving.