
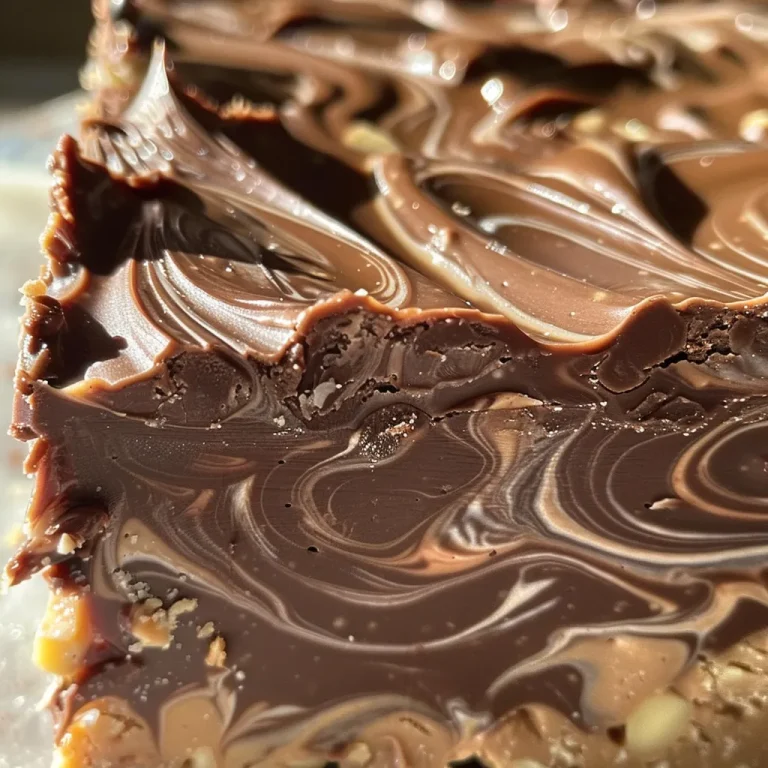
Indulge in the Sweet Symphony of Chocolate and Peanut Butter
Welcome, dear friends! If you’re anything like me, the mere thought of sweet, creamy peanut butter swirled with rich, velvety chocolate sends your taste buds into a joyous frenzy. Today, we’re diving deep into the delightful world of Swirled Chocolate Peanut Butter Fudge. This recipe isn’t just a treat; it’s a celebration of flavors, a reminder of cozy evenings spent in the kitchen, and a perfect way to share love and sweetness with family and friends.
As we embark on this fudge adventure, you’ll discover how to create a dessert that not only looks stunning but tastes divine. This fudge is ideal for any occasion—be it a holiday gathering, a potluck, or simply a sweet treat to brighten your day. So, grab your apron, and let’s get started!
Why You’ll Love This Recipe
- Quick and Easy: With minimal ingredients and straightforward steps, you’ll have this fudge ready in no time!
- Rich Flavor Profile: The combination of creamy peanut butter and semi-sweet chocolate creates a decadent treat that’s hard to resist.
- Perfect for Sharing: This fudge is an excellent gift for friends and family, perfect for holidays or just because.
- Customizable: You can adjust the recipe with different types of chocolate or add in your favorite nuts for an extra crunch.
- Long-Lasting Delight: Store it properly, and enjoy this fudge for weeks—if it lasts that long!
Ingredient Breakdown and Substitutions
Let’s take a closer look at the ingredients that make this fudge irresistible:
- 14 oz sweetened condensed milk: This magical ingredient acts as a binder and adds a rich sweetness.
- 2¼ cups semi-sweet chocolate chips: These provide the deep chocolate flavor—feel free to swap for dark chocolate for a richer taste.
- 2 Tbsp butter: Adds creaminess and helps with the fudge’s smooth texture.
- ¼ tsp salt: Enhances the flavors of both chocolate and peanut butter.
- ¼ tsp vanilla extract: A hint of vanilla elevates the overall flavor profile.
- 1¾ cup peanut butter chips: These deliver a stronger peanut flavor than regular chocolate, making the fudge even more delightful.
- ½ cup creamy peanut butter: This creates that dreamy, smooth texture we all crave.
How to Make Swirled Chocolate Peanut Butter Fudge
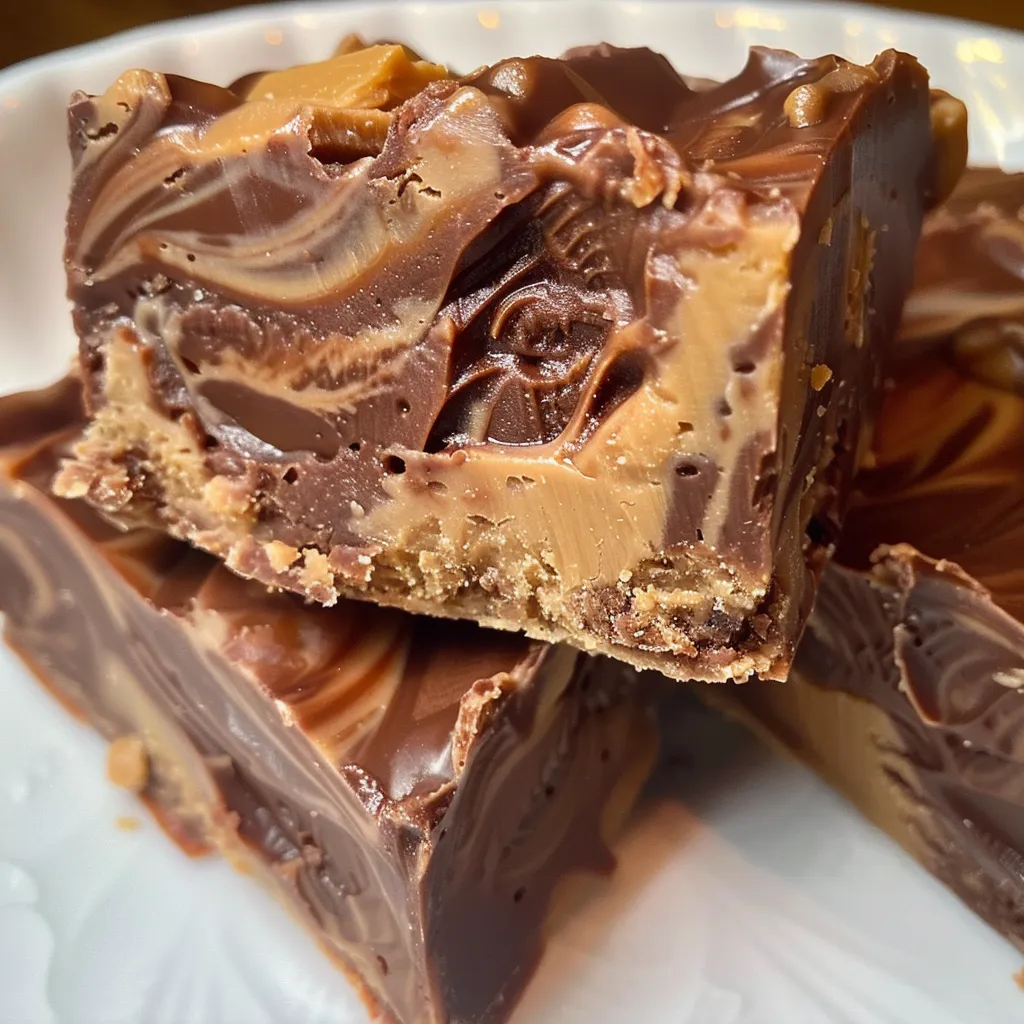
Now, let’s get our hands a little sticky and dive into the steps to create this mouthwatering fudge:
- Line a 9×9 inch pan with parchment paper or aluminum foil, leaving an overhang on two sides for easy removal. Set aside.
- Prepare each fudge layer:
- In a large microwave-safe bowl, combine the sweetened condensed milk, semi-sweet chocolate chips, butter, and salt.
- In another large microwave-safe bowl, combine the sweetened condensed milk, peanut butter chips, creamy peanut butter, and salt.
- Heat the mixtures:
- Microwave the chocolate mixture for 1 minute. Remove and stir—it won’t be fully melted yet.
- Microwave the peanut butter mixture for 1 minute as well, and stir until combined.
- Return the chocolate bowl to the microwave for another 30 to 45 seconds, then do the same for the peanut butter mixture. Continue until both mixtures are smooth and fully melted.
- Stir in the vanilla extract into each bowl, ensuring the mixtures are still warm and pourable.
- Layer and swirl:
- Spread about one-third of the chocolate mixture into the prepared pan.
- Drop spoonfuls of the peanut butter mixture over the chocolate and gently swirl with a knife.
- Repeat with more chocolate, more peanut butter, and swirl again until all mixtures are used. The final swirl may look slightly jagged, but that’s part of the charm!
- Use a spatula to gently smooth the surface without overmixing.
- Let the fudge set at room temperature for 4 to 6 hours, or ideally overnight, until firm. Lift the fudge out of the pan using the parchment overhang and cut into squares with a sharp knife.
Pro Tips for the Perfect Fudge
- Keep it Warm: The key to clean swirls is to ensure both mixtures stay warm and pourable. If one thickens, pop it in the microwave for 10 to 15 seconds.
- Use Quality Ingredients: The better the chocolate and peanut butter, the richer your fudge will taste.
- Don’t Overmix: When swirling, be gentle to keep those beautiful ribbons intact.
- Store Properly: Keep fudge in an airtight container at room temperature for up to two weeks.
- Experiment with Flavors: Add crushed nuts, toffee bits, or even a sprinkle of sea salt on top for a delightful twist.
- Use a Sharp Knife: To cut even pieces, wipe the knife clean between cuts.
- Chill if Necessary: If your fudge is too soft, place it in the fridge for a bit to firm up before cutting.
- Gift it Wisely: Wrap fudge in decorative paper for a lovely homemade gift!
Common Mistakes and Troubleshooting
Even the best cooks can run into a few bumps along the way. Here’s how to avoid common pitfalls:
- Too Hard: If your fudge sets too hard, it may have been overcooked. Next time, reduce the microwave time by a few seconds.
- Too Soft: If your fudge doesn’t set, ensure you’re using the correct measurements and let it cool completely before cutting.
- Uneven Swirls: If your fudge isn’t swirling well, keep both mixtures warm until you’re ready to layer.
- Crumbly Texture: This usually indicates insufficient mixing or improper ratios. Ensure all ingredients are well combined.
Delicious Variations to Try
Want to mix things up? Here are a few fun variations to explore:
- Nutty Delight: Add chopped nuts like walnuts or pecans for a crunchy texture.
- Cookie Dough Fudge: Fold in edible cookie dough for a decadent surprise in every bite.
- Mint Chocolate: Use mint-flavored chips instead of semi-sweet for a refreshing twist.
- Spicy Peanut Butter: Add a dash of cayenne or chili powder for a spicy kick that pairs beautifully with chocolate.
Storage and Make-Ahead Instructions
Planning a special event? This fudge can be made ahead of time!
- Make-Ahead: Prepare fudge up to two weeks in advance. Store it in an airtight container at room temperature or in the fridge for longer freshness.
- Freezing: Cut the fudge into squares and freeze in a single layer on a baking sheet. Once solid, transfer to a freezer bag for up to 3 months. Thaw at room temperature before serving.
Frequently Asked Questions
- Can I use milk chocolate instead of semi-sweet? Yes, but it will make the fudge sweeter. Adjust the sweetened condensed milk accordingly.
- How long will the fudge last? When stored properly, it can last up to two weeks at room temperature.
- Can I make this fudge vegan? Substitute with dairy-free chocolate chips and coconut cream for the sweetened condensed milk.
- What if my fudge doesn’t set? Ensure you’ve followed the recipe closely. If it’s too soft, place it in the fridge to firm up.
- Can I add other flavors? Absolutely! Feel free to explore different flavored chips or add-ins.
- What’s the best way to cut fudge? Use a sharp knife and clean it between cuts for neat squares.
- Can I make this in a larger batch? Yes, just adjust the measurements and use a larger pan!
- What’s the best way to store unused fudge? Keep it in an airtight container at room temperature or in the fridge for longer shelf life.
Nutritional Tips and Dietary Adaptations
While fudge is a delightful treat, here are some tips to keep it slightly healthier:
- Portion Control: Cut smaller squares to help manage indulgence while still enjoying the taste.
- Use Natural Sweeteners: Experiment with natural sweeteners like maple syrup or honey for a different flavor profile.
- Nut Butters: Swap out peanut butter for almond or cashew butter for a nutty twist.
Essential Equipment Recommendations
To make your fudge-making experience seamless, here are a few tools I recommend:
- Microwave-safe Bowls: Essential for melting your chocolate and peanut butter mixtures.
- Spatula: For smooth spreading and mixing, a good spatula is a must!
- Baking Pan: A 9×9 inch pan is perfect for this fudge recipe.
- Parchment Paper: Helps with easy removal of the fudge from the pan.
Serving Suggestions
Once your fudge is ready, here are some delightful ways to serve it:
- Garnish: Drizzle with melted chocolate or sprinkle with crushed nuts for a beautiful presentation.
- Pair with Coffee: Enjoy a piece with your favorite coffee or hot chocolate for a cozy treat.
- Gift it: Package in a decorative box with a note for a lovely homemade gift.
As we wrap up this culinary adventure, I hope you feel inspired to create your own Swirled Chocolate Peanut Butter Fudge. This recipe is not just about the ingredients but the joy of making something delicious to share with those you love. So, gather your friends and family, whip up a batch, and let the sweet aroma of chocolate and peanut butter fill your home. Happy cooking, and remember — every bite is a celebration!
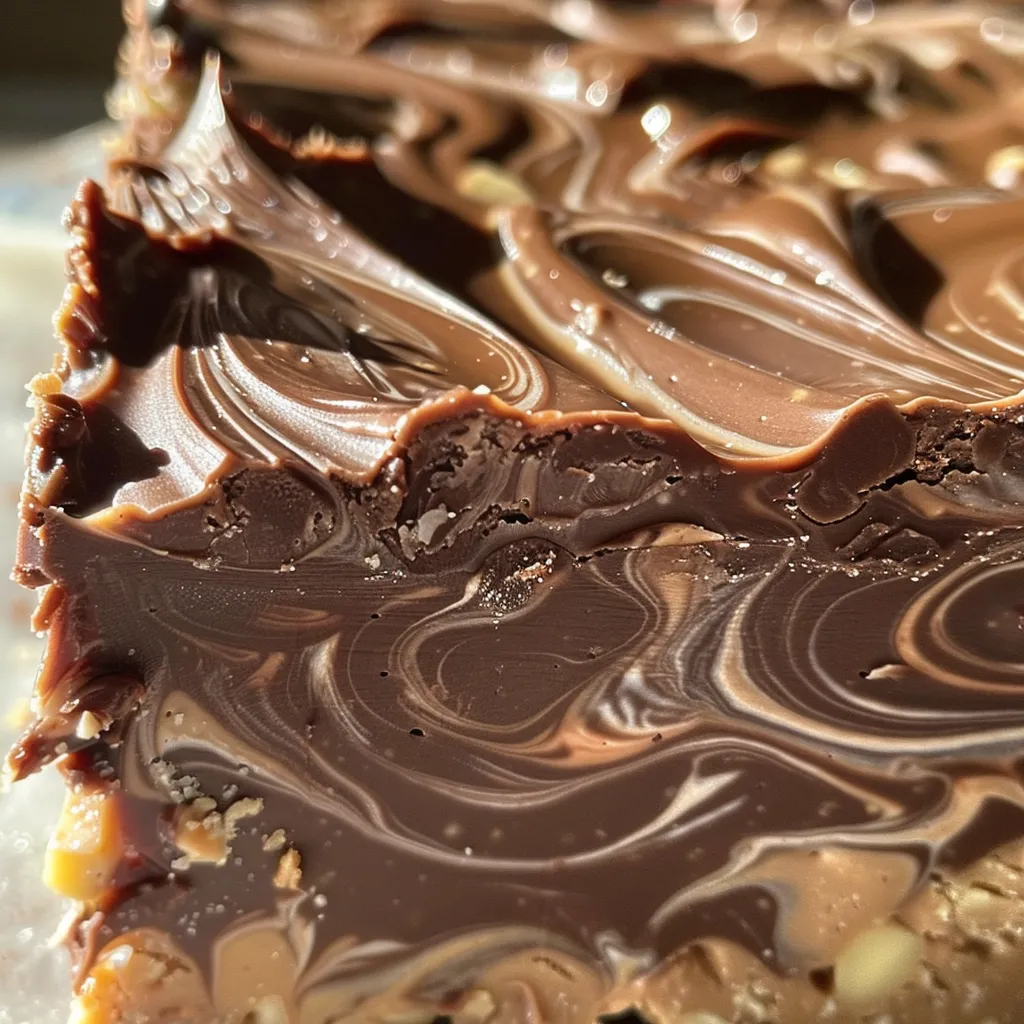
Swirled Chocolate Peanut Butter Fudge
Ingredients
Fudge Layers
- 14 oz sweetened condensed milk
- 2.25 cups semi-sweet chocolate chips
- 2 Tbsp butter
- 0.25 tsp salt
- 1.75 cups peanut butter chips
- 0.5 cup creamy peanut butter
- 0.25 tsp salt
- 1 tsp vanilla extract
Instructions
- Line a 9x9 inch pan with parchment or foil.
- Combine sweetened condensed milk, chocolate chips, butter, and salt; microwave in 1-minute intervals, stirring until smooth.
- Repeat with peanut butter mixture until both are fully melted and smooth.
- Stir vanilla into each mixture. Keep mixtures warm for layering.
- Layer chocolate and peanut butter mixtures, swirling gently. Smooth the top.
- Refrigerate for 4-6 hours or overnight. Lift out, cut into squares, and serve.