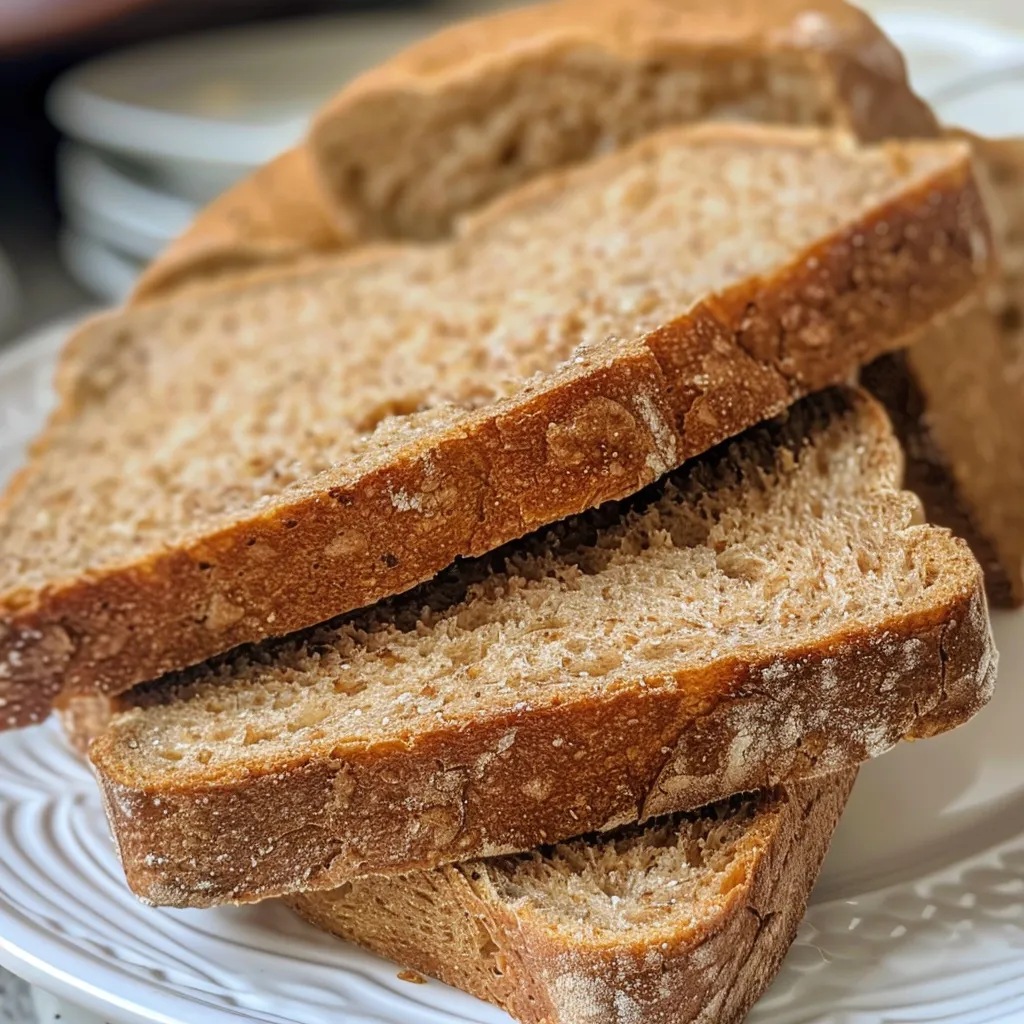
There’s something truly magical about the scent of freshly baked bread wafting through your home. This Soft 100% Whole Wheat Sandwich Bread recipe is not just about nourishment; it’s a celebration of togetherness, rich flavors, and the joy of creating something special from scratch. Whether you’re making a simple sandwich or a delightful toast, this bread brings warmth and happiness to every meal. Let’s dive into how you can transform basic ingredients into a loaf that’s bursting with flavor, nourishment, and love.
Why You’ll Love This Recipe
This isn’t just any bread recipe; it’s a way to connect with your culinary roots while also embracing modern tastes. Here are five reasons why this homemade whole wheat bread will become a staple in your kitchen:
- Health Benefits: Whole wheat flour is packed with fiber, vitamins, and minerals that contribute to your overall well-being.
- Customizable: You can easily adjust the sweetness, add seeds, or mix in your favorite herbs to create a loaf that fits your taste.
- Simple Process: With clear steps, even beginners can master this recipe and feel the satisfaction of homemade bread.
- Versatile Use: Perfect for sandwiches, toast, or as a side to soups and salads, this bread adapts to any meal.
- Aromatic Experience: Baking this bread fills your kitchen with a warm, inviting aroma that beckons family and friends to gather.
Ingredients Breakdown
Let’s talk about what you’ll need to create this delicious whole wheat sandwich bread, along with some handy substitutions:
- Whole Wheat Flour: 6 to 6½ cups – You can substitute with white whole wheat flour for a milder flavor.
- Warm Water: 2½ cups (between 105-110 degrees) – Essential for activating the yeast; adjust temperature based on your environment.
- Yeast: 1½ tablespoons instant active dry yeast (or regular active dry yeast) – Both work well, but instant yeast offers a quicker rise.
- Honey: ¼ to ⅓ cup – This natural sweetener enhances flavor; maple syrup or agave can be used as alternatives.
- Oil: ⅓ cup – Use olive oil for a Mediterranean twist or coconut oil for a hint of sweetness.
- Salt: 2½ teaspoons – Enhances flavor; don’t skip this crucial ingredient.
- Vital Wheat Gluten: 1½ tablespoons (optional) – Improves texture and rise; if you’re not using it, just add a bit more flour if the dough seems too sticky.
How to Make Soft 100% Whole Wheat Sandwich Bread
This is where the magic happens! Follow these steps to create your own loaf of love:
- 1. Make the Sponge: In a mixing bowl, combine warm water, yeast, and 2 cups of whole wheat flour. Let it sit for 15-20 minutes until bubbly. This activates the yeast and gives the bread a wonderful rise.
- 2. Add Sweetness and Oil: Mix in honey, oil, salt, and the remaining flour. Stir until the dough pulls away from the sides of the bowl.
- 3. Knead the Dough: Switch to a dough hook or knead by hand for 6-7 minutes (10 minutes if doing it manually). If the dough sticks, add a tablespoon of flour at a time until it becomes smooth and elastic.
- 4. Form the Loaves: Divide the dough into two equal portions and shape them into loaves. Place in greased 9×5 pans.
- 5. Let it Rise: Cover the pans and let them rise in a warm place for about 60 minutes or until the dough is ½ to 1 inch above the pans.
- 6. Preheat Oven: About 10 minutes before the rise time is finished, preheat your oven to 350 degrees F.
- 7. Bake: Bake for 30 minutes, rotating the pans halfway through if needed for even browning.
- 8. Cool: Remove from pans immediately and let cool on a rack. Allow to cool completely before slicing to maintain the texture.
Pro Tips for Perfect Bread
Here are some expert insights to ensure your homemade bread turns out perfectly:
- Temperature Matters: The ideal temperature for water is crucial. Too hot can kill the yeast; too cold won’t activate it.
- Don’t Rush the Rise: Allow the dough to rise adequately; this is key for achieving that perfect fluffy texture.
- Use the Right Pans: For best results, opt for smaller loaf pans (8.5×4.5 inches) for a better rise and crust.
- Test for Doneness: Tap the bottom of the loaf; if it sounds hollow, it’s done!
- Keep it Covered: If your dough starts to dry out during rising, cover it with a damp cloth.
- Experiment with Add-Ins: Try adding nuts, seeds, or dried fruits to elevate the flavor profile.
- Store Properly: Keep your bread in a bread box or wrapped in a cloth to maintain freshness.
- Make Ahead: You can prepare the dough the night before, let it rise in the fridge, and bake it fresh in the morning for a delightful breakfast.
Common Mistakes and Troubleshooting
Even the best of us encounter hiccups in the kitchen. Here’s how to troubleshoot common issues:
- Dough Not Rising: Ensure your yeast is fresh and that the water is at the right temperature. Drafts can also hinder rising.
- Dense Loaf: This can happen from over-kneading or not enough rising time. Follow the timing closely!
- Crumbly Texture: If you find your bread crumbling, it may need more moisture. Add a bit more water next time.
- Too Sweet: If the bread is too sweet for your liking, reduce the honey in the next batch.
Variations to Explore
Feeling adventurous? Here are some variations you can try with this recipe:
- Herbed Bread: Add a tablespoon of your favorite dried herbs (like rosemary or thyme) to the dough for a fragrant twist.
- Seeded Bread: Incorporate sunflower seeds, flaxseeds, or sesame seeds into the dough for added crunch and nutrition.
- Dried Fruit Bread: Stir in raisins or cranberries for a sweet touch that pairs beautifully with breakfast.
- Spicy Bread: Add a pinch of cayenne or chili flakes to give your bread a little kick!
Storage and Make-Ahead Instructions
To keep your homemade bread fresh and delicious:
- Short-Term Storage: Keep your bread wrapped in a cloth or in a bread box to maintain moisture for up to 3 days.
- Long-Term Storage: Slice the bread and store it in an airtight bag in the freezer for up to 3 months. Just toast or let thaw as needed!
- Make-Ahead Option: Prepare the dough, let it rise, then refrigerate overnight. Shape and bake the next day for fresh bread with minimal morning effort.
Frequently Asked Questions
Got questions? We’ve got answers! Here are some common queries regarding this recipe:
- Can I use all-purpose flour instead? Yes, but the bread will be less nutritious and the texture may differ.
- How can I tell if my bread is done? A hollow sound when tapping the bottom indicates it’s baked through.
- What if my dough is too sticky? Add flour gradually in small amounts until it reaches the right consistency.
- Can I make this recipe vegan? Absolutely! Substitute honey with maple syrup and use vegetable oil.
- What’s the best way to slice my bread? Use a serrated knife for clean, even slices.
- Can I double this recipe? Yes, just ensure you have enough space and pans for the extra loaves.
- How do I know if my yeast is active? If it bubbles and foams in warm water with sugar, it’s active and ready to use.
- Can I add nuts or seeds to this recipe? Yes, just fold them in during the mixing stage for added texture and flavor.
Nutrition Tips and Dietary Adaptations
This whole wheat bread isn’t just delicious; it’s also packed with nutrients. Here are some tips for maximizing its health benefits:
- Whole Grains: Whole wheat flour retains all parts of the grain, providing fiber that aids digestion.
- Low Sugar Option: Reduce the amount of honey or use a sugar substitute to lower the sugar content.
- Gluten-Free Alternative: Substitute with a mix of gluten-free flours and add a binding agent like xanthan gum for gluten-free bread.
Equipment Recommendations
To make this bread successfully, consider the following tools:
- Mixing Bowls: Use a large mixing bowl for the dough and a smaller one for the sponge.
- Dough Hook: A stand mixer with a dough hook can save you time and effort while kneading.
- Loaf Pans: Invest in good quality, non-stick loaf pans for even baking.
- Cooling Rack: Essential for cooling the bread evenly after baking.
Serving Suggestions
Now that your homemade whole wheat sandwich bread is ready, here are some delightful ways to enjoy it:
- Classic Sandwiches: Fill with turkey, lettuce, and tomatoes for a hearty lunch.
- French Toast: Dip slices in egg mixture and fry for a comforting breakfast treat.
- Avocado Toast: Top with smashed avocado, a sprinkle of salt, and chili flakes for a trendy snack.
- Simple Toast: Spread with butter or your favorite jam for an easy breakfast option.
Conclusion
Baking your own Soft 100% Whole Wheat Sandwich Bread is not just a recipe; it’s a journey back to the heart of cooking — a celebration of flavors, family, and the joy of sharing. With every loaf, you’re not just feeding your body but also nourishing your soul. So gather your ingredients, invite your loved ones into the kitchen, and let the aromas of homemade bread fill your home. Happy baking!
Soft 100% Whole Wheat Sandwich Bread
Ingredients
Dough
- 6 to 6½ cups whole wheat flour (*)
- 2½ cups warm water ((105-110°F))
- 1½ tablespoons instant active dry yeast ((or regular))
- 1/4 to 1/3 cup honey ((or sugar or molasses))
- 1/3 cup oil
- 2½ teaspoons salt
- 1½ tablespoons vital wheat gluten ((optional))
Instructions
- Combine water, yeast, and 2 cups of flour; let sponge for 15-20 minutes until bubbly.
- Add honey, oil, salt, gluten (if using), and 4 cups of flour; mix until dough cleans sides. Knead 6-7 minutes.
- Divide dough into two loaves; place in greased pans. Let rise 60 minutes until 1/2 to 1 inch above pans.
- Preheat oven to 350°F (175°C). Bake loaves for 30 minutes, rotating if needed.
- Remove from pans; cool on racks. Let cool completely before slicing.