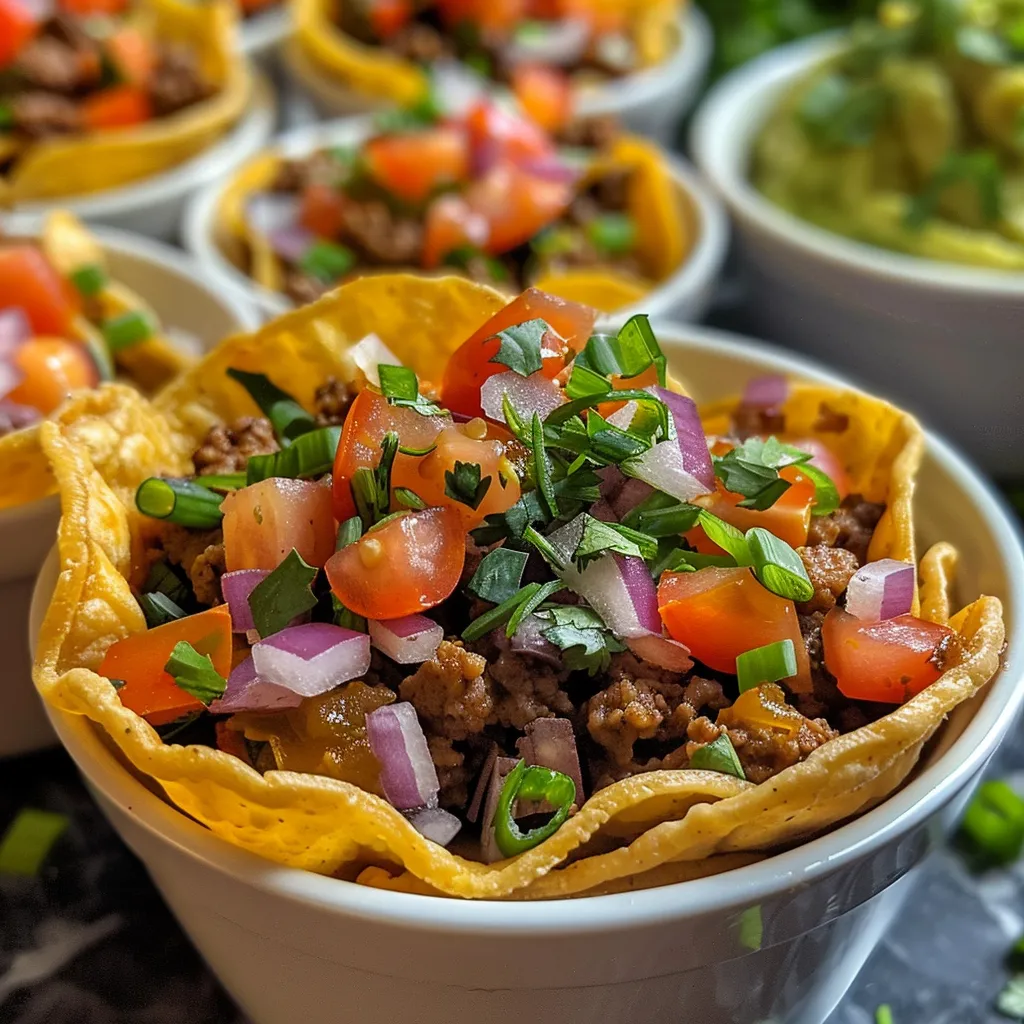
Welcome to the Fiesta: Taco Cups That Bring Joy to Every Table
Step into a world of flavor with these delightful Taco Cups! These mini marvels are not just a meal; they are a celebration of vibrant ingredients and joyful gatherings. Perfect for parties, family dinners, or a cozy night in, these taco cups are sure to impress your guests and bring smiles all around. In under an hour, you can create these irresistible bites that are bursting with flavor and color. Let’s dive into this culinary adventure!
Why You’ll Love This Recipe
- Versatile and Customizable: You can tailor the ingredients to suit your tastes, swapping ground beef for turkey, chicken, or even refried beans for a vegetarian twist.
- Quick and Easy: With a prep time of just 30 minutes and baking time of 15 minutes, these taco cups are perfect for busy weeknights or last-minute gatherings.
- Fun and Interactive: Great for parties, guests can customize their taco cups with their favorite toppings, making it a fun dining experience.
- Kid-Friendly: Kids love these mini versions of tacos! They’re easy to handle and can be filled with any ingredients your little ones enjoy.
- Great for Meal Prep: Taco cups can be made ahead of time and stored in the fridge or freezer, saving you time on busy days.
Ingredients: A Closer Look
To create the perfect taco cups, gather the following ingredients:
- 10-count package mini flour tortillas: These will form the base of your taco cups. You can also use corn tortillas or wonton wrappers for a different texture.
- 2 cups ground beef: The classic choice, providing rich flavor. For a lighter option, consider ground turkey or plant-based crumbles.
- 1/2 medium onion, diced: Adds savory sweetness and depth to the filling.
- 1 packet taco seasoning: This convenient mix infuses your beef with authentic taco flavor. Feel free to use homemade seasoning for a personal touch.
- 8 ounces can diced spicy tomatoes: These bring moisture and a kick to your filling. Adjust the spiciness by choosing mild or medium.
- 1 cup shredded Mexican-blend cheese: A melty topping that binds everything together. Cheddar or pepper jack can also be delightful alternatives.
- 7.5-ounces WHOLLY GUACAMOLE: A creamy addition that enhances flavor and freshness. Choose the heat level that suits your palate.
- 1/2 cup tomato, diced: Fresh tomatoes add a juicy burst in every bite.
- 1/2 cup red onion, diced: For a crunchy texture and a slight bite.
- 1/4 cup green onions, sliced thin: A finishing touch that adds color and flavor.
Step-by-Step Directions
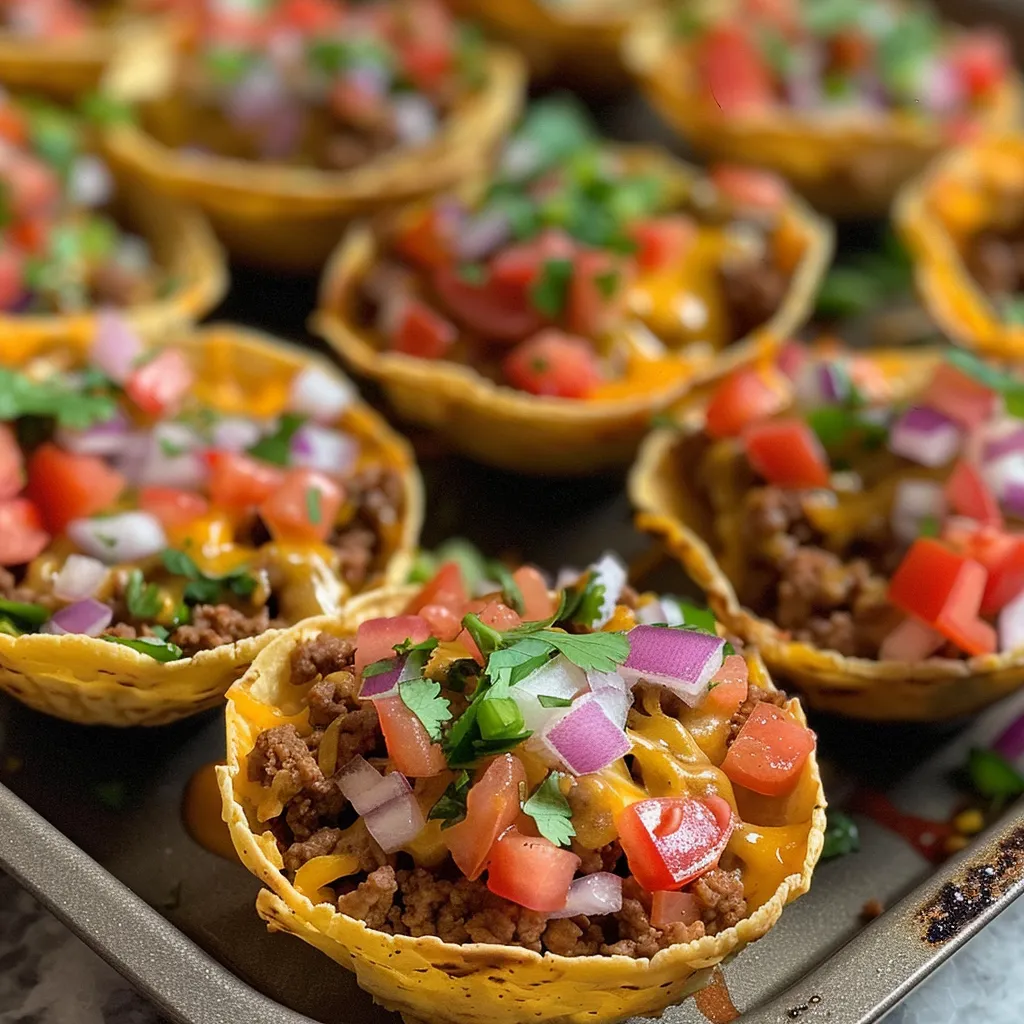
Let’s get cooking! Follow these easy steps to create your taco cups:
- Preheat your oven to 350°F (175°C).
- Prepare the tortillas: Place each tortilla into the cups of a standard-sized muffin pan, gently pushing them to fit. Leave some room for filling.
- Bake the tortillas: Place the muffin pan in the oven and bake for 10-12 minutes or until the tortillas are golden and crispy. Remove and set aside.
- Cook the filling: In a skillet over medium heat, cook the diced onion and ground beef until browned. Drain excess fat and stir in the diced spicy tomatoes and taco seasoning.
- Assemble the taco cups: Carefully spoon the beef mixture into each tortilla cup until just full. Top with shredded cheese.
- Bake again: Return the pan to the oven and bake for another 15 minutes or until the cheese is melted and the filling is heated through.
- Add toppings: Once baked, remove the taco cups from the oven and top each with WHOLLY GUACAMOLE, diced tomatoes, red onion, and green onions.
- Serve warm: Enjoy your taco cups straight from the oven! Perfect for sharing (or not!).
Pro Tips for Perfect Taco Cups
- Don’t overfill: Leave a little space at the top so the cheese has room to melt without overflowing.
- Use a mix of cheeses: Combining different cheeses can enhance flavor and texture. Try adding some crumbled feta or queso fresco for a twist.
- Experiment with spices: If you love heat, consider adding jalapeños or chili powder to your beef mixture for an extra kick.
- Let them cool slightly: Allow taco cups to cool for a few minutes before serving. This helps them set and makes them easier to eat.
- Pre-bake tortillas: If you want extra crispy cups, bake the tortillas a bit longer before adding the filling.
- Try different proteins: You can easily swap out ground beef for shredded chicken, ground turkey, or even a mix of beans for a vegetarian option.
- Make them gluten-free: Use corn tortillas or gluten-free wraps to accommodate dietary needs.
- Fresh herbs make a difference: Sprinkle fresh cilantro or parsley over the top for an added burst of freshness.
Common Mistakes to Avoid
- Overcooking the tortillas: Keep an eye on them while baking; they should be golden, not burnt.
- Using too much moisture: Avoid watery fillings that can make the cups soggy. Drain excess liquid from ingredients like tomatoes.
- Not seasoning enough: Don’t skip the taco seasoning; it’s what brings the dish to life!
- Skipping toppings: Fresh toppings add crunch and flavor. Don’t miss out on the guacamole or diced veggies!
Delicious Variations to Try
These taco cups are incredibly versatile! Here are some fun variations to consider:
- Vegetarian Delight: Replace ground beef with black beans or lentils and add corn for sweetness.
- Taco Salad Cups: Fill the tortilla cups with a fresh salad mix, diced tomatoes, and a drizzle of ranch dressing instead of cooked filling.
- Buffalo Chicken Cups: Use shredded chicken tossed in buffalo sauce instead of beef for a spicy twist.
- Breakfast Taco Cups: Scramble eggs with cheese, add cooked sausage or bacon, and top with salsa for a breakfast version.
Storage and Make-Ahead Instructions
Want to save some time? Here’s how to store and prepare your taco cups in advance:
- Refrigerate: Store cooked taco cups in an airtight container in the fridge for up to 3 days.
- Freeze: You can freeze the assembled but unbaked taco cups for up to 2 months. Just bake them straight from the freezer, adding a few extra minutes to the cooking time.
- Reheat: To reheat, place them in a preheated oven at 350°F (175°C) for about 10-15 minutes until warmed through.
Frequently Asked Questions
- Can I make taco cups ahead of time? Yes! You can assemble them in advance and bake them just before serving.
- What can I substitute for ground beef? Ground turkey, shredded chicken, or even lentils are great alternatives.
- How can I make these taco cups gluten-free? Use corn tortillas or gluten-free wraps instead of flour tortillas.
- Can I use a different type of cheese? Absolutely! Feel free to experiment with your favorite cheeses.
- What toppings do you recommend? Fresh toppings like guacamole, diced tomatoes, and cilantro add great flavor.
- How do I store leftovers? Keep them in an airtight container in the fridge for up to 3 days.
- Can I freeze taco cups? Yes! Assemble them unbaked and freeze for up to 2 months.
- How long do I bake them? Bake for 10-12 minutes initially, then another 15 minutes after adding the filling.
Nutritional Tips and Dietary Adaptations
These taco cups can be made to fit various dietary needs:
- Low-Carb: Use lettuce wraps instead of tortillas for a lighter option.
- Dairy-Free: Omit cheese and use avocado or dairy-free alternatives.
- High-Protein: Load up on beans and lean meats to boost protein content.
Essential Equipment
To make your taco cups, you’ll need:
- Standard muffin pan: This is crucial for shaping your taco cups.
- Skillet: For cooking the beef and onions.
- Measuring cups and spoons: To ensure accurate ingredient measurements.
- Spatula: For mixing and serving your delicious creations.
Serving Suggestions
Serve these taco cups with a variety of sides to create a full meal:
- Mexican rice: A flavorful side that complements the taco cups beautifully.
- Fresh salad: A crisp garden salad adds freshness.
- Chips and salsa: Perfect for dipping and snacking alongside your taco cups.
Conclusion: A Celebration of Flavor Awaits!
Taco cups are more than just food; they’re a way to bring people together, celebrate flavors, and create lasting memories around the table. With their simple preparation and endless customization options, you can enjoy them anytime, whether for a casual family dinner or a festive gathering. Embrace the joy of cooking and share these delightful bites with your loved ones. Happy cooking, and may your kitchen always be filled with love and laughter!
Taco Cups
Ingredients
Mini Flour Tortillas
- 2 cups ground beef
- 1 2 medium onion, diced medium onion (diced)
- 1 packet taco seasoning
- 8 ounces can diced spicy tomatoes ounces diced spicy tomatoes
- 1 cup shredded Mexican-blend cheese cups shredded Mexican-blend cheese
- 7.5-ounces WHOLLY GUACAMOLE heat level of your choice ounces WHOLLY GUACAMOLE (heat level of your choice)
- 1 2 cup tomato, diced cup diced tomato
- 1 2 cup red onion, diced cup diced red onion
- 1 4 cup green onions, sliced thin cup sliced green onions (thinly sliced)
Instructions
- Preheat oven to 350°F (175°C). Place tortillas in muffin pan cups and bake for 10-12 minutes. Cook ground beef and diced onion in a skillet, drain fat, then add diced tomatoes. Spoon meat mixture into tortillas, top with cheese, and bake for another 15 minutes. Garnish with guacamole, diced tomatoes, red onion, and green onions before serving.