
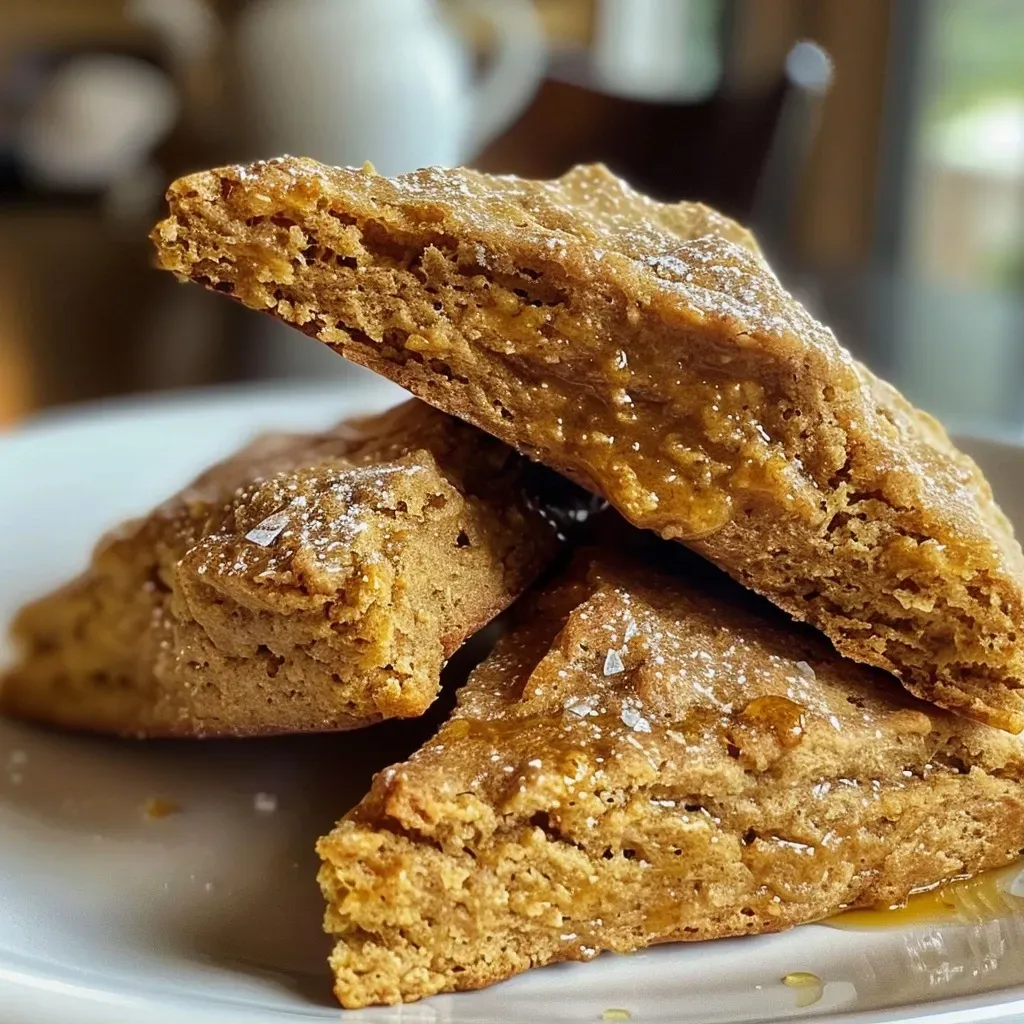
Awakening the Senses: A Journey into Maple Pumpkin Scones
Welcome to a culinary adventure that captures the essence of fall! These Maple Pumpkin Scones aren’t just a treat; they’re a celebration of flavors that warm the soul and fill your kitchen with the inviting aroma of cinnamon and maple. As we embrace the cooler days, let’s explore how to create these delightful scones that are perfect for breakfast or an afternoon tea gathering. You’ll find that each bite is a reminder of cozy autumn afternoons and family traditions.
Why You’ll Love This Recipe
There are countless reasons to bring these Maple Pumpkin Scones into your home this season. Here are just a few:
- Irresistible Flavor: The combination of pumpkin and maple syrup creates a sweet and comforting taste that’s perfect for fall.
- Easy to Make: With simple ingredients and straightforward steps, these scones are accessible for bakers of all skill levels.
- Perfectly Spiced: The addition of cinnamon and a hint of nutmeg infuses each scone with a warm, spiced aroma that will transport you to a cozy café.
- Healthy Twist: Made with whole wheat flour and Greek yogurt, these scones are a wholesome treat that doesn’t compromise on taste.
- Customizable: You can easily adapt the recipe to suit your dietary needs or personal preferences.
Ingredient Breakdown and Substitutions
Let’s dive into the ingredients that make these scones shine, along with some handy substitutions to cater to your dietary needs:

★ Recommended Kitchen Tool
Digital Meat Thermometer
Make this recipe even easier with a quality Digital Meat Thermometer — a must-have kitchen staple!
- Whole Wheat or Gluten-Free Flour: Use 1 ½ cups (180g) of whole wheat flour for a nutty flavor, or opt for a gluten-free flour blend to suit gluten-free diets.
- Baking Powder: Essential for that fluffy texture, you can substitute with baking soda if needed, but adjust the acidity in your recipe.
- Ground Cinnamon: This warming spice is a must! Feel free to add nutmeg or pumpkin pie spice for a more complex flavor profile.
- Unsalted Butter: Chilled butter is crucial for a flaky texture. If you want a dairy-free option, coconut oil can work, but the texture will slightly differ.
- Pumpkin Purée: Use canned or homemade purée. If you don’t have pumpkin, mashed sweet potato can be a delightful alternative.
- Maple Syrup: This sweetener adds depth and richness. Honey or agave can be used in place of maple syrup if necessary.
- Nonfat Milk: Use any milk of your choice, including dairy-free alternatives like almond or oat milk.
- Plain Nonfat Greek Yogurt: This adds moisture and protein. For a dairy-free version, use coconut yogurt.
Step-by-Step Instructions: How to Make These Heavenly Scones
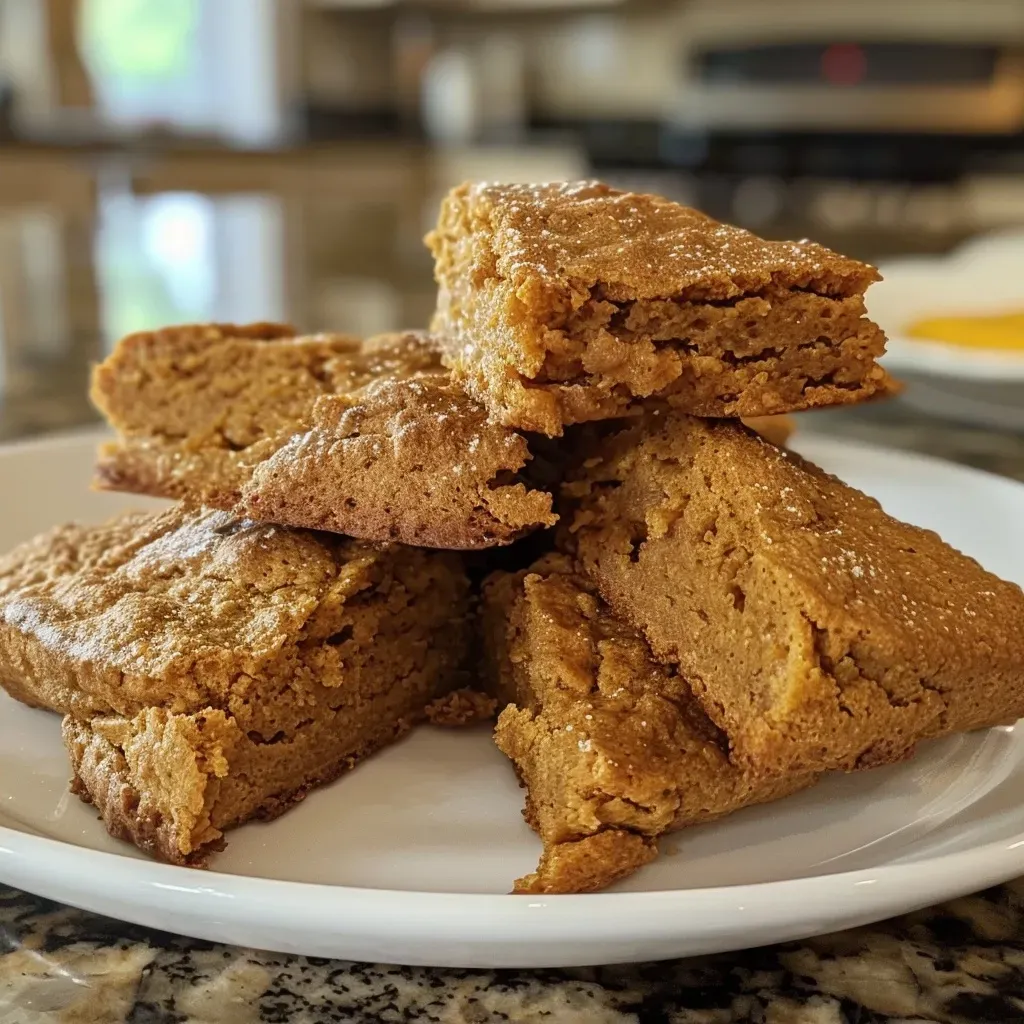
Let’s get to the heart of the matter—making these delightful scones!
- Preheat your oven to 425°F (220°C) and prepare a baking sheet lined with foil, lightly coated with nonstick cooking spray.
- In a medium bowl, whisk together 1 ½ cups of flour, 1 ½ teaspoons baking powder, 1 teaspoon ground cinnamon, and ¼ teaspoon salt.
- Cut in 2 tablespoons of chilled butter using a pastry cutter or fork until the mixture resembles fine crumbs.
- Stir in ½ cup of pumpkin purée, 8 teaspoons of maple syrup, and 10 teaspoons of milk until just combined.
- Divide the dough into 8 equal portions and shape each into a ball. Place them on the prepared baking sheet, flattening each slightly.
- Mix together 1/8 teaspoon maple syrup and ½ teaspoon milk in a small bowl. Brush this glaze over the tops of the scones.
- Bake for 12-14 minutes, or until the scones are lightly golden brown. Cool on the pan for 5 minutes before transferring to a wire rack.
- Once cooled, stir together 1 tablespoon of Greek yogurt and 1 ½ teaspoons of maple syrup in a small bowl. Drizzle this over the scones for an extra touch of sweetness.
Pro Tips for Perfect Maple Pumpkin Scones
To ensure your scones turn out perfectly every time, keep these expert tips in mind:
- Chill Your Butter: The colder your butter, the flakier your scones will be. Don’t skip this step!
- Don’t Overmix: Mix just until the ingredients are combined to avoid tough scones.
- Use a Light Touch: When shaping the dough, handle it gently to keep it light and airy.
- Experiment with Spices: Feel free to add a pinch of nutmeg or ginger for an extra flavor kick.
- Check for Doneness: Scones should be golden brown on top. If you’re unsure, use a toothpick; it should come out clean.
- Make Ahead: You can prepare the dough in advance and refrigerate it for up to 24 hours before baking.
- Cool Completely: Allow the scones to cool completely before drizzling with yogurt and maple syrup for best results.
- Serve Warm: These scones are best enjoyed fresh out of the oven, but they also make a delightful snack throughout the day.
Common Mistakes and Troubleshooting
Even the best bakers can run into issues! Here are some common mistakes to avoid:
- Dry Scones: This can happen if too much flour is added. Always measure flour properly and avoid packing it into the cup.
- Dense Texture: If your scones are too dense, it’s likely due to overmixing the dough. Remember, mix just until combined!
- Inconsistent Size: Use a kitchen scale or measuring cups to ensure uniform portions, leading to even baking.
Variations to Try
Get creative with these scone variations!
- Chocolate Chip: Add a handful of dark chocolate chips to the batter for a sweet twist.
- Nutty Crunch: Incorporate chopped pecans or walnuts for added texture and flavor.
- Cranberry Orange: Toss in dried cranberries and a bit of orange zest for a refreshing contrast.
- Spiced Chai: Infuse the dough with chai spices like cardamom and cloves for a unique flavor profile.
Storage and Make-Ahead Instructions
To keep your scones fresh:
- Room Temperature: Store in an airtight container for up to 2 days.
- Refrigeration: For longer shelf life, keep in the fridge for up to a week.
- Freezing: Scones can be frozen before baking. Just wrap each dough ball tightly and freeze for up to 3 months. When ready to bake, add a few extra minutes to the cooking time.
FAQ: Everything You Need to Know
Here are some frequently asked questions about making Maple Pumpkin Scones:
- Can I use fresh pumpkin instead of canned? Absolutely! Just ensure it’s well puréed and not too watery.
- What if I don’t have Greek yogurt? You can substitute with sour cream or any non-dairy yogurt.
- Can I make these scones vegan? Yes! Substitute butter with coconut oil and use plant-based milk and yogurt.
- How can I make these scones sweeter? Increase the amount of maple syrup in the dough or drizzle more on top.
- What’s the best way to serve scones? Enjoy them warm, drizzled with yogurt and maple syrup, or with a dollop of clotted cream.
- Can I double the recipe? Yes! Just ensure you have enough space on your baking sheet.
- What can I do with leftover scones? They make a great base for a breakfast sandwich or can be crumbled over yogurt!
- How can I enhance the flavor? Consider adding spices like nutmeg or cardamom to the dough for a unique twist.
Nutritional Tips and Dietary Adaptations
These scones can easily fit into a variety of dietary needs:
- High-Protein Option: Add protein powder to the dry ingredients for a protein boost.
- Low-Sugar Version: Reduce the maple syrup and add mashed bananas or applesauce for sweetness.
- Gluten-Free: Use a gluten-free baking mix or almond flour in place of wheat flour.
Recommended Equipment
For best results, here’s what you’ll need:
- Mixing Bowls: A set of various sizes for mixing and prepping ingredients.
- Pastry Cutter: Perfect for cutting in butter and achieving that flaky texture.
- Baking Sheet: A sturdy, non-stick baking sheet ensures even cooking.
- Wire Rack: Ideal for cooling your scones evenly after baking.
Serving Suggestions
These Maple Pumpkin Scones shine on their own, but why not elevate the experience?
- Pair with Tea: Enjoy them with a warm cup of chai or herbal tea for a cozy afternoon.
- Breakfast Delight: Serve with a side of scrambled eggs and fresh fruit for a complete breakfast.
- Brunch Buffet: They make a perfect addition to any brunch spread alongside fresh pastries and fruits.
In conclusion, these Maple Pumpkin Scones are more than just a recipe; they are a delightful experience that brings warmth and joy to your kitchen. I invite you to embrace the flavors of fall, experiment with variations, and share these treats with your loved ones. Happy baking!
Maple Pumpkin Scones
Ingredients
Dough
- 1 ½ cups whole wheat or gluten-free flour
- 1 ½ tsp baking powder
- 1 tsp ground cinnamon
- ¼ tsp salt
- 2 tbsp unsalted butter, chilled
- ½ cup pumpkin purée
- 8 1/8 tsp maple syrup
- 10 ½ tsp nonfat milk, divided
- 1 tbsp plain nonfat Greek yogurt
- 1 ½ tsp maple syrup
Instructions
- Preheat oven to 425°F (220°C). Mix dry ingredients, cut in butter until crumbly.
- Add pumpkin, 8 tsp maple syrup, and 10 tsp milk; mix until just combined.
- Divide dough into 8 balls, flatten, and place on a foil-lined baking sheet.
- Mix remaining maple syrup and milk; brush over scones.
- Bake for 12-14 minutes until golden. Cool for 5 minutes.
- Mix yogurt and maple syrup; drizzle over cooled scones before serving.


![['Juicy Italian sausage links and colorful bell peppers in a skillet.', 'Close-up of sizzling Italian sausage and pepper medley in a pan.', 'Vibrant red, green, and yellow bell peppers with sausage cooking in a skillet.', 'Italian sausage and peppers dish presented in a rustic skillet.']](https://yumswift.com/wp-content/uploads/2026/07/italian-sausage-and-peppers-skillet_1_U1-150x150.webp)