Indulge in Sweet Moments: The Joy of Crafting Caramel Apples
Welcome to a delightful journey where the love for cooking meets the joy of celebration! Today, we’re diving into the world of caramel apples, a cherished treat that not only tickles your taste buds but also brings smiles to family gatherings and festive occasions. This recipe combines the rich flavor of almond butter with the sweet goodness of brown rice syrup, creating a decadent dessert that’s as fun to make as it is to eat.
Whether you’re planning a Halloween party, a cozy autumn gathering, or simply want to indulge in a sweet snack, these caramel apples are the perfect choice. So grab your apron and let’s get started!
Why You’ll Love This Recipe
- Quick and Easy: This recipe takes only a few simple steps and minimal time, making it perfect for last-minute desserts or spontaneous gatherings.
- Healthier Option: Using almond butter and brown rice syrup means you get a treat that’s free from refined sugars and dairy, catering to various dietary needs.
- Customizable: You can easily add your favorite toppings or variations, ensuring each apple is uniquely yours.
- Perfect for Sharing: Slice the apples into bite-sized pieces, making them great for sharing at parties or family gatherings.
- Festive Vibes: The act of making and decorating these caramel apples is a fun family activity, creating lasting memories in the kitchen.
Ingredients Breakdown
Let’s gather our supplies! Here’s what you’ll need for these delightful caramel apples:

★ Recommended Kitchen Tool
Cake Decorating Set
Make this recipe even easier with a quality Cake Decorating Set — a must-have kitchen staple!
- ½ cup almond butter: A creamy base that adds rich flavor. You can substitute with peanut butter or sunflower seed butter if you prefer.
- ½ cup brown rice syrup: This natural sweetener keeps the caramel soft and chewy. If unavailable, light corn syrup can be used as an alternative.
- 1 tbsp vanilla: A splash of vanilla enhances the overall flavor. Feel free to experiment with different extracts!
- 1 large apple: Choose your favorite variety—Honeycrisp for sweetness or Granny Smith for a tart kick. You can even use multiple apples for variety!
How to Make Caramel Apples
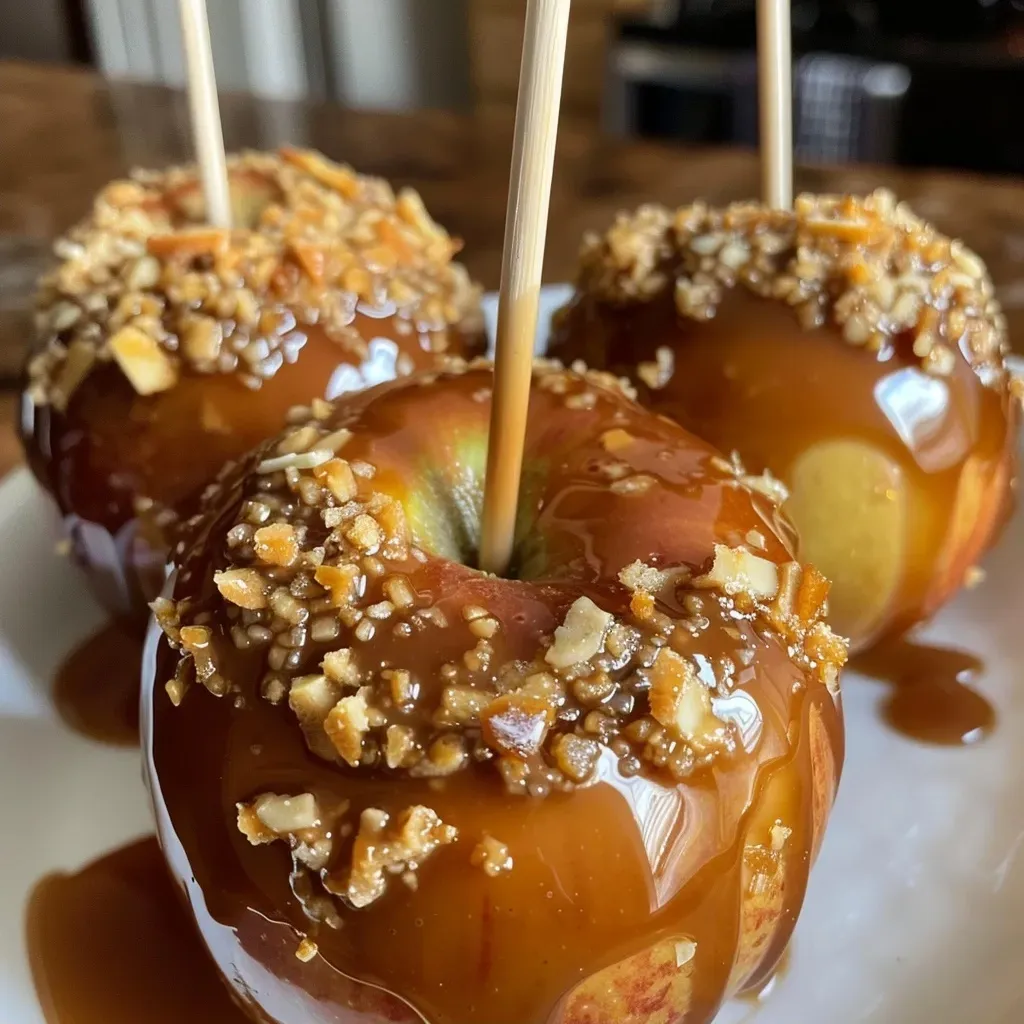
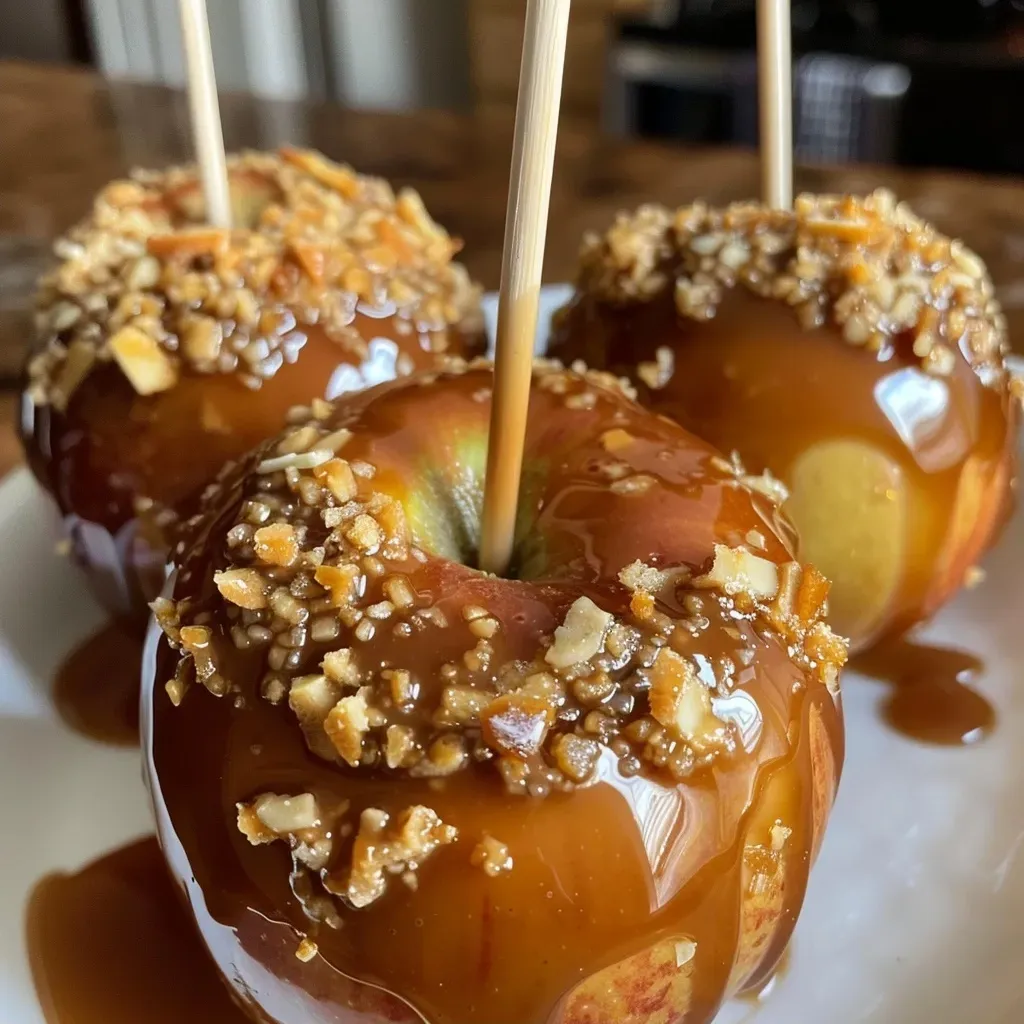
Now, let’s dive into the step-by-step process of creating these delicious treats:
- Line a baking sheet with parchment paper and set it aside.
- Chop the apple into quarters, then into eighths, and finally into sixteenths. Poke a toothpick into each piece and arrange them on the prepared baking sheet.
- In a small saucepan, melt together the almond butter and brown rice syrup over medium-low heat, stirring until the mixture is smooth and creamy.
- Remove the saucepan from the heat and stir in the vanilla, mixing well.
- Working quickly, use a spoon to cover each apple slice with the caramel mixture.
- Place the coated apple pieces in the fridge for about 15 minutes to allow the caramel to set.
- Enjoy immediately! Keep in mind that the caramel will melt at room temperature, so serve them fresh for the best experience.
Pro Tips for Perfect Caramel Apples
- Optimal Apple Choice: For the best flavor and texture, choose a firm apple like Fuji or Gala. They hold up well under the caramel coating.
- Getting the Right Consistency: If your caramel is too thick, gently reheat it with a splash of water. If it’s too thin, allow it to cool slightly before dipping.
- Creative Toppings: Roll your caramel apples in crushed nuts, sprinkles, or even shredded coconut for added texture and flavor.
- Temperature Matters: Ensure your apples are washed and dried thoroughly before dipping to help the caramel stick.
- Experiment with Flavors: Try adding a pinch of sea salt or cinnamon to the caramel for a unique twist!
Common Mistakes and Troubleshooting
Even the most seasoned cooks can make mistakes, so here are some common pitfalls to avoid:
- Waxy Apples: If your apples have a waxy coating, soak them in warm water for a few minutes before drying and dipping.
- Caramel Too Hard: If your caramel sets too hard, it may have cooked too long. Keep a close eye on the heat and stir consistently.
- Uneven Coating: For a smooth coating, dip the apples quickly and rotate them to ensure even coverage.
Variations to Try
Mix it up with these fun variations:
- Chocolate Drizzle: After the caramel sets, drizzle melted dark chocolate over the apples for an extra indulgent treat.
- Spice It Up: Add a sprinkle of cayenne or chili powder to the caramel for a sweet and spicy kick.
- Nutty Delight: Roll the caramel-coated apples in chopped nuts like almonds, pecans, or walnuts for added crunch.
- Fruit Medley: Combine different types of apples and pears for a colorful platter that showcases seasonal fruits.
Storage and Make-Ahead Instructions
Want to prepare in advance? Here’s how to store your caramel apples:
- Refrigeration: Store your caramel apples in an airtight container in the fridge for up to three days. Keep them separated with parchment paper to avoid sticking.
- Make-Ahead: You can prepare the caramel a day in advance and store it in the fridge. Just reheat gently before dipping your apples.
Frequently Asked Questions
- Can I use other types of sweeteners? Yes! Maple syrup or agave nectar can be great alternatives, but they may alter the final texture and flavor.
- How do I keep the caramel from melting? Keep your caramel apples in the fridge until serving, and avoid leaving them at room temperature for long periods.
- What’s the best way to remove wax from apples? Soak them in warm water and scrub with a soft cloth to remove any waxy coating.
- Can I use pre-made caramel? Absolutely! Just melt it according to package instructions and dip your apples.
- What are some good toppings for caramel apples? Try crushed cookies, mini marshmallows, or even sprinkles for a fun and festive look!
- How long do caramel apples last? If stored properly in the fridge, caramel apples can last for up to three days.
- Can I make these vegan? Yes! This recipe is already vegan-friendly using almond butter and brown rice syrup.
- What types of apples work best? Firm apples like Honeycrisp, Fuji, or Granny Smith are ideal for caramel apples, offering a nice balance of sweetness and tartness.
Nutritional Tips and Dietary Adaptations
This recipe not only satisfies your sweet tooth but can also fit into various dietary lifestyles:
- Vegan-Friendly: With almond butter and brown rice syrup, this recipe is perfect for those following a plant-based diet.
- Dairy-Free: Enjoy the sweetness without any dairy—perfect for lactose-intolerant friends and family.
- Gluten-Free: This recipe is naturally gluten-free, making it suitable for those with gluten sensitivities.
Essential Equipment for Success
To make your caramel apple-making experience smooth and enjoyable, here’s what you’ll need:
- Small Saucepan: A non-stick saucepan for melting your caramel ingredients without sticking.
- Baking Sheet: Lined with parchment paper for easy cleanup and to prevent sticking.
- Toothpicks: For easy dipping and enjoying!
Serving Suggestions
These caramel apples can be enjoyed in various ways:
- As Party Favors: Package them in clear bags tied with ribbons for a sweet take-home treat at gatherings.
- On a Dessert Platter: Serve sliced caramel apples alongside other desserts for a delightful dessert table.
- As a Tasty Snack: Perfect for an after-school snack or a sweet addition to lunchboxes.
So there you have it! A comprehensive guide to crafting your very own caramel apples. With the perfect blend of sweet and nutty flavors, these treats are bound to spark joy at any gathering. Remember, cooking is not just about the food; it’s about the memories created along the way. So gather your loved ones, get cooking, and celebrate the sweet moments together!
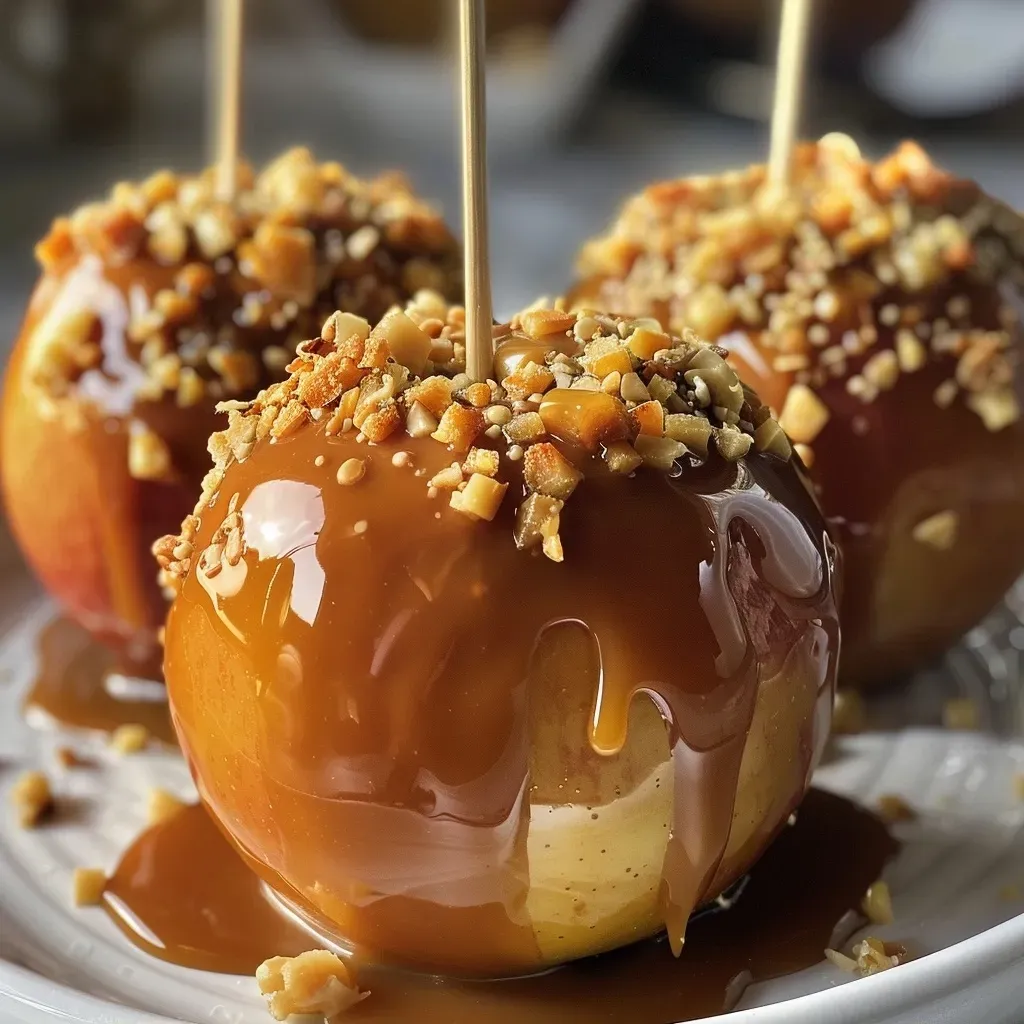
Caramel Apples
Ingredients
Dipping and Topping
- 0.5 cup almond butter
- 0.5 cup brown rice syrup
- 1 tbsp vanilla
- 1 large apple
Instructions
- Line a baking sheet with parchment paper.
- Chop the apple into chunks and insert toothpicks.
- Heat almond butter and brown rice syrup until smooth.
- Stir in vanilla, then coat apple chunks with caramel.
- Refrigerate for 15 minutes to set before serving.