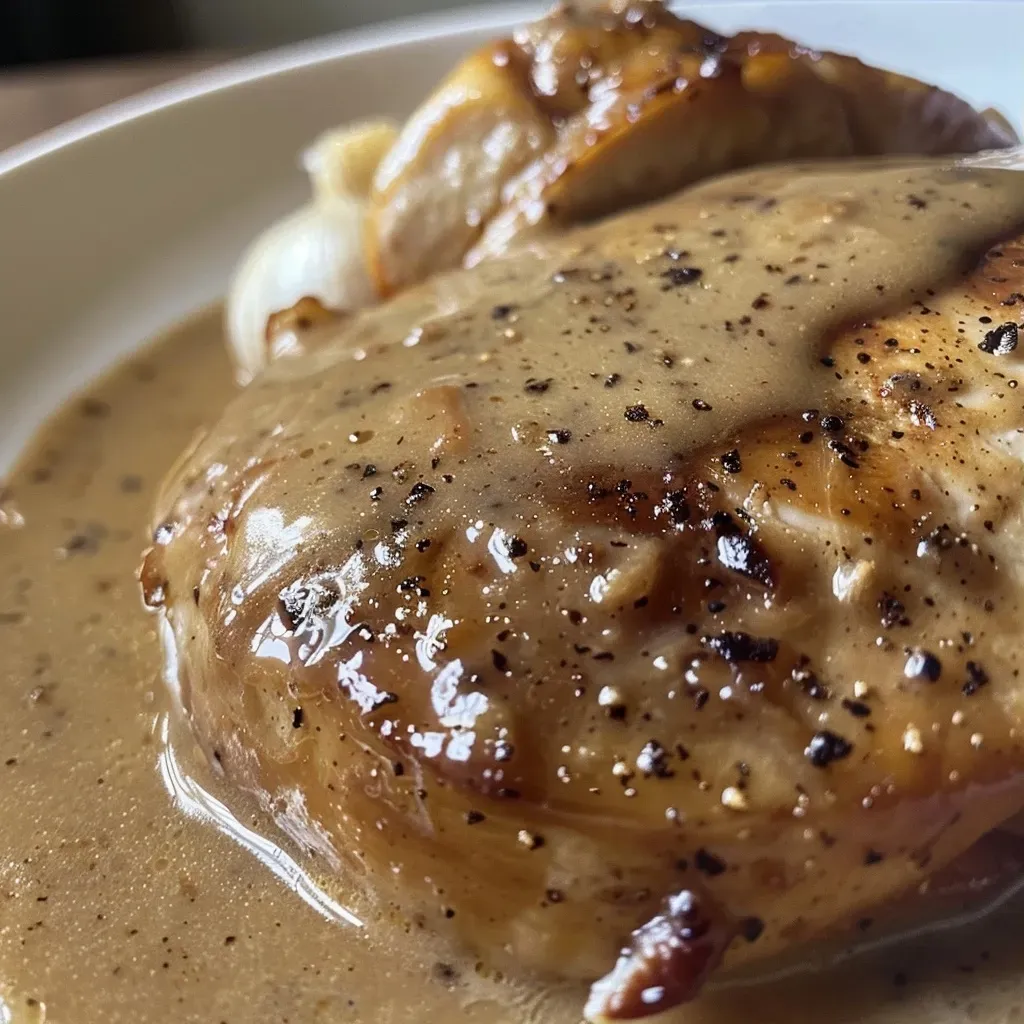
Discover the Magic of Roasted Garlic Gravy
Welcome to a culinary adventure where we explore the lush, aromatic, and richly flavored world of roasted garlic gravy! This enchanting dish is not just a side; it’s a vibrant celebration of taste that can elevate any meal. Whether it’s draped over fluffy mashed potatoes or cascading down a beautifully roasted turkey, roasted garlic gravy is the heartwarming touch that transforms a simple dish into an unforgettable feast. Join me, Rafael, as we dive deep into this recipe that has been cherished in Mediterranean kitchens for generations.
Why You’ll Love This Recipe
- Rich Flavor: The sweetness of roasted garlic melds perfectly with savory chicken stock, creating a depth of flavor that’s truly irresistible.
- Versatile Use: This gravy pairs beautifully with a variety of dishes, from turkey and mashed potatoes to hearty pasta and roasted vegetables.
- Simple Ingredients: Made with everyday pantry staples, this recipe is as accessible as it is delicious.
- Quick Preparation: With just a few simple steps, you can whip up this gravy in under 30 minutes!
- Healthier Choice: By using olive oil and butter in moderation, you can enjoy a luscious gravy without the guilt.
Ingredients Breakdown
Let’s gather our ingredients and prepare to create some magic! Here’s what you’ll need:
- 1 head garlic: Cut crosswise to release its sweet, rich flavor.
- 1 tablespoon olive oil: This adds a beautiful richness and depth.
- Salt and pepper: To taste, enhancing the overall flavor.
- 3 tablespoons unsalted butter: For a creamy texture and richness.
- 3 tablespoons flour: This will help thicken the gravy.
- 1 1/3 cup chicken stock: You can use homemade or store-bought for convenience.
- Extra salt and pepper: For final seasoning as needed.
Pro Tips for Perfect Gravy
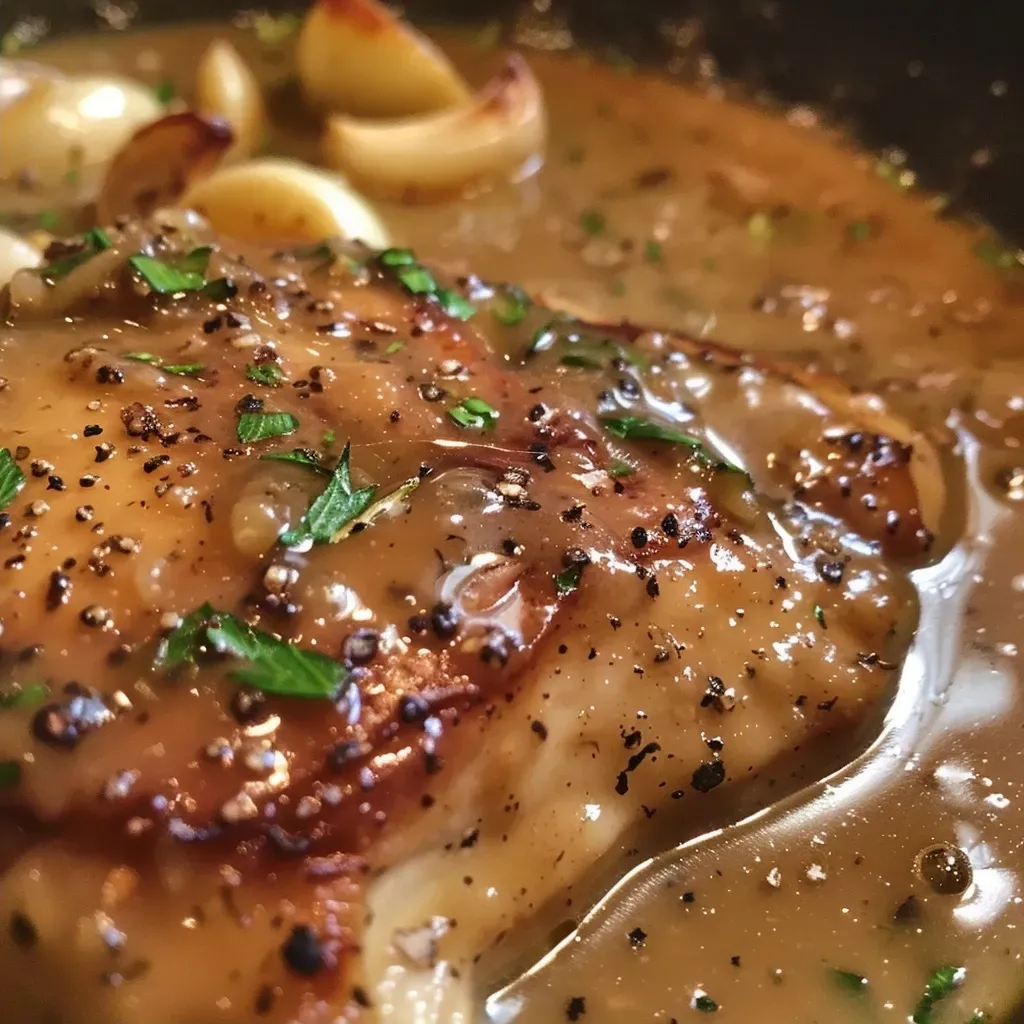
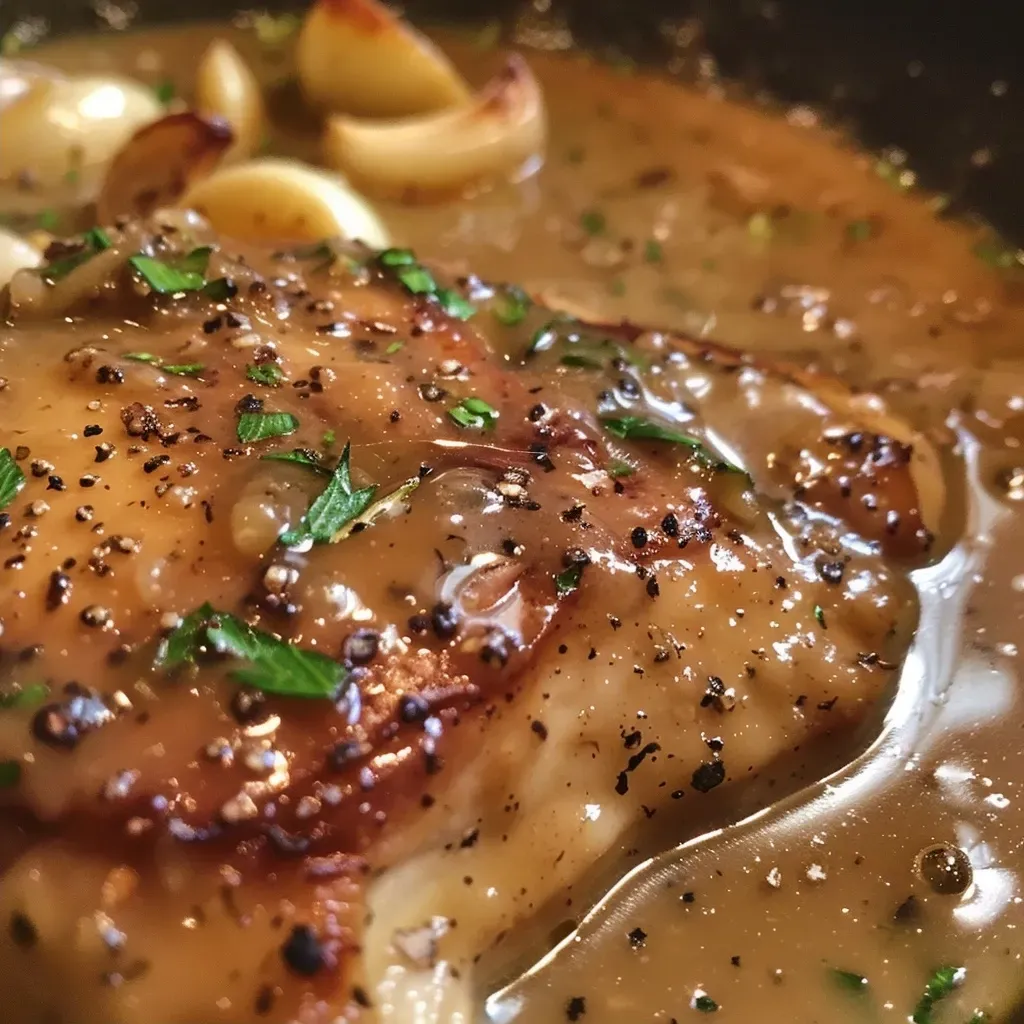
Creating the perfect roasted garlic gravy involves a few expert insights. Here are my top pro tips:

★ Recommended Kitchen Tool
Digital Kitchen Scale
Make this recipe even easier with a quality Digital Kitchen Scale — a must-have kitchen staple!
- Roast the Garlic Perfectly: Ensure your garlic is golden and soft before using; this enhances sweetness.
- Whisk Constantly: When adding flour to the butter, whisk vigorously to avoid lumps.
- Gradual Addition: Add chicken stock slowly while whisking to create a smooth, velvety texture.
- Simmer for Flavor: Allow the gravy to simmer gently; this deepens the flavors.
- Taste as You Go: Adjust seasoning gradually; it’s easier to add than to take away!
- Make Ahead: This gravy can be made ahead and reheated gently, saving you time during meal prep.
- Use Pan Drippings: If you have drippings from roasted meat, incorporate them for an extra layer of flavor.
- Vegan Adaptation: Substitute butter with vegan butter and use vegetable stock for a plant-based version.
Common Mistakes and Troubleshooting
Even the best chefs can face challenges! Here are some common mistakes and how to troubleshoot them:
- Pale Gravy: If your gravy turns out pale, ensure your roasted garlic is well-cooked and don’t skip browning the flour.
- Lumpy Texture: Whisk continuously and add stock slowly to prevent lumps from forming.
- Too Salty: If over-seasoned, add a splash of water or unsalted stock to dilute the saltiness.
- Too Thick: If the gravy is too thick, whisk in a little more chicken stock until you reach the desired consistency.
- Too Thin: If it’s too thin, simmer it longer to reduce and thicken, or whisk in a little more flour dissolved in cold water.
Variations to Try
Get creative with your roasted garlic gravy by trying these delicious variations:
- Herb-Infused Gravy: Add fresh thyme or rosemary while simmering for an aromatic twist.
- Mushroom Gravy: Sauté mushrooms before adding them to the gravy for an earthy flavor.
- Spicy Gravy: Incorporate a pinch of red pepper flakes for a kick of heat.
- Creamy Gravy: Stir in a splash of heavy cream at the end for an ultra-rich finish.
Storage and Make-Ahead Instructions
This roasted garlic gravy can be made ahead of time. Here’s how to store and reheat it:
- Refrigeration: Store in an airtight container in the fridge for up to 3 days.
- Freezing: Freeze in portions for up to 3 months. Thaw in the fridge overnight before reheating.
- Reheating: Gently reheat on the stovetop over low heat, stirring occasionally, until warmed through.
Frequently Asked Questions (FAQs)
Got questions? I’ve got answers! Here are some common queries about roasted garlic gravy:
- Can I use garlic powder instead of fresh garlic? While fresh garlic provides the best flavor, garlic powder can be used in a pinch. Use about 1 teaspoon as a substitute.
- Is this gravy gluten-free? To make this gravy gluten-free, use a gluten-free flour blend instead of regular flour.
- How can I make this gravy vegan? Substitute butter with vegan butter and use vegetable stock instead of chicken stock.
- What dishes pair well with roasted garlic gravy? This gravy works beautifully with mashed potatoes, turkey, roasted vegetables, and even pasta dishes!
- Can I make this gravy in advance? Yes! Prepare the gravy ahead of time and reheat when ready to serve.
- What if my gravy is too thick? Simply whisk in more chicken stock or water until you reach the desired consistency.
- How do I add more flavor? Incorporate fresh herbs or sautéed onions/mushrooms for a more complex flavor profile.
- Can I use vegetable stock instead of chicken stock? Absolutely! Vegetable stock will work beautifully for a vegetarian or vegan option.
Nutrition Tips and Dietary Adaptations
Here are some tips to make this gravy fit your dietary needs:
- Low-Sodium Option: Use low-sodium chicken stock to control the salt content.
- Heart-Healthy: Opt for more olive oil and less butter for a heart-healthy version.
- Allergy-Friendly: Ensure all ingredients are allergy-friendly based on your dietary restrictions.
Essential Equipment for Making Gravy
To whip up this delightful gravy, you’ll need a few key pieces of equipment:
- Garlic Roaster: Great for evenly roasting garlic bulbs.
- Whisk: Essential for mixing flour and stock smoothly.
- Saucepan: A sturdy saucepan is necessary for cooking the gravy.
- Measuring Cups: Accurate measurements ensure the perfect consistency.
- Fine Mesh Strainer: Optional, but helpful if you want a super smooth gravy.
Serving Suggestions
Now that your roasted garlic gravy is ready, here are some ideas for serving:
- On Mashed Potatoes: A classic pairing that never disappoints!
- Over Roasted Meat: Drizzle generously over turkey, chicken, or beef.
- Pasta Dishes: Toss with pasta for a creamy, comforting dish.
- With Bread: Serve with crusty bread for dipping.
Final Thoughts
Roasted garlic gravy is more than just a sauce; it’s a celebration of flavors and a way to bring people together around the table. With its versatility and rich flavor, it’s destined to become a staple in your kitchen. So, grab your ingredients, and let’s create a dish that’s not just about nourishment, but about sharing joy and memories with loved ones. Happy cooking!
Roasted Garlic Gravy Recipe
Ingredients
Main
- 1 head garlic (cut crosswise)
- 1 tablespoon olive oil
- to taste salt and pepper
- 3 tablespoons unsalted butter
- 3 tablespoons flour
- 1 1/3 cup chicken stock
- to taste salt and pepper
Instructions
- Roast the garlic head until soft and fragrant, about 20 minutes.
- Squeeze roasted garlic into a saucepan and add olive oil; cook briefly.
- Add butter and flour, whisking to form a roux; cook for 2 minutes.
- Gradually whisk in chicken stock, stirring constantly until thickened.
- Season with salt and pepper to taste, then simmer for 5 minutes.